Sable V6-183 3.0L DOHC VIN S MFI (1997)

Rear ........................................................................................................................................................... 616.7-622.7 mm (24.3-24.5 inch)
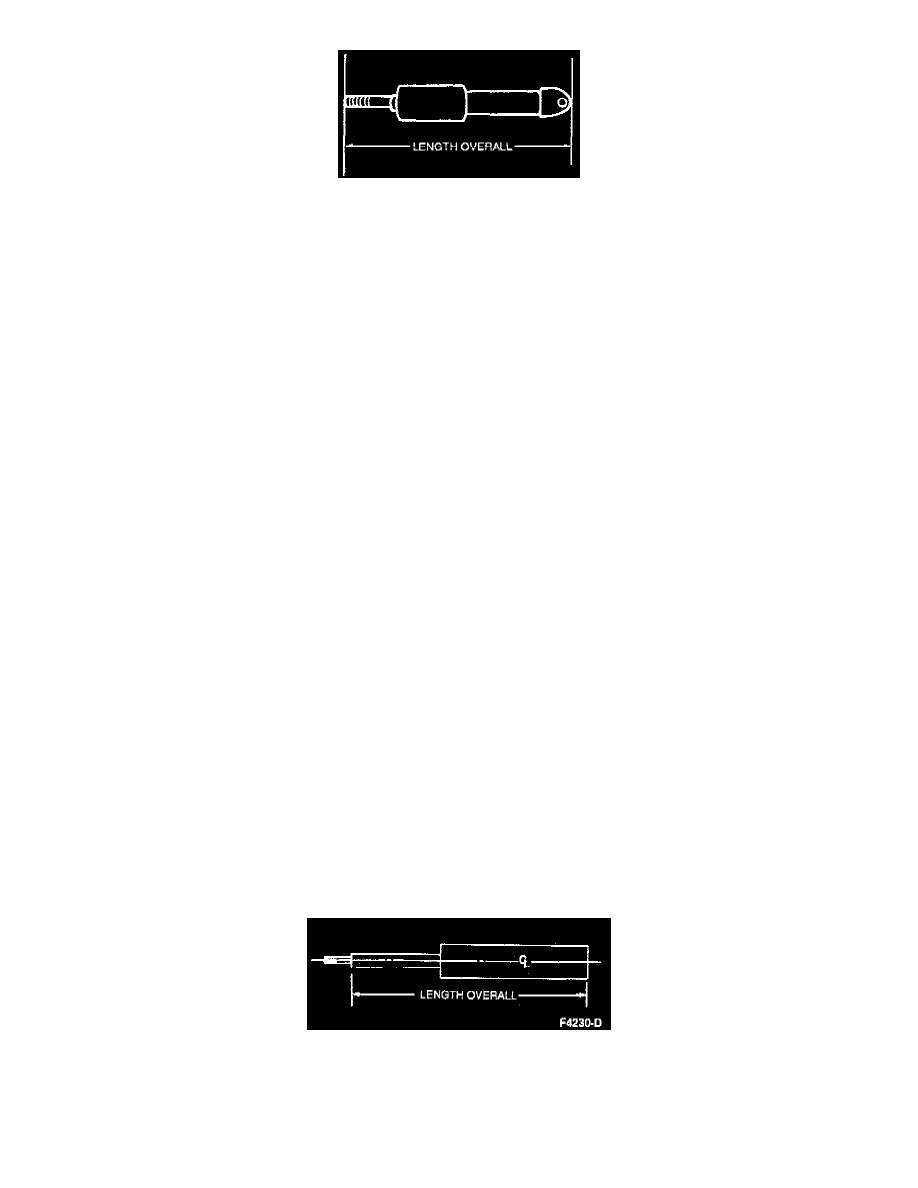
NOTE: As measured from bottom of clevis to end of threaded upper attachment rod.
NOTE: These lengths represent the free extended lengths of shock absorbers. The shock maximum extended length is approximately 31.75 mm
(1.25 inch) longer, due to internal coil springs, which compress as the shock absorber travels in the rebound direction.
CAUTION: If the combination dust shield/jounce bumper has been removed from the shock absorber, care must be taken to avoid excessive
bottoming of the rod during the compression stroke to avoid internal damage.
3. Place the shock absorber right side up in a vise. Hand stroke the shock absorber as fast as possible using as much travel as possible. Action should
become smooth and uniform throughout each stroke. Higher resistance on extension than on compression is normal.
4. The following conditions are abnormal:
^
a lag or skip at reversal of travel near mid-stroke when shock absorber is properly primed and in the installed position.
^
seizing.
^
noise, other than a faint swish, such as a clicking upon fast stroke reversal.
^
excessive fluid leakage.
^
with rod fully extended, any lateral motion of rod in relation to outer can (case).
4. If shock absorber action remains erratic after purging air, install a new shock absorber, replacing only the damaged unit. Shock absorbers are not
to be replaced as sets.
Hoist Check
Noise:
Noise can be caused by loose suspension or shock absorber attachments. Verify that all attachments for the suspension components are tight.
Replace any shock absorbers that have a damaged integral lower mounting bushing. Check front and rear shock absorbers for external damage.
Bottom/Hopping:
Check condition of the rubber suspension travel stops (front shock absorber jounce bumper). Replace if worn or missing. Examine for evidence of
previous overload which may have damaged components.
NOTE: Replace only the worn or damaged shock absorber. Shock absorbers do not require replacement in pairs, unless both units are worn or
damaged.
Sedan
DESCRIPTION
The shock absorbers are gas-pressurized, which results in the shock absorbers being fully extended when not restrained. If a shock absorber does
not fully extend, it is damaged and should be replaced. Check length overall. If the shock absorber does not meet the length overall requirement,
there is a good indication something internal is not to specification and the shock should be replaced.
PROCEDURE
1. With the shock absorber in the normal upright position, compress it and allow it to extend three times to purge the pressure chamber of any gas
that may have been introduced during handling.
2. Measure the length of the shock absorber.
Specification
Front ...................................................................................................................................................... 482.4-497.1 mm (18.99-19.59 inch)
Rear ........................................................................................................................................................... 556.8-571.5 mm (21.9-22.5 inch)
NOTE: As measured from bottom of clevis to end of threaded upper attachment rod.
