
Sable V6-183 3.0L DOHC VIN S MFI (1997)
Shifter A/T: Service and Repair
Removal and Installation
With Column Shift
REMOVAL
1. Disconnect battery ground cable.
2. Remove three screws and upper steering column shroud.
3. Insert a scratch awl into the access hole located in the bottom of the lower steering column shroud. Push in on the ignition lock cylinder release pin
and rotate the ignition lock cylinder clockwise to the RUN position and remove ignition lock cylinder from the steering column tube.
4. Remove the lower steering column shroud.
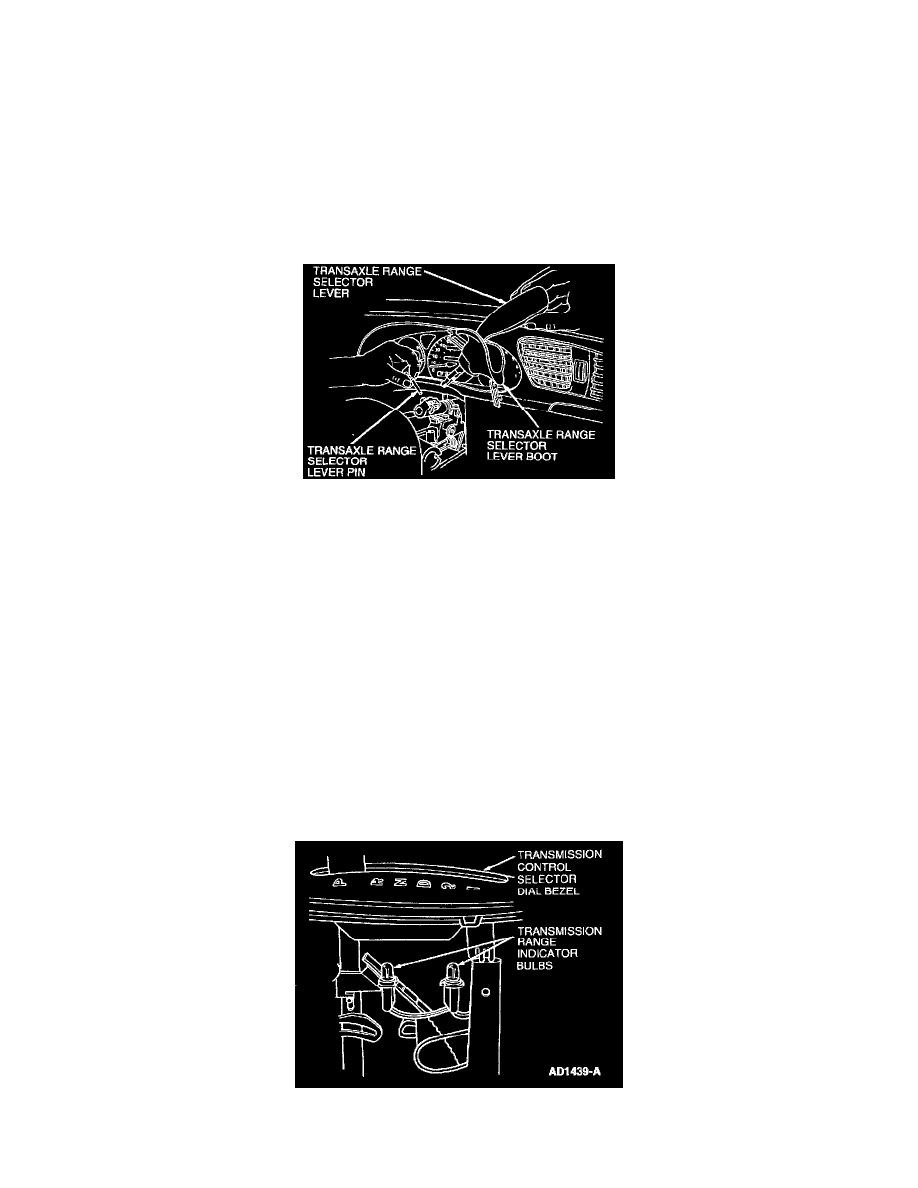
5. Unsnap and slide transaxle range selector lever boot up toward the end of the transaxle range selector lever.
6. Using a standard drift punch and hammer, tap the transaxle range selector lever pin out of steering column and remove transaxle range selector
lever from vehicle.
NOTE: If equipped with transmission control switch on transaxle range selector lever, disconnect electrical connector at bottom of steering
column, remove wiring with transaxle range selector lever.
INSTALLATION
1. To install, reverse removal procedure.
Indicator Bulb
DESCRIPTION
On vehicles equipped with floor-mounted transaxle range selector levers, a redundant transmission control selector indicator illuminates and
displays the selector lever position on the instrument cluster. This procedure is intended for the removal and installation of the transaxle range
indicator bulbs in the transaxle range selector lever and housing.
REMOVAL
1. Disconnect battery ground cable.
2. Unsnap and remove upper console bezels.
3. Unsnap and lift transmission control selector dial bezel from transaxle range selector lever housing.
4. Remove two bulbs from transmission control selector dial bezel.