
Sable V6-3.0L DOHC VIN S (2002)
NOTES AND INSTRUCTIONS IN THE PASSENGER SEAT REMOVAL AND INSTALLATION PROCEDURE.
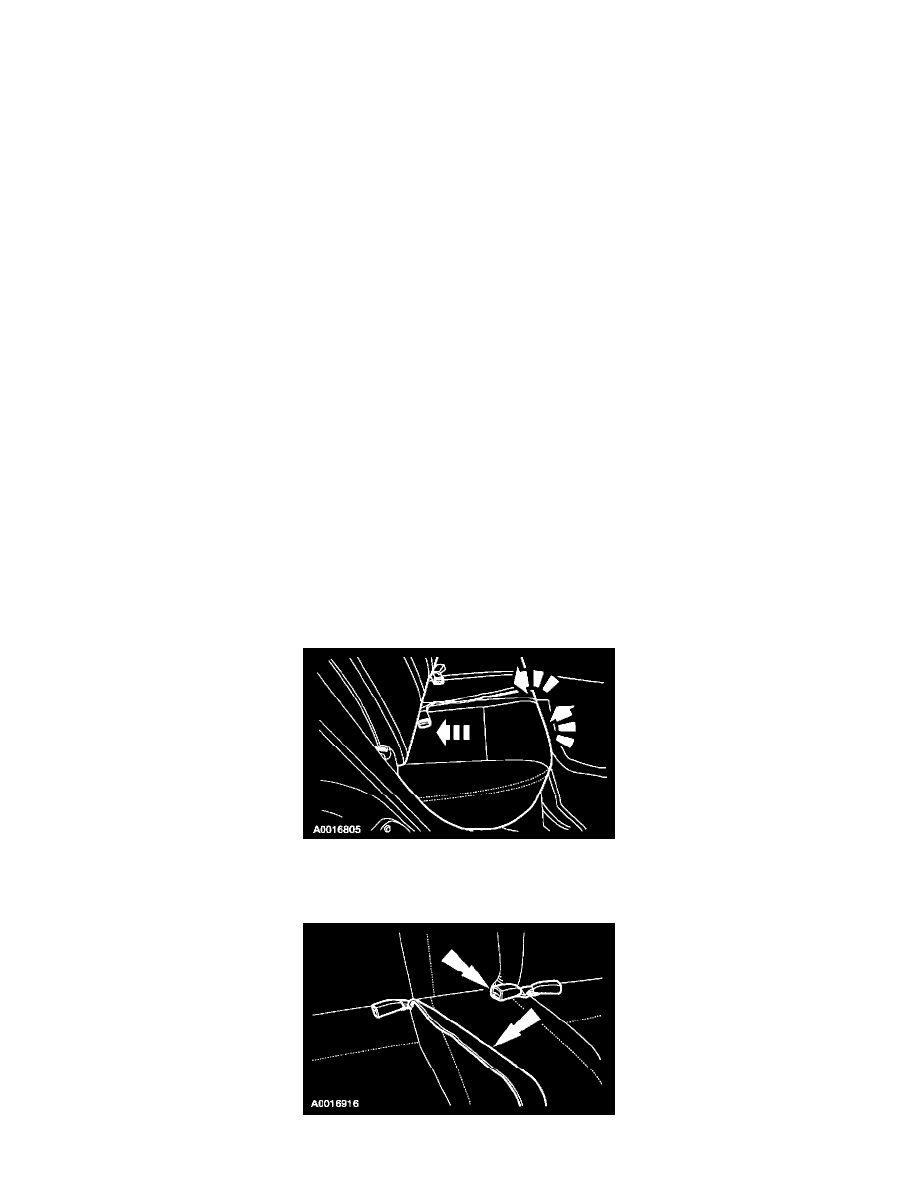
4. Remove the seat backrest.
5. Remove the seat track.
6. Remove the seat cushion.
INSTALLATION
1. Install the seat cushion.
WARNING: TO REDUCE THE RISK OF SERIOUS PERSONAL INJURY, READ AND FOLLOW ALL WARNINGS, CAUTIONS,
NOTES AND INSTRUCTIONS AT THE BEGINNING OF THE REMOVAL PROCEDURE.
2. Install the seat track.
3. Install the seat backrest.
4. Install the passenger seat.
WARNING: TO REDUCE THE RISK OF SERIOUS PERSONAL INJURY, READ AND FOLLOW ALL WARNINGS, CAUTIONS,
NOTES AND INSTRUCTIONS IN THE PASSENGER SEAT REMOVAL AND INSTALLATION PROCEDURE.
5. Reactive the Supplemental Restraint System (SRS)
WARNING: TO REDUCE THE RISK OF SERIOUS PERSONAL INJURY, READ AND FOLLOW ALL WARNINGS, CAUTIONS,
NOTES AND INSTRUCTIONS IN THE SUPPLEMENTAL RESTRAINT SYSTEM (SRS) DEACTIVATION AND REACTIVATION
PROCEDURE.
6. With all the restraint system diagnostic tools removed, prove out the supplemental restraint system (SRS).
WARNING: THE RESTRAINT SYSTEM DIAGNOSTIC TOOL IS FOR RESTRAINT SYSTEM SERVICE ONLY. REMOVE FROM
THE VEHICLE PRIOR TO ROAD USE. FAILURE TO REMOVE COULD RESULT IN INJURY AND POSSIBLE VIOLATION OF
THE VEHICLE SAFETY STANDARDS.
7. Check the active restraint system for correct operation.
Rear Seat Cushion
REMOVAL
1. Apply pressure to the lower front portion of the rear seat cushion pad and frame. Push the rear seat cushion pad and frame rearward to disengage
the rear seat cushion front retainers. Lift upward on the rear seat cushion and remove.
2. To install, reverse the removal procedure.
3. Make sure the safety belt webbing is not twisted prior to installation.