Sable AWD V6-3.5L (2008)

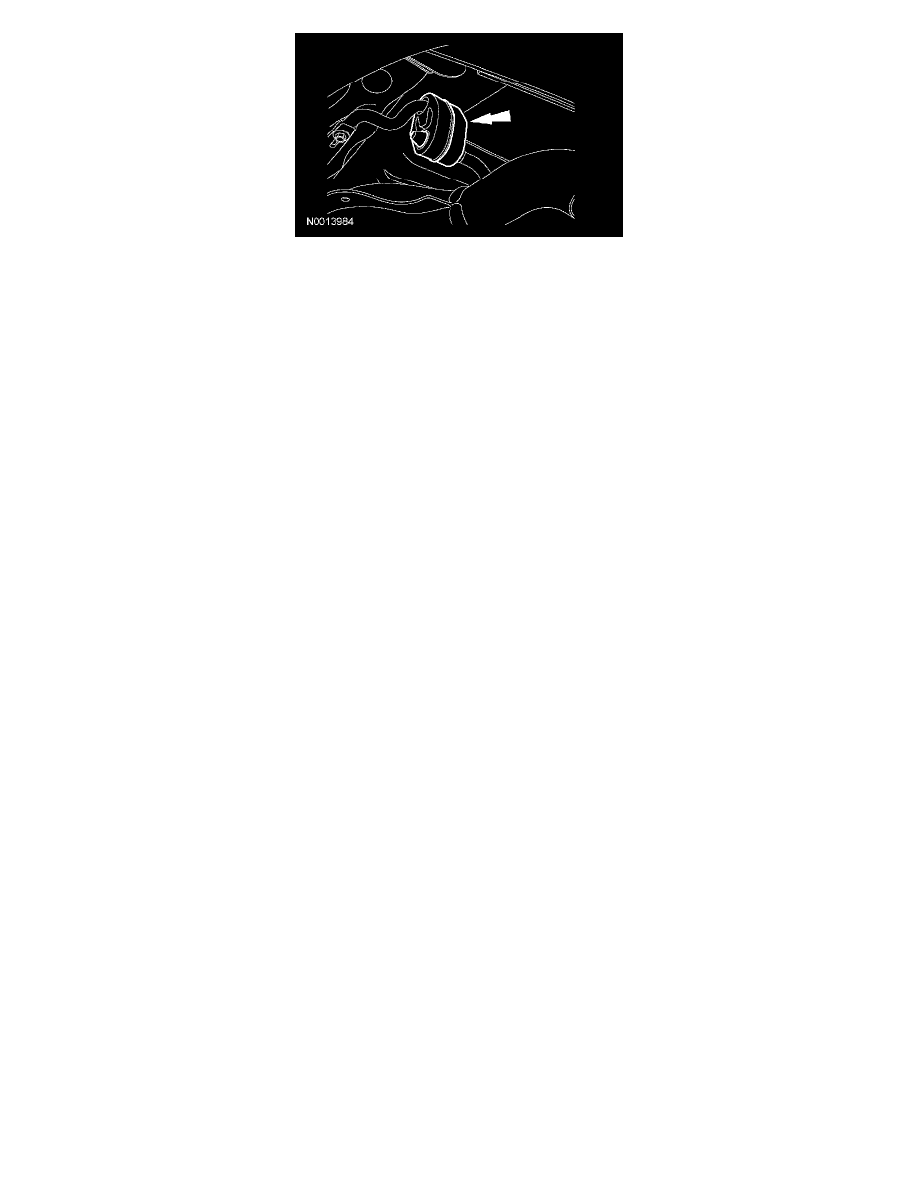
7. Remove the muffler, resonator and underbody catalytic converter assembly.
All wheel drive (AWD) vehicles
8. Remove the rear driveshaft.
All vehicles
9. Remove the exhaust heat shield.
10. Release the front auxiliary evaporator inlet line fitting nut and disconnect the fitting.
-
Discard the O-ring seal and gasket seal.
-
To install, tighten to 15 Nm (11 lb-ft).
11. Release the front auxiliary evaporator outlet line fitting nut and disconnect the fitting.
-
Discard the O-ring seal and gasket seal.
-
To install, tighten to 15 Nm (11 lb-ft).
12. Remove the LH rear wheel.
13. Remove the LH rear quarter panel moulding.
14. Remove the 3 outer LH rear quarter panel moulding bracket bolts.
15. Remove the 2 inner LH rear quarter panel moulding bracket bolts.
16. Remove the LH rear quarter panel moulding bracket.
-
Detach the splash shield pin-type retainer.
17. Remove the 2 LH rear brake caliper bolts and position the caliper aside.
-
To install, tighten to 35 Nm (26 lb-ft).
18. Remove the 2 parking brake cable bolts.
-
To install, tighten to 12 Nm (9 lb-ft).
AWD vehicles
19. Remove the 4 rear subframe bracket bolts.
-
To install, tighten to 63 Nm (46 lb-ft).
20. Remove and discard the trailing arm-to-knuckle bolt.
-
To install, tighten to 110 Nm (81 lb-ft).
All vehicles
21. Loosen the trailing arm-to-subframe bolt and position the trailing arm aside.
22. NOTE: All wheel drive (AWD) vehicle shown, front wheel drive (FWD) vehicle similar.
Remove the LH lower shock bolt.
-
To install, tighten to 142 Nm (105 lb-ft) for AWD.
-
To install, tighten to 110 Nm (81 lb-ft) for FWD.
23. Position a lifting table to support the rear subframe.
24. With a wax pencil, mark the relational alignment of the rear subframe to the underbody at the mounting locations.
Front wheel drive (FWD) vehicles
25. Disconnect the 2 rear wheel speed sensor electrical connectors.
26. Loosen, but do not completely remove the 2 RH rear subframe bolts.
-
To install, tighten to 115 Nm (85 lb-ft).
