Topaz L4-140 2.3L HSC (1984)

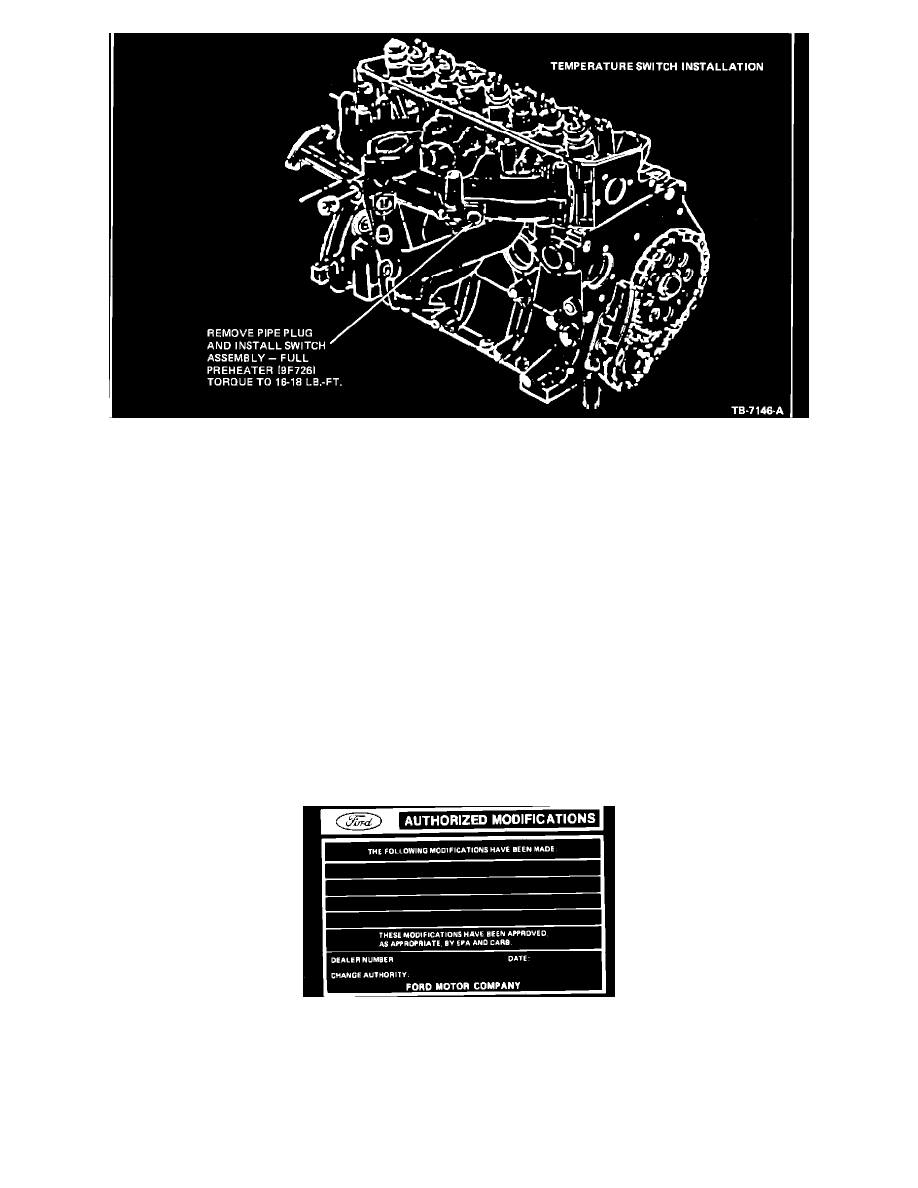
Figure 9
8.
Remove the iron plug in the intake manifold (Figure 9) and install the 9F726 temperature switch in that location, using teflon tape near the bottom
of the threads. Torque to 16-18 ft.lbs.
9.
Connect the small jumper wire 10A998 included in the kit to the temperature switch terminal, and connect the black electrical connector on the
other end of the jumper wire to the mating black connector on the larger jumper harness.
10.
Connect the electrical eyelet on the large jumper harness to the positive terminal of the starter relay (the terminal that has a red wire from battery
positive).
11.
The 9345 relay is to be mounted on the radiator support, to the right (fender side) of the passenger side headlamp and approximately at the same
height as the top of the headlamp. Remove the washer fluid reservoir to gain access to this area.
12.
Using a #29 (0.136 inch diameter) drill, drill two holes, one above the other and 3/8 inches apart in the radiator support. The holes are to be
located approximately two inches from the right side edge of the radiator support, with the upper hole approximately one inch below the upper
edge of the radiator support. Locate the tab on the relay mounting bracket in the upper hole, and in the lower hole attach the relay using the
self-tapping screw (N801846) included in the kit.
13.
Route the jumper harness alongside the main engine harness to the headlamp area, and connect the jumper harness electrical connector to the relay.
14.
Reinstall the washer fluid reservoir, being careful to replace all electrical connections and fluid tubes that had been removed.
15.
Secure the jumper harnesses where necessary. Secure the gasket wire and temperature switch wire in the remaining "J" clip on the carburetor. If so
equipped, the engine coolant temperature sensor wire may also be secured in this "J" clip.
16.
Check coolant level and add coolant as necessary. (Some coolant may have been lost when the plug was removed.)
17.
Check and adjust idle speeds as necessary.
18.
Reinstall the air cleaner horn.
Obtain an Authorized Modifications decal and list the date, dealer number and summary of alterations performed. Select a prominent place adjacent to
the Vehicle Emission Control Information decal suitable for installing the Authorized Modifications decal. Clean the area, install the decal and cover it
with a clear plastic decal shield.
PART NUMBER
PART NAME
CLASS
E43Z-9A589-AK*
Carburetor Heater Kit
CG
*-Available at National Parts Distribution Center November, 1983.
