
Villager V6-181 3.0L SOHC VIN 1 EFI (1997)
Valve Body: Service and Repair
Assembly
Lower Body
INSTALLATION
CAUTION: Use care not to scratch or otherwise damage the components during assembly. If any of the lower control valve body components are
damaged, the entire main control valve body must be replaced.
1. Lubricate the lower control valve body and all of the valves with transaxle fluid.
2. Install the control valves by carefully sliding them into their bores.
3. Use a small screwdriver wrapped in vinyl tape to insert the valves.
CAUTION: Lay the valve body down when installing the valves. Do not stand the valve body upright.
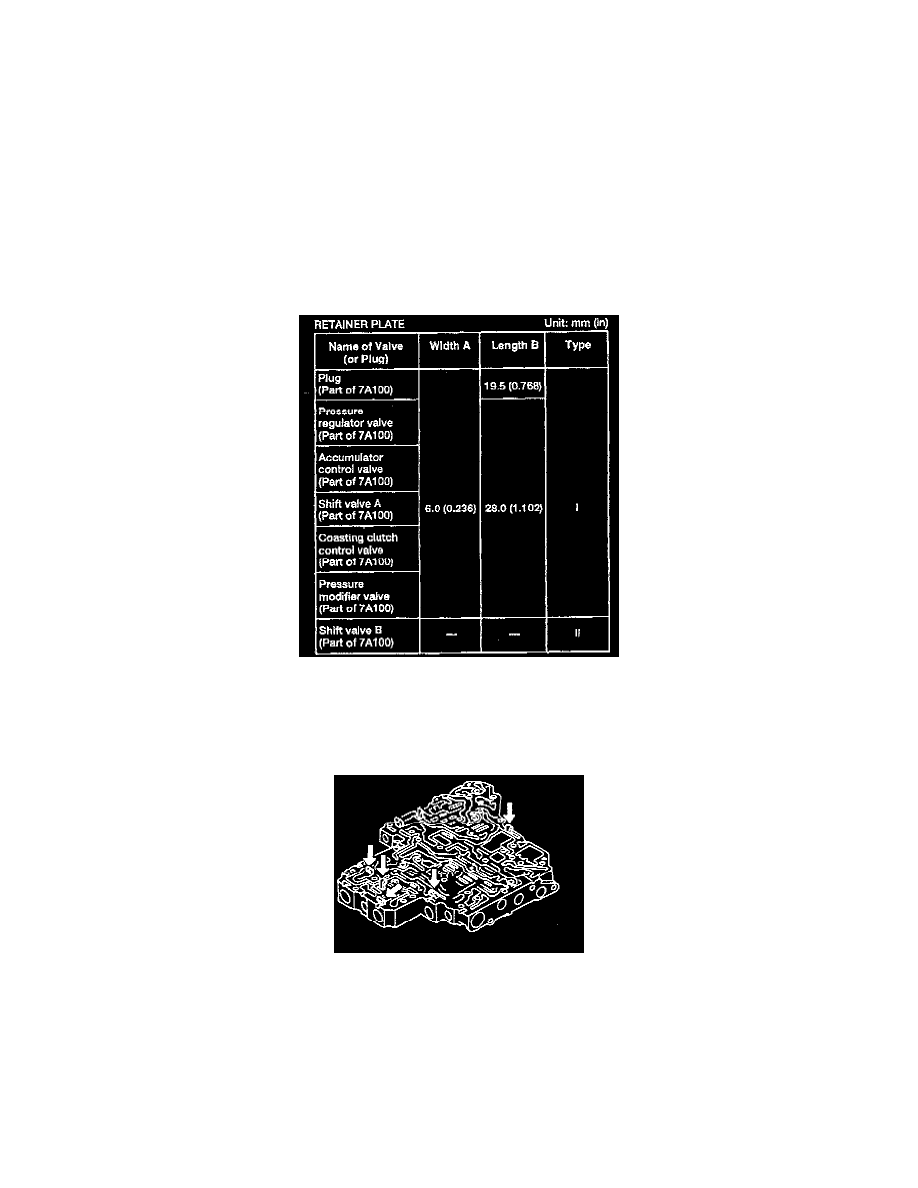
Retainer Plate Specifications Chart
4. Install the retainer plates while pushing back the plug or return spring. Refer to the Retainer Plate Specifications Chart for retainer plate
specifications.
5. Install the manual valve.
6. Ensure that the retainer plates are properly positioned in the lower control valve body.
Main Body
ASSEMBLY