Villager V6-201 3.3L SOHC VIN T SFI (1999)

Lock Cylinder Switch: Service and Repair
Driver Door Lock Cylinder Disarm Switch
REMOVAL
1. Remove the door trim panel.
NOTE: LH front door shown, RH front door similar.
2. Position the watershield aside.
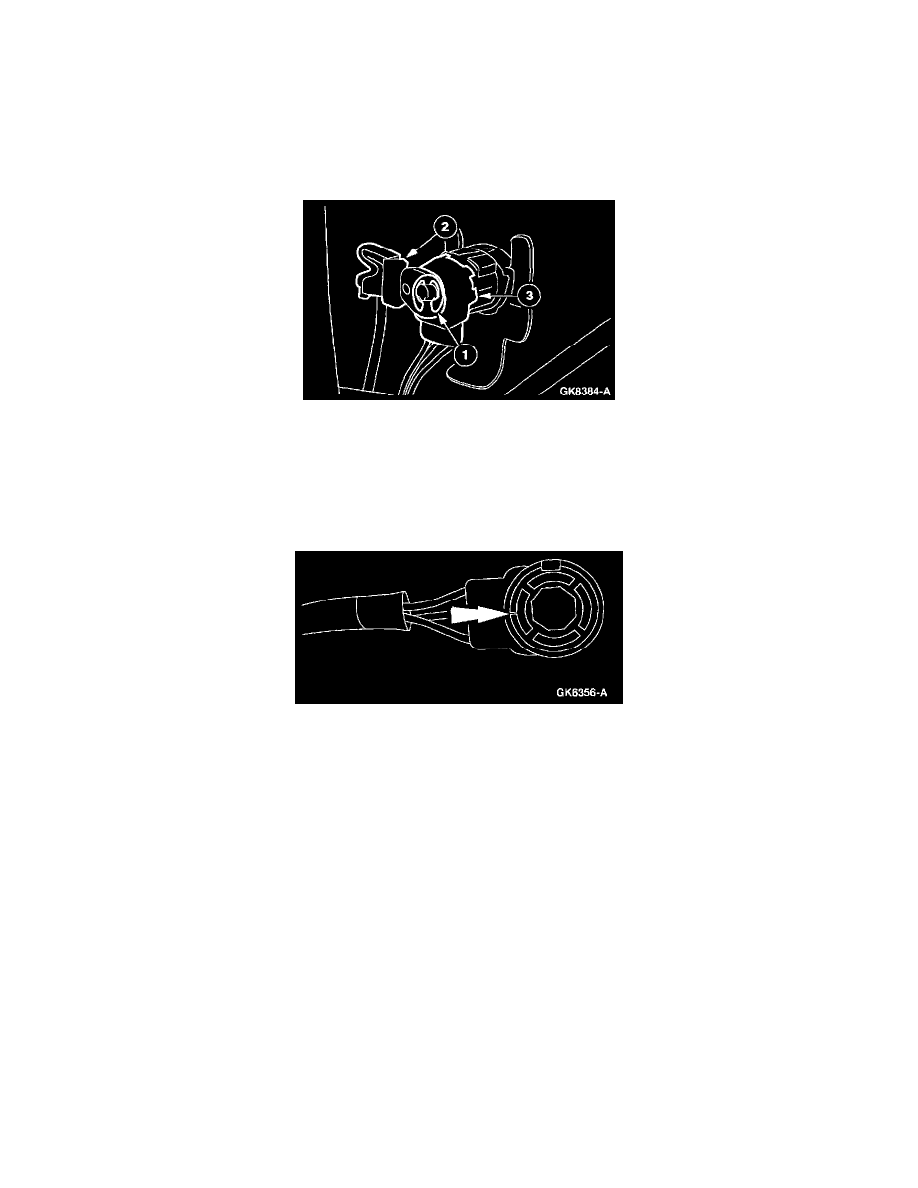
3. Remove the driver door lock cylinder disarm switch.
1
Remove the "E" clip.
2
Remove the lock rod actuator.
3
Remove the driver door lock cylinder disarm switch.
^
Disconnect the electrical connector.
INSTALLATION
1. To install, reverse the removal procedure.
NOTE:
^
The driver door lock cylinder disarm switch locator mark must be positioned towards the harness side of the switch prior to installation.
^
The driver door lock cylinder disarm switch must be installed in its original position.
