
Bravada V6-262 4.3L VIN W CPI (1994)
Removing The Ball Joint Rivets
REMOVE OR DISCONNECT
1. Raise the vehicle and support it with safety stands.
2. Tire and wheel.
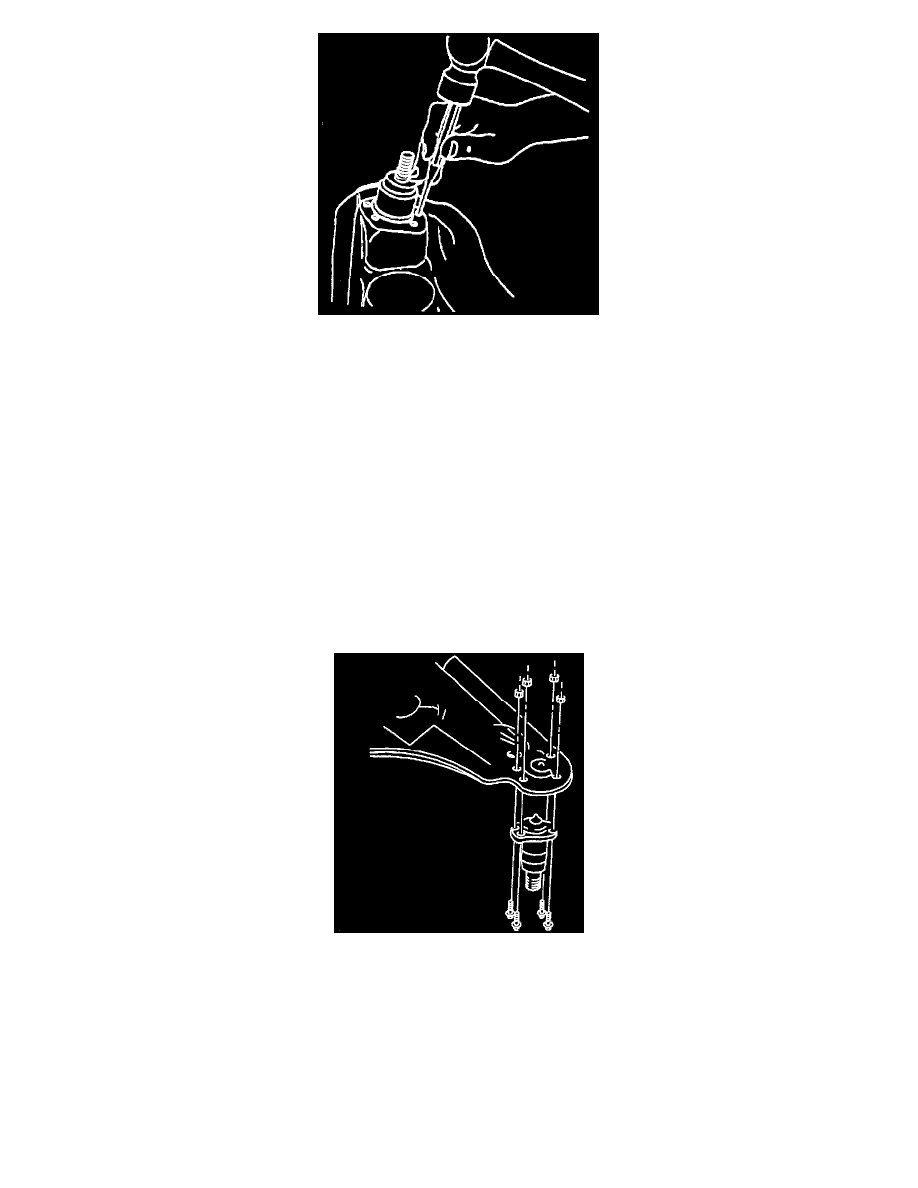
3. Cotter pin from the upper control arm ball joint stud.
4. Loosen (do not remove at this time) the stud nut on the upper ball joint stud.
5. Loosen the stud from the knuckle then remove stud nut.
6. Ball joint from the knuckle.
a. Tip the knuckle out and toward the rear of the vehicle.
b. Suspend the knuckle from the upper control arm to prevent straining the brake line.
7. Rivets from the ball joint.
a. Use a 3.175 mm (1/8 inch) drill to cut a 6.35 mm (1/4 inch) deep hole in the center of each rivet.
b. Drill the rivet heads away using a 12.7 mm (1/2 inch) drill.
c. Using a pin punch, remove the rivets.
8. Ball joint.
Installing The Lower Ball Joint
INSTALL OR CONNECT
1. Ball joint to the control arm.
2. Ball joint bolts and nuts and tighten to 23 Nm (17 lbs ft).
3. Ball joints to the knuckle.
4. Stud nut and tighten to 108 Nm (79 lbs ft). Continue to tighten the nut to align the cotter pin but do NOT tighten more than 1/6 turn.
5. New cotter pin.
6. Tire and wheel.
7. Lower the vehicle.
8. Check front end alignment.