
Bravada V6-262 4.3L VIN Z (1991)
replacement. The clutch coil and housing assembly is pressed into the compressor and will not be removed unless the pulley rim mounting
screws are left in place and the pulley rim pulls the coil and housing assembly off with the clutch rotor and pulley rim assembly.
^
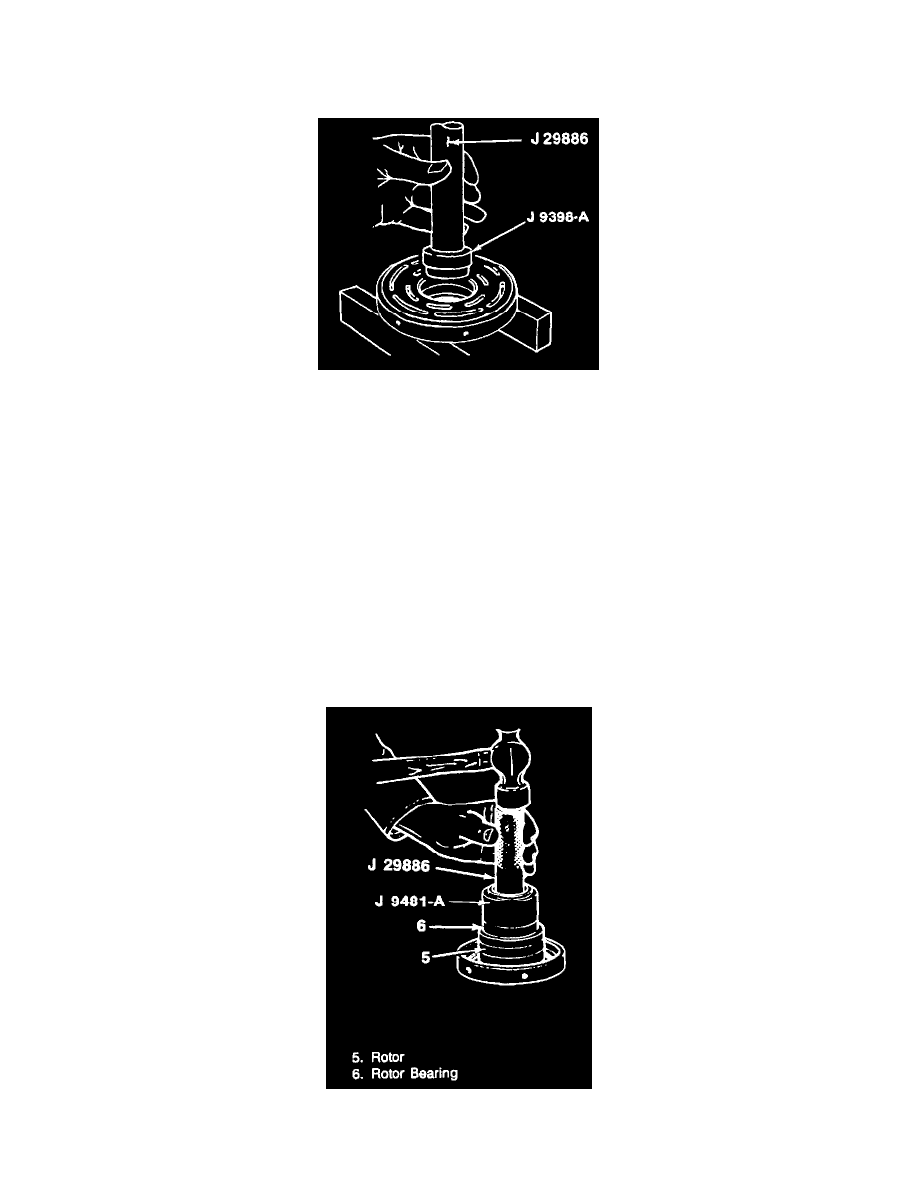
Place the clutch assembly face on wood blocks to remove the bearing.
Removing The Clutch Rotor Bearing
4. Bearing (6) from the clutch rotor hub (5) with J 9398-A.
Important
^
It is not necessary to remove the staking at the rear of the rotor hub to remove the bearing. However, file away the old staked metal to provide
the proper clearance for the new bearing being installed into the rotor bore.
Install or Connect
Tools Required:
J 6083 External Snap Ring Pliers
J 29886 Universal Drive Handle
J 9481-A Pulley and Bearing Installer
J 26271-A Rotor and Bearing Installer
^
Place the rotor and hub assembly face down on a clean, flat surface.
^
Align the bearing with the hub bore.
Installing The Clutch Rotor Bearing