
Cutlass V6-191 3.1L VIN M SFI (1998)
Brake Caliper: Service and Repair
Overhaul
REMOVAL PROCEDURE
CAUTION: When servicing brake parts, do not create dust by grinding or sanding brake linings, by cleaning brake parts with a dry
brush or with compressed air. Many earlier models or aftermarket brake parts may contain asbestos fibers which can become airborne if
dust is created during servicing. Breathing dust containing asbestos fibers may cause serious bodily harm. A water dampened cloth or
water based solution should be used to remove any dust on brake parts. Equipment is commercially available to perform this washing
function. These wet methods will prevent fibers from becoming airborne.
1. Remove the caliper completely from vehicle.
Refer to Brake Caliper Replacement.
2. Remove the bushing.
3. Inspect the bushings for cuts and nicks.
Replace the bushings if damage is evident.
CAUTION: Do not place your fingers in front of the piston in order to catch or protect the piston while applying compressed air. This
could result in serious injury.
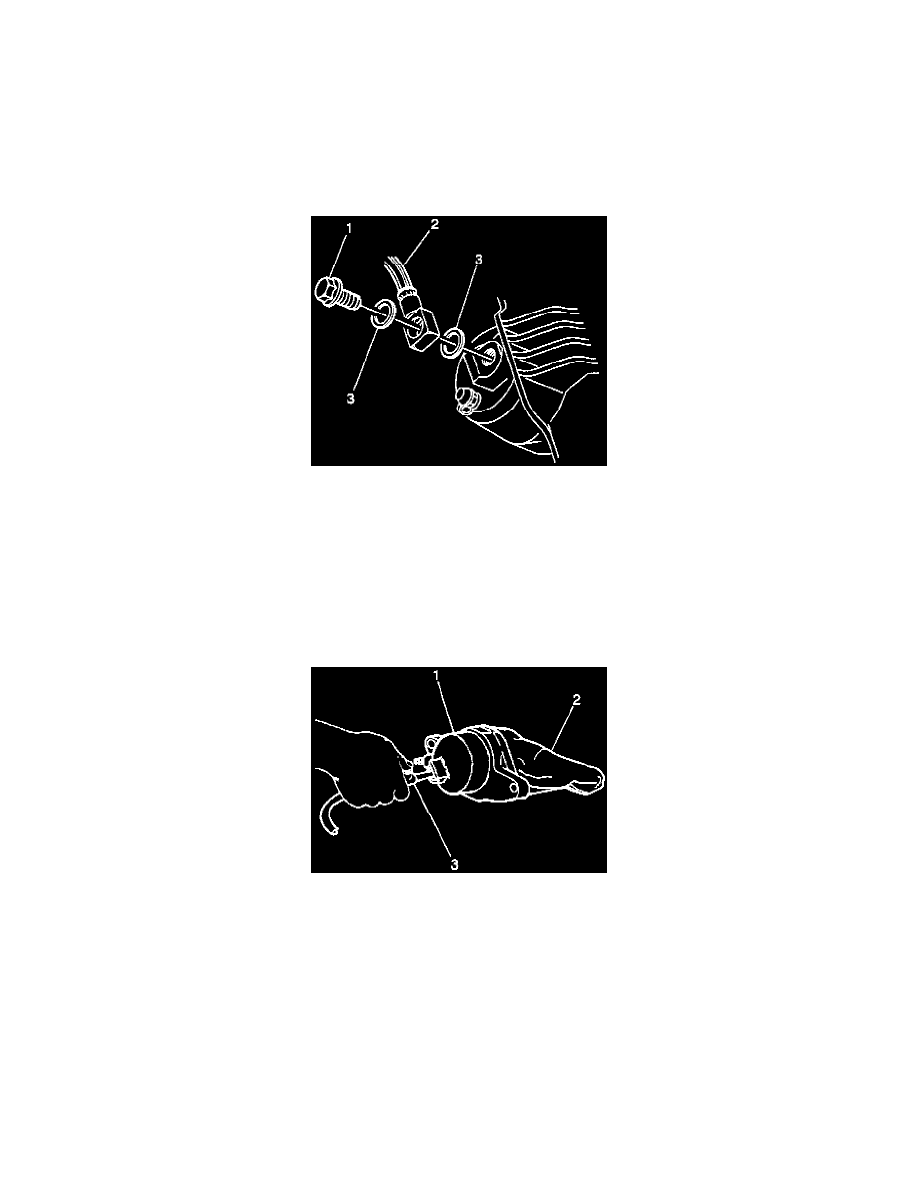
IMPORTANT: Use clean shop towels in order to pad the interior of the caliper housing during removal.
4. Remove the piston using compressed air into the caliper inlet hole (3).
5. Inspect the piston for the following conditions. Replace the piston if any of the following conditions are found:
-
Scoring
-
Nicks
-
Corrosion
-
Worn or damaged chrome plating
6. Remove the boot from the caliper housing bore
Be careful not to scratch the housing bore.
NOTICE: do not use a metal tool for seal removal. Damage to the caliper bore or the seal grooves can result.