
Cutlass V6-191 3.1L VIN M SFI (1998)
Case: Service and Repair
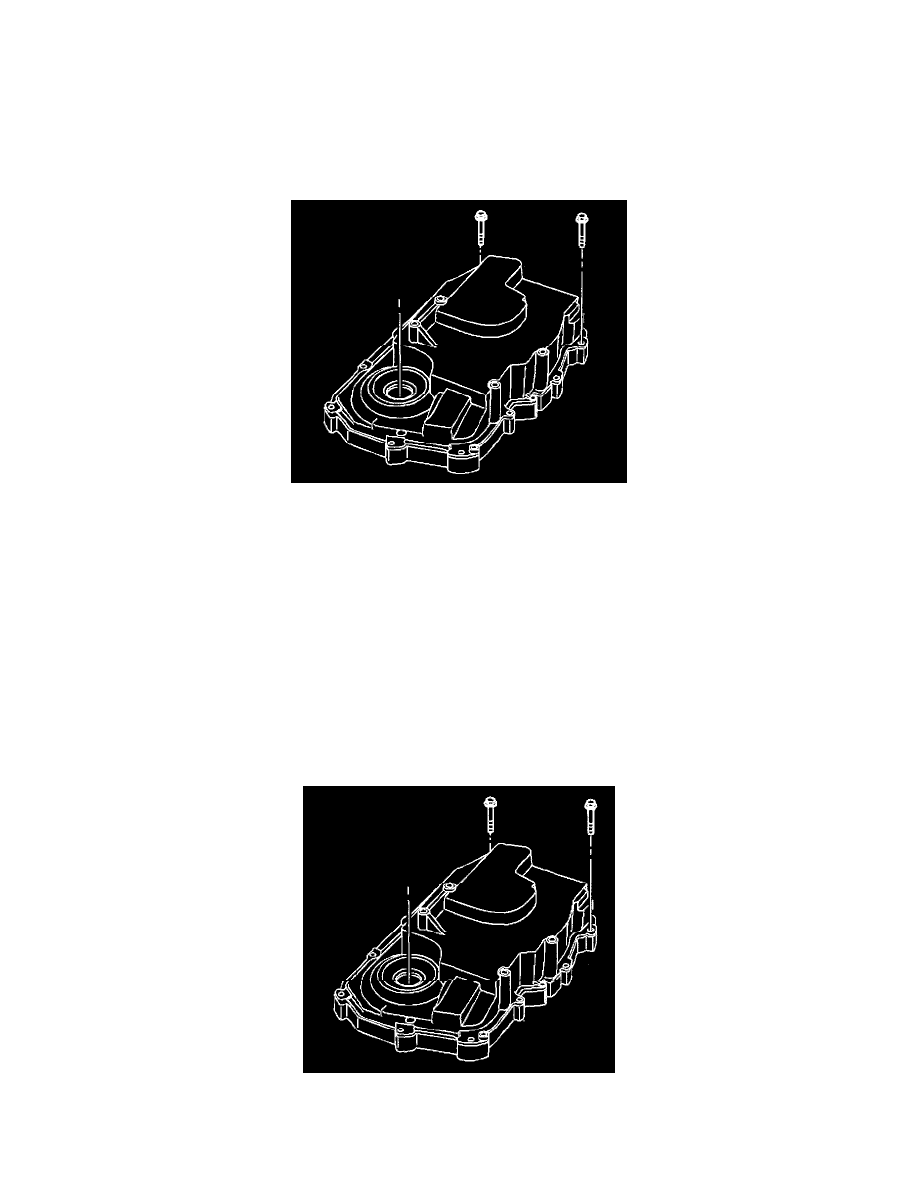
Case Cover, A/T
REMOVAL PROCEDURE
^
Tools Required
-
J 28467-360
-
J 24319-B
-
J 38892
1. Remove the negative battery cable.
CAUTION: Refer to Battery Disconnect Caution in Service Precautions.
2. Install the J 28467-360
3. Remove the air cleaner assembly.
4. Remove the upper transmission support assembly bolts.
5. Remove the upper case side cover bolts.
6. Raise the vehicle. Refer to Vehicle Lifting.
7. Remove the left wheel and tire assembly.
8. Remove the left splash shield.
9. Remove the transmission mount pipe expansion bolt.
10. Remove the transmission mount-to-body bolts.
11. Remove the lower transmission support assembly bolts.
12. Remove the transmission mount and support assembly.
13. Remove the left outer tie rod from the steering knuckle assembly using the J 24319-B.
14. Remove the left ball joint assembly from the steering knuckle assembly using J 38892.
15. Remove the brake caliper from the steering knuckle assembly and support with the line attached.
16. Remove the drive axle from the transmission and support.