
Ninety-Eight V6-3.8L VIN K (1995)
Air Door Actuator / Motor: Service and Repair
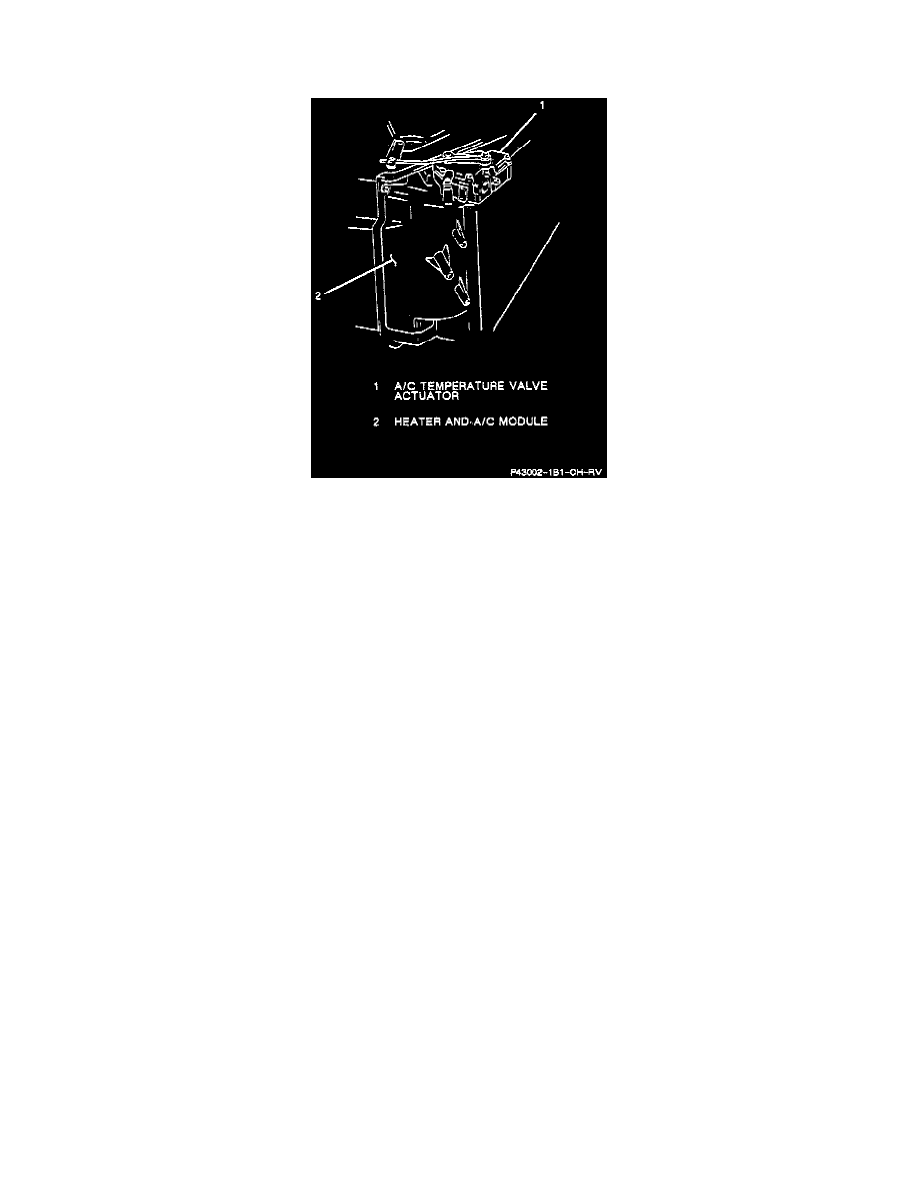
Actuator (A/C Temperature Valve)
A/C Temperature Valve Actuator
WARNING: The following procedures must be followed in the order listed to temporarily disable the Supplemental Inflatable Restraint
(SIR) system and prevent false diagnostic trouble codes from setting. Failure to follow this procedure could result in possible air bag
deployment, personal Injury, or otherwise unneeded SIR system repairs.
REMOVE OR DISCONNECT
^
Disable SIR system, Refer to Air Bags and Seat Belts. See: Restraint Systems
WARNING: When servicing an Instrument Panel (I/P) assembly containing a live inflator module, or when leaving an I/P assembly containing a
live Inflator module unattended on a bench or other surface, always face the air bag deployment opening up, away from the surface. This is necessary
so that a free space is provided to allow the air bag to expand In the unlikely event of accidental deployment. Failure to follow procedures could result
in personal injury.
1. Right sound insulator.
2. I/P compartment, (glove box).
3. Temperature valve link rod from temperature valve (snap out).
4. Electrical connector from A/C temperature valve actuator.
5. Securing screws and A/C temperature valve actuator.
INSTALL OR CONNECT
1. A/C temperature valve actuator and securing screws.
^
Tighten screws to 1.4 Nm (12 lb. in.).
2. Electrical connector to A/C temperature valve actuator.
Note: Adjust valve link rod before connecting to temperature valve.
Temperature Valve Link Adjustment
-
Start vehicle; set fan to IIII (HIGH) and temperature to full hot.
-
Allow 45 seconds minimum for A/C temperature valve actuator to move to full hot position. Move temperature valve to full hot position and