
Silhouette V6-191 3.1L VIN D TBI (1995)
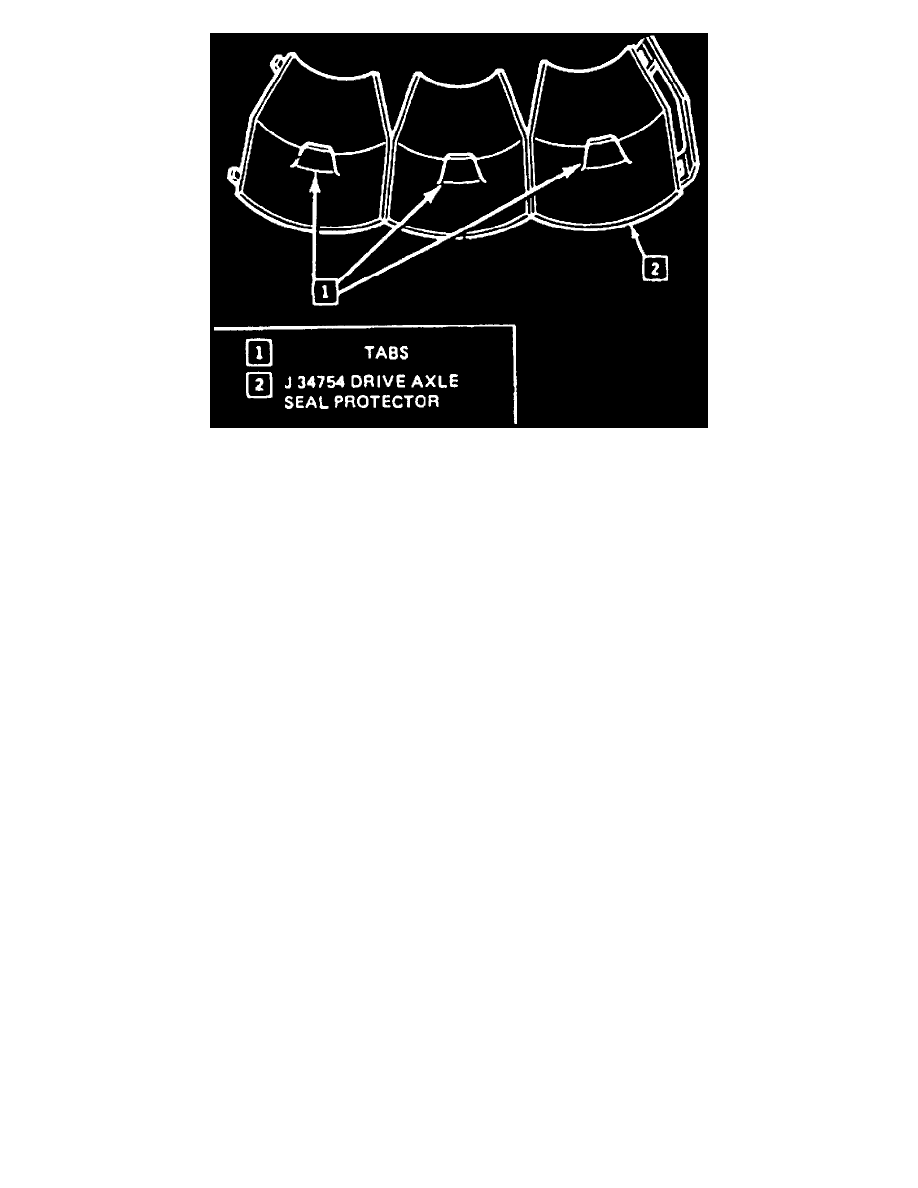
Fig. 7 Axle Seal Protector
1. Before removing strut assembly it will be necessary to scribe marks on strut and knuckle for assembly reference. Scribe marks as follows:
a. Using sharp tool, scribe knuckle along lower outboard strut radius as shown in View A of Fig. 5.
b. Scribe strut flange on inboard side along curve of knuckle, as shown in View B of Fig. 5.
c. Scribe mark across strut/knuckle interface as shown in View C of Fig. 5.
d. On reassembly, carefully match marks to components.
2. Remove three top strut assembly to body attaching nuts, Fig. 6.
3. Raise and support vehicle.
4. Place suitable jack stands under frame.
5. Lower vehicle slightly so weight of vehicle rests on jack stands and not on control arms.
6. Remove tire and wheel assemblies. When performing any repair procedure near drive axles, care must be taken to prevent drive axle joints
from being over extended. If either end of shaft is disconnected, over extension of joint could result in separation of internal components
which could go undetected and result in failure of joint. Drive axle joint seal protectors part No. J-34754, or equivalent, should be used
anytime service is performed on or near drive axles.
7. Place seal protector part No. J-34754, or equivalent on drive axle joints, Fig. 7.
8. Remove brake line bracket from strut assembly, then remove strut to steering knuckle bolts, Fig. 6.
9. Remove strut assembly from vehicle. Care should be taken to avoid chipping or scratching spring coating when handling front suspension
coil spring. Damage could cause premature wear.
10. After removing strut assembly support steering knuckle to prevent axle joint overextension.
11. Reverse procedure to install.