
405 L4-1905cc 1.9L (1989)
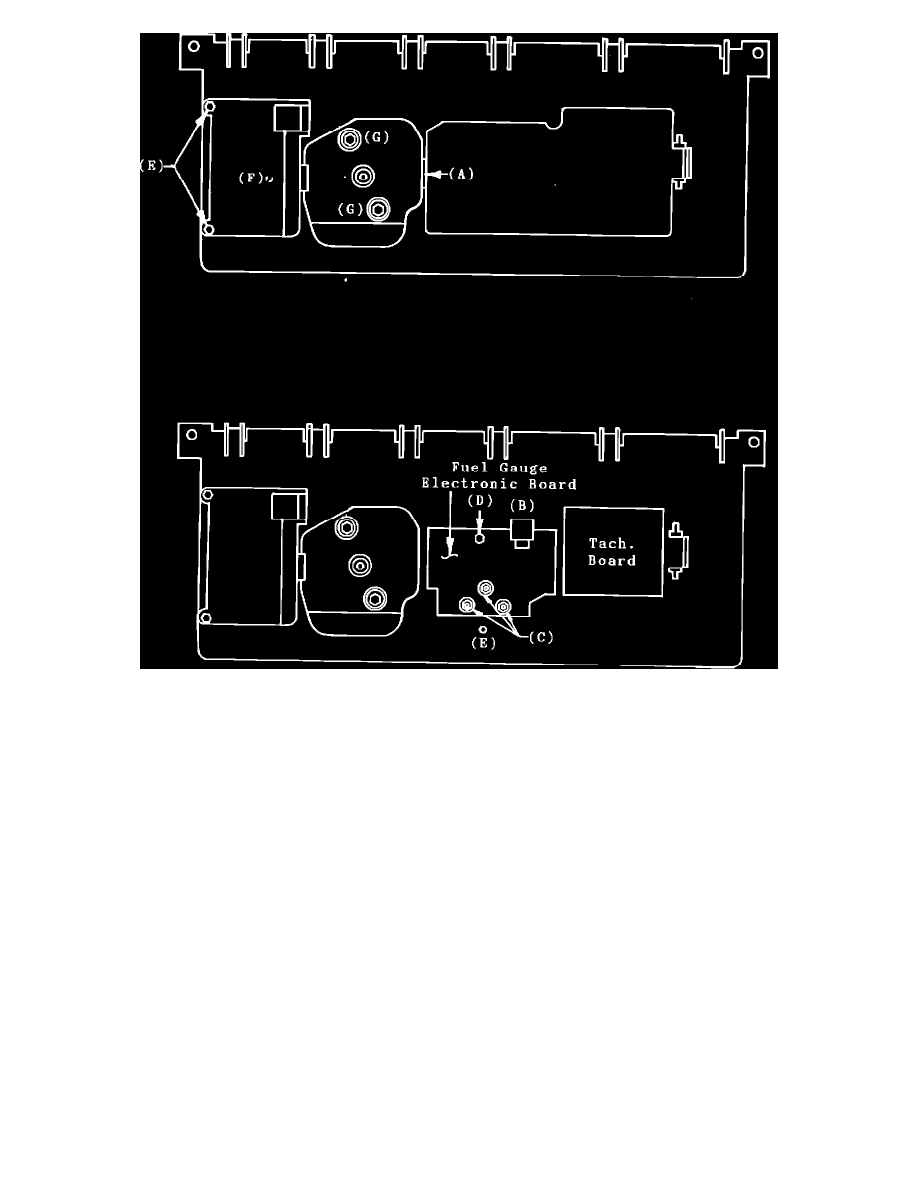
Instrument Cluster Viewed from the Back
REPAIR PROCEDURE FOR BOTH CONDITIONS:
-
Check condition of fuse F10; if OK, proceed as follows
-
Remove the instrument cluster (refer to procedure in "Body Equipment" Workshop Manual, pages H4002 and H4003)
-
Remove the white plastic cover by depressing it at (A)
-
Disconnect 3-pin connector (B)
-
Remove the three 5.5mm retaining nuts and washers (C)
-
Remove the 5mm screw or white clip (D) and washer underneath board
-
Remove fuel gauge electronic board
-
Remove the three flat washers underneath board and plastic shield
NOTE:
Some vehicles may also be equipped with three small spacers between the flat washers and gauge retaining nuts
-
Check and tighten the fuel gauge to main instrument P/C board retaining nuts (wider hex 5.5mm). The 4th and lowest mounting stud (E) on
the fuel gauge is not used
-
Install the new fuel gauge electronic board supplied in fuel gauge kit P/N 6131.93
-
Reinstall all hardware in reverse order (see Washer Reinstallation below)
REINSTALLATION:
-
Some vehicles may be equipped with a
4-pin connector (B). Make sure that the three electrical tracks from the main P/C board are plugged into the 3 pins on the electronic board.
Washer Reinstallation:
-
Washers with a triangle-shaped center are utilized on top of the board for the three retaining nuts (C) and one underneath the board at screw
(D)
-
Small flat washer underneath board below (C)
-
Check operation of fuel gauge