
Breeze L4-2.4L VIN X (2000)
3. Remove cluster hood bezel retaining screws in the trim bezel opening.
4. Pry up the cluster hood bezel a few inches to expose the cubby bin/cigar lighter bezel screws.
5. Remove the cubby bin/cigar lighter bezel and wiring.
6. Remove the control module retaining screws,
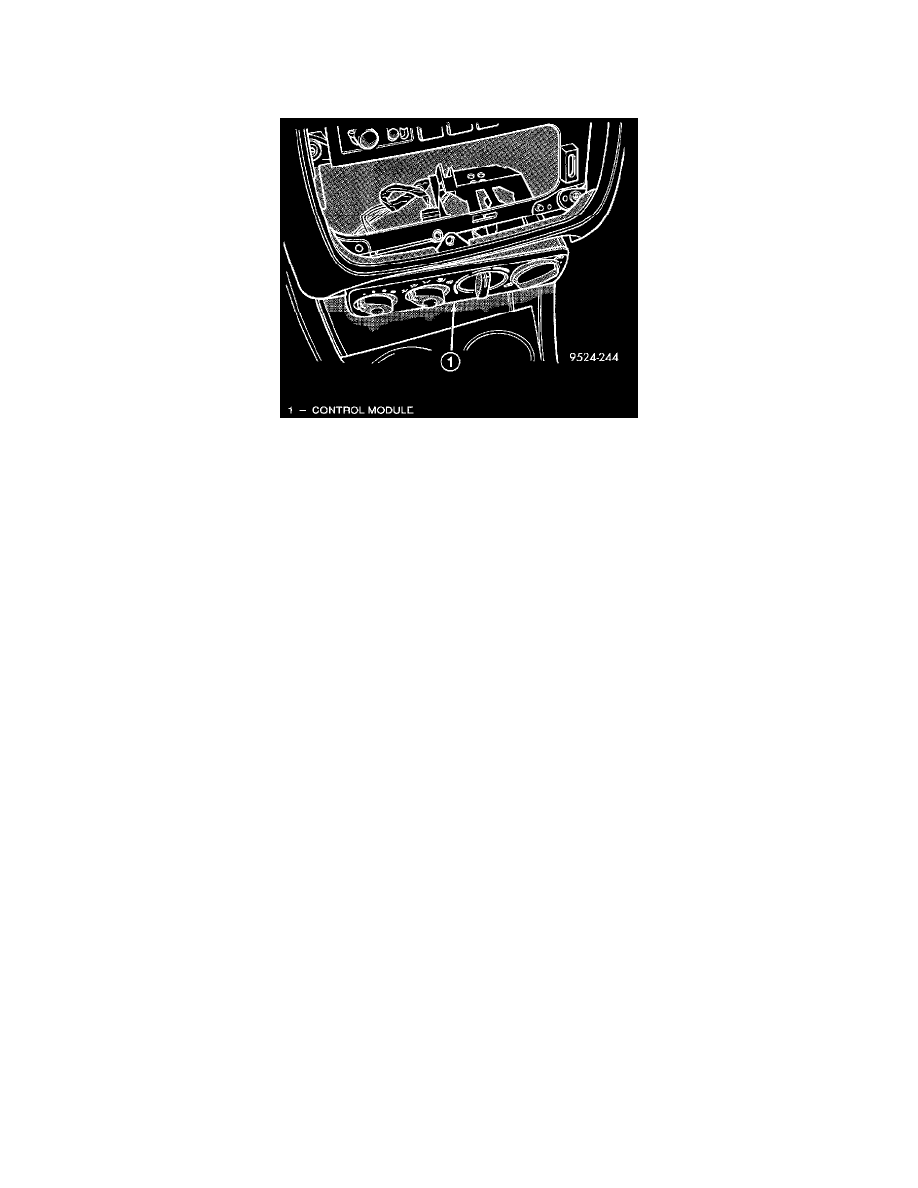
Control Module At Bezel Opening
7. Drop the A/C control module into the cigar lighter/cubby bin bezel opening. Then disconnect the wiring on the rear of the control module.
8. Release the cable clips from the top of the control module. Retain the clips for future use. Then disconnect the temperature control and
recirculation control cables.
9. Remove the control module.
INSTALLATION
For installation, reverse the above procedures. Verify that the cables are properly adjusted and the module is seated properly.
Cable Adjustment
The cables must be adjusted for proper function of the control module. To adjust the cable, attach the cable to the lever arm of the control module.
Turn the knob fully counterclockwise. Pull the cable jacket away from the cable end until taut. Clip the cable jacket to the control module. The knob
should travel a full 180° if the cable is properly adjusted.