
Grand Voyager L4-2.4L DOHC (1996)
Rear Quarter D-Pillar
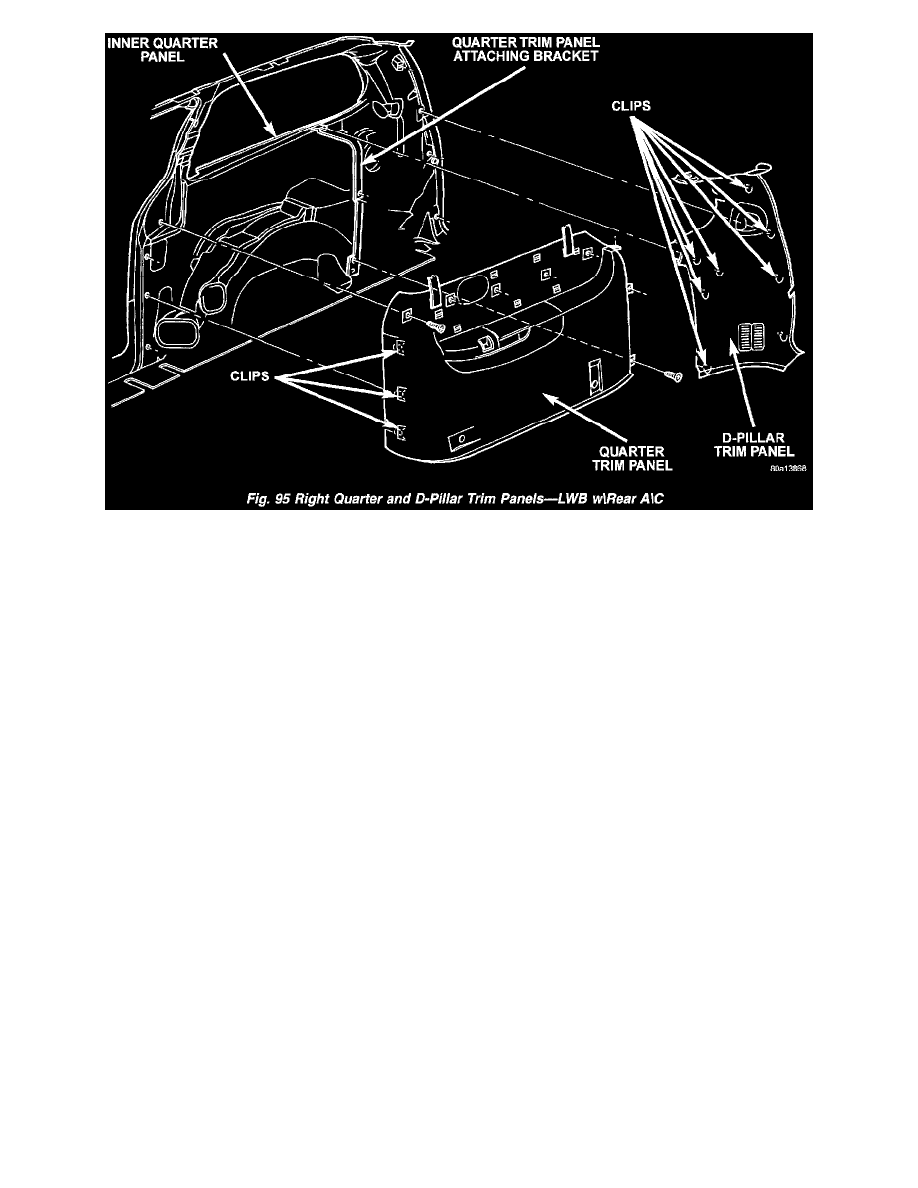
7. Disengage hidden clips holding trim to D-pillar.
8. Separate D-pillar trim panel from D-pillar.
9. Disengage speaker wire connector if equipped.
10. Pass second rear seat belt, if equipped, through slot in trim panel on short wheel base vehicle.
11. Separate D-pillar trim from vehicle.
TRIM PANEL REMOVAL
CAUTION: Disconnect the negative cable clamp from battery post. Damage to accessory feed circuit can result.
1. Remove first rear seat.
2. Remove second rear seat, if equipped.
3. Remove sliding door sill trim panel.
4. Remove quarter trim bolster.
5. Remove C-pillar trim panel.
6. Remove D-pillar trim panel.
7. Remove first rear seat belt anchor.
8. Remove second rear seat belt anchor on long wheel base vehicle.
9. Remove screws holding quarter trim to quarter panel from bolster area.
10. Remove screws holding rear edge of quarter trim to attaching bracket.
11. Disengage hidden clips holding front of quarter trim to quarter panel rearward of sliding door opening.
12. Separate quarter trim from quarter panel.
13. Disengage wire connector from accessory power outlet, if equipped.
14. Pass second rear seat belt through slot in trim panel on long wheel base vehicle.
15. Pass first rear seat belt through slot in trim panel.
16. Separate quarter trim panel from vehicle.
17. Remove screws securing D-pillar duct to quarter panel. Pull duct up and away from unit.