
Grand Voyager L4-2.4L DOHC (1996)
4.
Remove the 4 screws in the grille portion of the cowl cover attaching it to the wiper module.
5.
Disengage the 2 quarter turn fasteners located near the wiper pivots.
6.
Open the hood and recover the A/C refrigerant.
7.
Record the radio station presets, and disconnect the battery negative cable. For vehicles not equipped with rear heater & A/C, skip to step 17.
8.
Remove the 4 wing nuts holding the front of the cowl cover to the wiper module.
9.
Use a fiber trim stick to disengage the retainer clips, or remove the screws if equipped, attaching the ends of the cowl cover to the fenders.
10.
Lift the cowl cover enough to gain access to the right washer hose and disconnect the hose from the washer nozzle.
11.
Close the hood, do not latch, and separate the cowl cover from the vehicle.
12.
Open the hood and disconnect the wiper unit wire connector from the engine compartment harness.
13.
Disconnect the windshield washer hose from the coupling inside the unit and disconnect the drain tubes from the bottom of the unit.
14.
Remove the foam sound absorbers from the ends of the unit.
15.
Remove the nuts holding the wiper unit to the lower windshield fence and the bolts holding the unit to the dash panel.
CAUTION:
DO NOT ALLOW THE WIPER UNIT TO REST ON THE BRAKE MASTER CYLINDER RESERVOIR, DAMAGE TO THE BRAKE SYSTEM
CAN RESULT.
16.
Lift the wiper unit from the weld-studs on the lower windshield fence and remove the wiper unit from the vehicle.
17.
Remove the serpentine accessory drive belt.
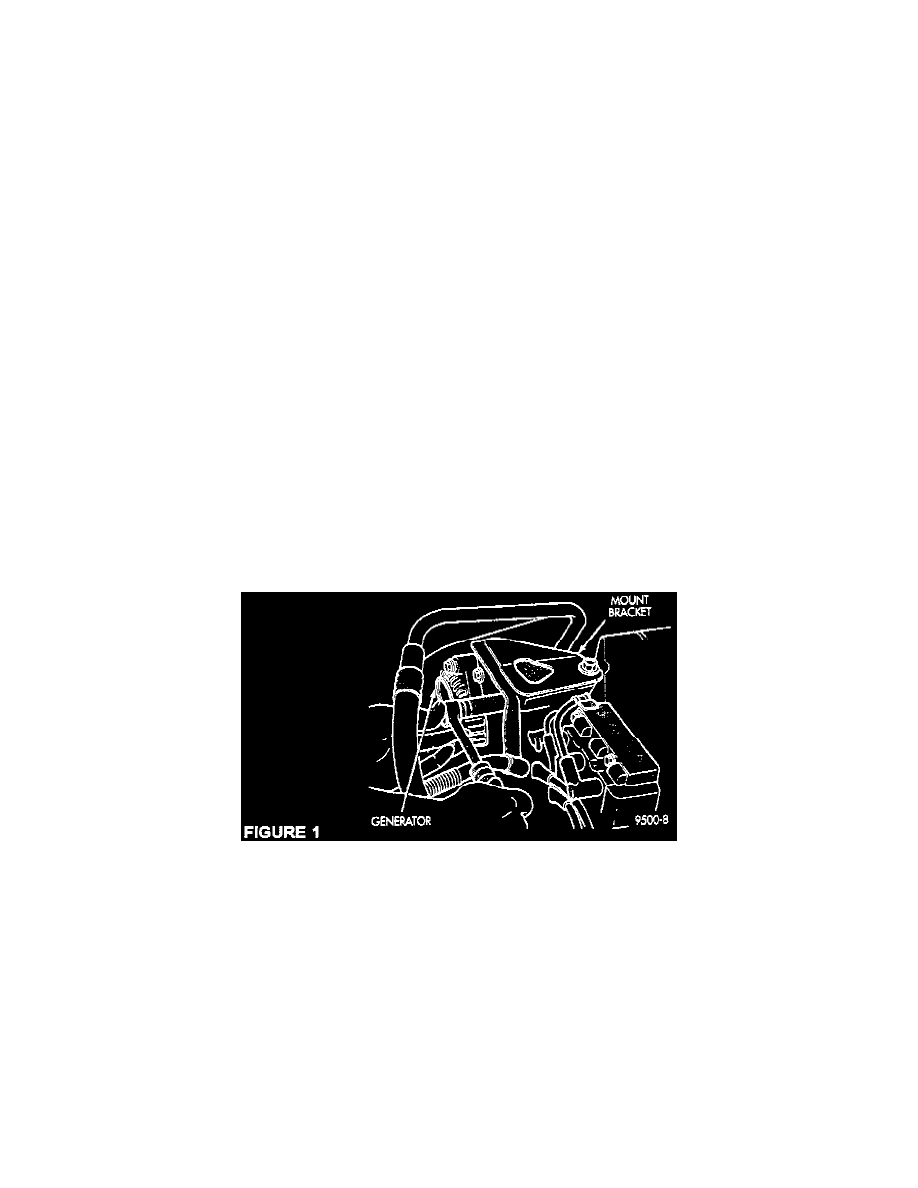
18.
Remove the 4 bolts attaching the generator mount bracket and separate the bracket from the vehicle (Figure 1). Rock the generator forward in the
vehicle.
19.
Remove the nut attaching the ground wire at the cowl.
20.
Remove the nut attaching the suction line mounting bracket to the strut tower.
21.
Remove the suction line mounting nut from the compressor.
22.
Remove the nut attaching the A/C lines to the expansion valve.
23.
Remove the torx head stud from the expansion valve.
NOTE:
WHEN SEPARATING THE LINES FROM THE EXPANSION VALVE, DO NOT SCRATCH THE EXPANSION VALVE SEALING SURFACE
OR DAMAGE THE PILOT PORTION OF THE LINES.