
Grand Voyager V6-3.8L VIN L (1999)
Front Door Window Motor: Service and Repair
WARNING: DO NOT HAVE ANY HANDS OR FINGERS IN AREA WHERE THEY CAN BE PINCHED BY SMALL MOVEMENTS OF
REGULATOR LINKAGE.
REMOVAL
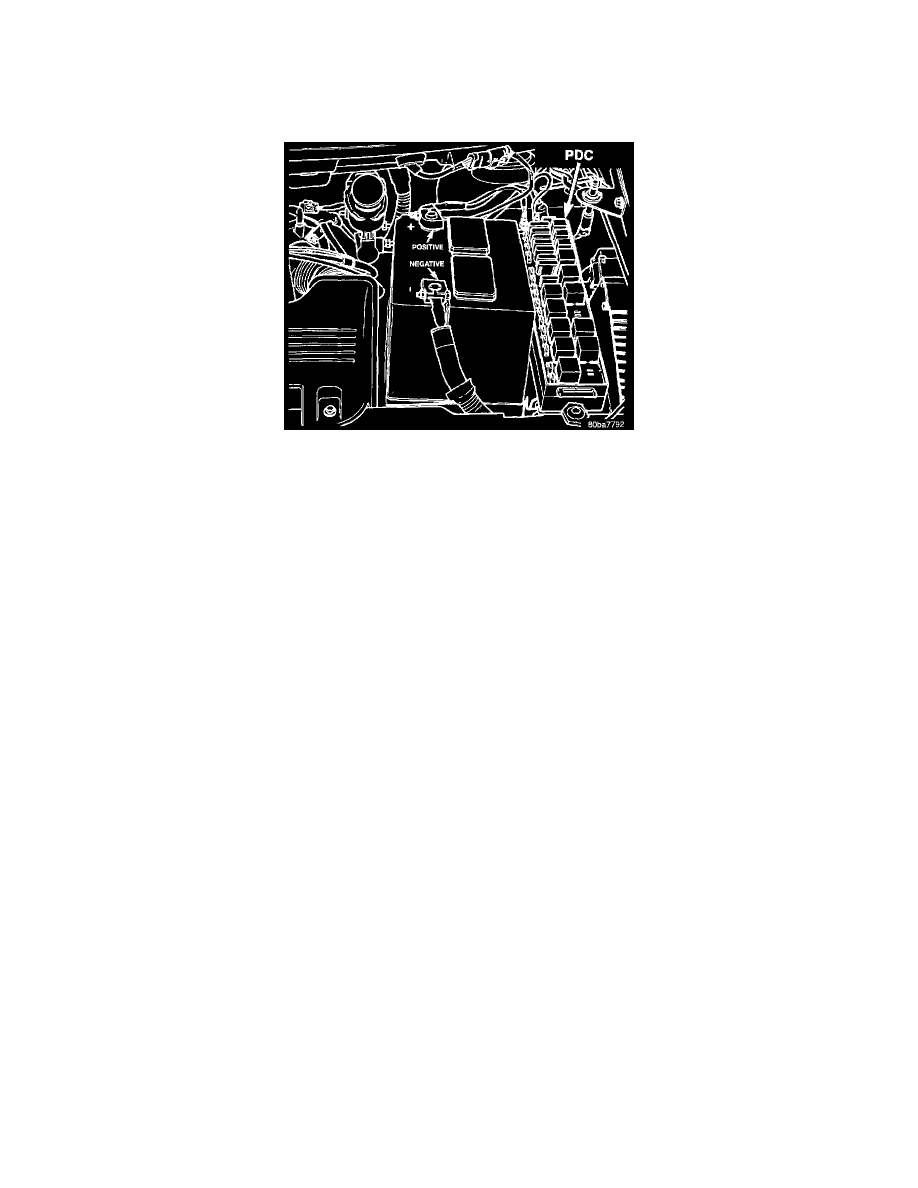
Negative Battery Cable
1. Disconnect and isolate the battery negative cable.
2. Remove front door trim panel and sound pad.
3. Tape the window in its existing position to remove its weight from the regulator system.
4. Cut and remove the tie wrap at the window motor. Its no longer required.
5. Disconnect window motor wire connector from door harness.
6. Remove screws and nuts holding window motor to the inner panel.
7. Remove the motor from the door inner panel, let it hang from the cables.
8. With the cables still attached to the failed motor, Install the replacement motor to the door inner panel. Tighten down the screws and nuts to 3.4 to
4.5 Nm (30 to 40 in. lbs.) of torque.
9. Separate the failed motor from regulator by:
-
Removing the drum cover plate.