
Neon L4-2.0L VIN C (1997)
1.
Open the door and remove the door trim panel and partial water shield to access glass fasteners.
2.
Remove the inner and outer belt weatherstrip.
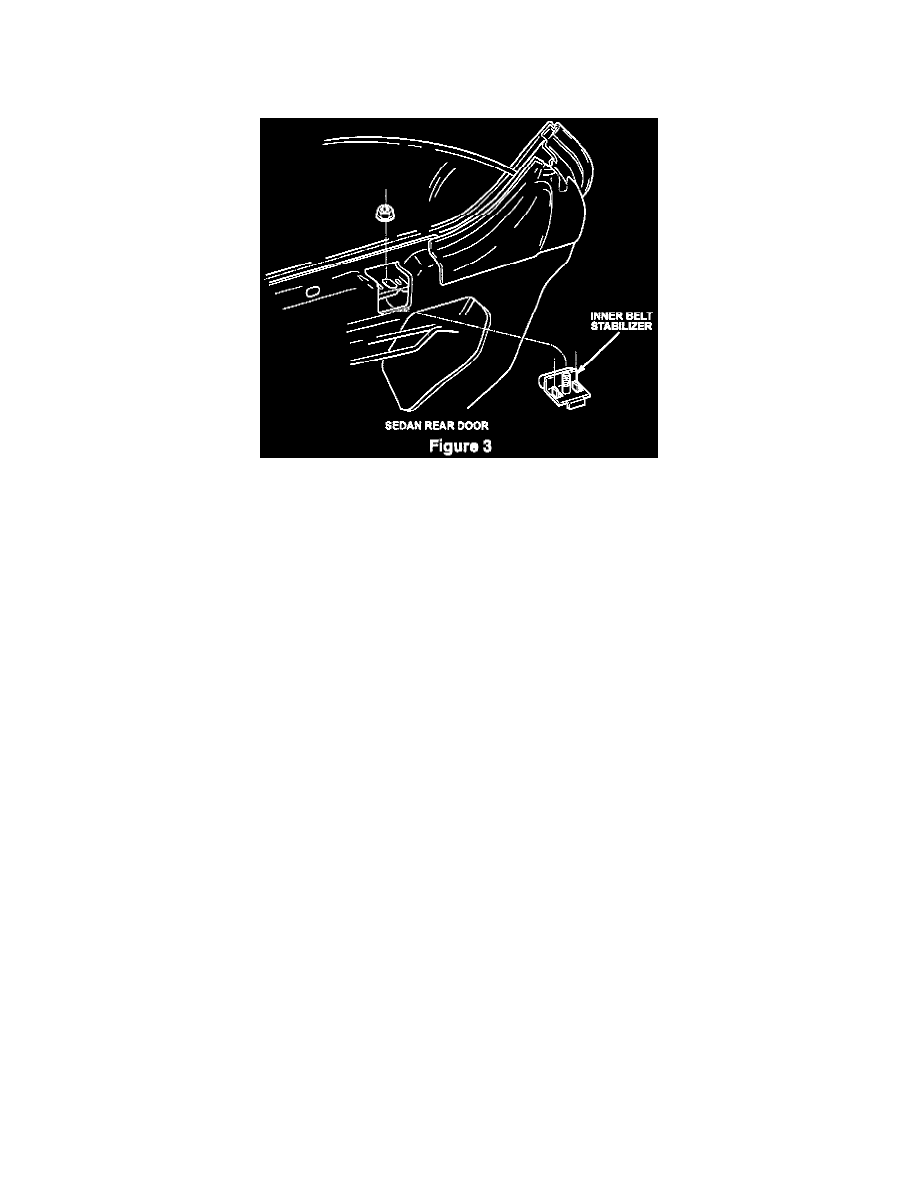
3.
Remove the innerbelt stabilizer (figure 3).
4.
Lower the door glass 3/4 way to access glass fasteners.
5.
Remove the nuts holding the regulator channel to the door glass.
6.
Mark (for installation) and remove the bolts holding the rear guide plate to the glass.
7.
Separate the rear guide plate from the glass.
8.
Lift the door glass upward and out of opening at the top of the door.
9.
Remove the front guide plate from door glass.
10.
Remove the outer belt stabilizer(s). If the door being repaired is the front door on the Sedan, there will be one outer belt stabilizer per door. The
rear doors on the Sedan and the doors on the Coupe will have two outer belt stabilizers per door (Figure 1).
11.
Install the new outer belt stabilizers using the screw and washer removed from the existing outer belt stabilizers and torque to 4.7 Nm (42 in lbs).
12.
Loosely install the new window inner belt stabilizer.
13.
Install the front guide plate to door glass.
14.
Carefully lower the door glass through opening in top of door.
15.
Position the front guide plate onto the front glass run.
16.
Install the nuts holding the regulator lift channel to the door glass.
17.
Use marks made in step 6 to position the rear guide plate onto door glass and install bolts.
18.
Roll door glass up, adjust and tighten inner door glass stabilizer. Install inner and outer belt weatherstrips.
19.
Tighten window inner and outer door belt weatherstrips.
20.
Install door trim panel and water shield.
21.
Adjust the door glass as needed following the procedure provided in the 1997 Neon Service Manual (Publication No. 81-270-7025) page 23-47.