
Prowler V6-3.5L VIN G (1999)
CD Changer: Description and Operation
CD changer inoperative.
1. The CD changer receivers its power and ground through the radio via the DIN connector. Verify that the radio powers up and functions before
proceeding.
2. With the radio turned ON, check the radio display when pushing the MODE/EJECT button to select the CD mode. Refer to Radio Display Error
Messages table.
a. If the display shows - - - -, then insert a CD magazine in the changer.
b. If the display shows no cd, then insert a CD into the magazine.
c. If the display shows Err xxxx, then check the error message table below.
d. If the radio only switches between AM and FM turning modes, then perform the following:
I.
Check the connection of the DIN cable to the CD changer and radio. Check the DIN cable disconnect located at the right side of cowl
attached to main harness.
II. If OK, then check the DIN cable at the CD changer side.
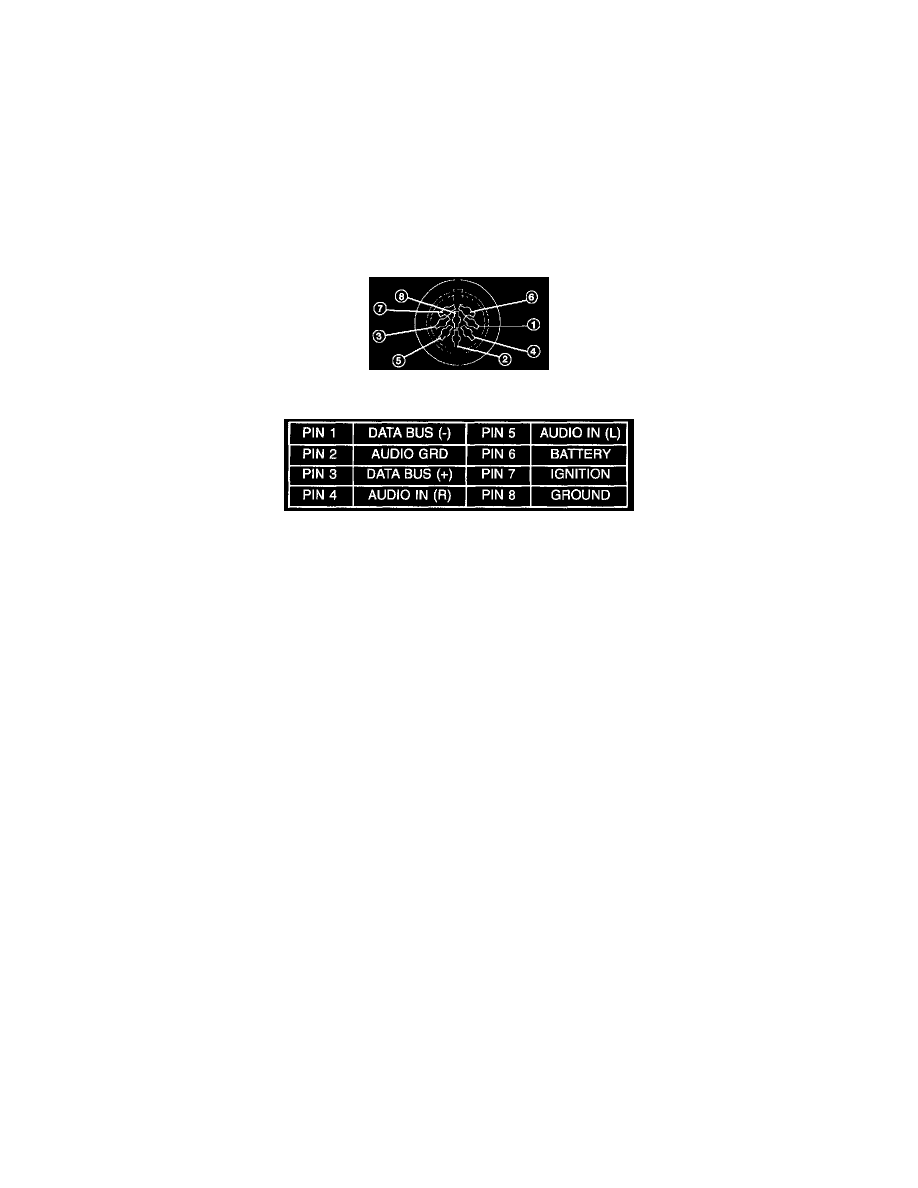
DIN Cable Connector
DIN Cable Connector Pin Call-Out
III. Make sure the DIN cable is connected to the radio and radio is turned ON and operating. Check for battery voltage at Pins 6 and 7 using
Pin 8 for ground. Refer to DIN Cable Connector Pin Call-Out table.
IV. If OK, then replace CD changer.
V. If not OK, then remove DIN cable from radio and changer. Check DIN cable for continuity from connector to connector, using an
ohmmeter on each pin.
VI. If the DIN cable OK, then replace the radio.