
Prowler V6-3.5L VIN G (1999)
Brake Master Cylinder: Service and Repair
Master Cylinder Replacement
Remove
Caution: Stored vacuum in the vacuum booster must be pumped down before removing the master cylinder from the vacuum booster. This is
necessary to prevent the vacuum booster from sucking in contamination as the master cylinder is removed. This can be done simply by pumping the
brake pedal, with the vehicle's engine not running, until a firm feeling brake pedal is achieved.
1. With the engine not running, pump the brake pedal until a firm pedal is achieved.
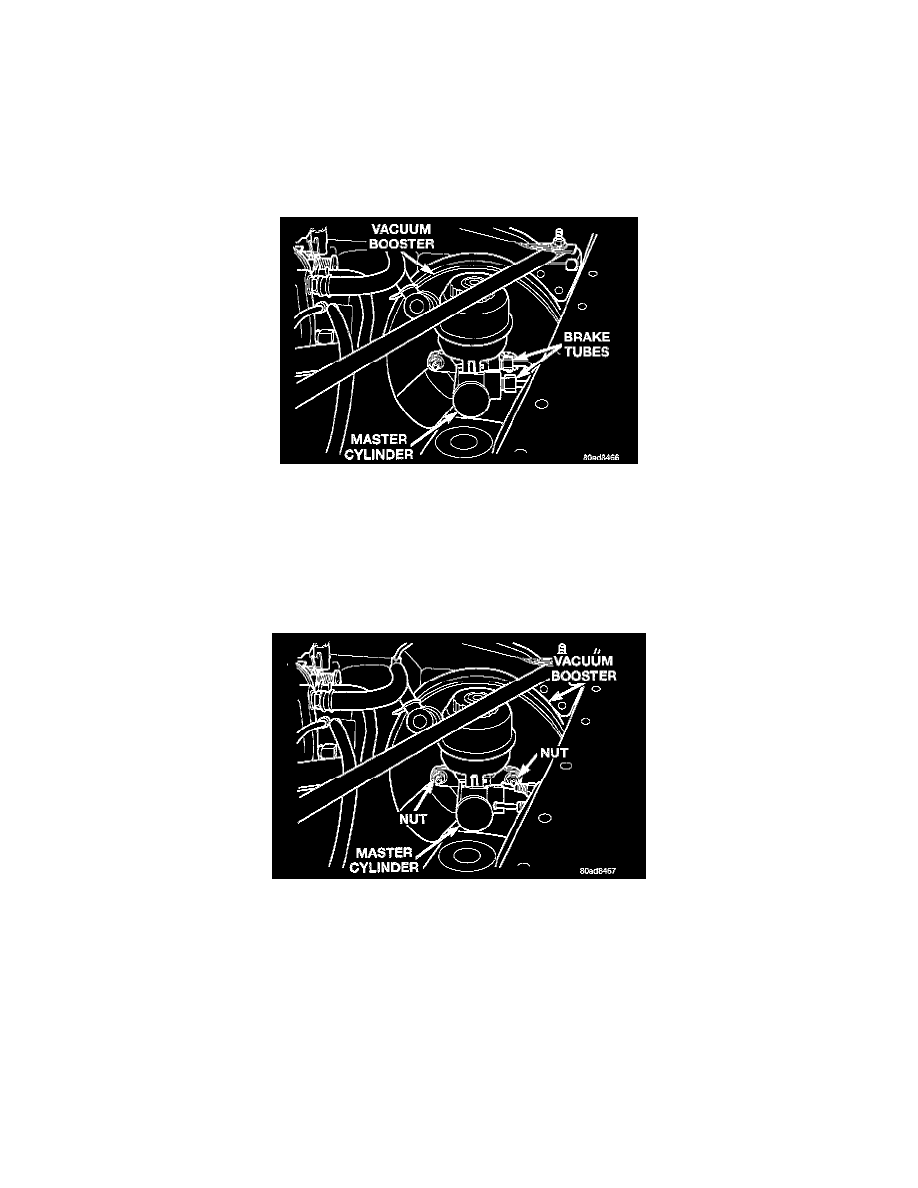
Master Cylinder Primary And Secondary Brake Tube
2. Remove the primary and secondary brake tubes from the master cylinder outlet ports. Install plugs in the master cylinder outlet ports.
Caution: Before removing the master cylinder from the vacuum booster, the master cylinder and vacuum booster must be thoroughly cleaned.
This must be done to prevent dirt from failing into the vacuum booster.
3. Clean the area where the master cylinder attaches to the vacuum booster. Use only a solvent such as Mopar Brake Parts Cleaner or an equivalent.
Master Cylinder Mounting To Brake Booster
4. Remove the 2 nuts mounting master cylinder to vacuum booster.
5. Slide the master cylinder straight out of the vacuum booster.
Caution: The master cylinder is used to create the seal for holding vacuum in the vacuum booster. The vacuum seal on the master cylinder MUST
be replaced whenever the master cylinder is removed from the vacuum booster.
6. Remove the vacuum seal from the mounting flange of the master cylinder. Do not pry the seal off the master cylinder by inserting a sharp tool
between the seal and master cylinder casting.
Install
Caution: When installing the master cylinder on a vehicle, a NEW vacuum seal MUST be installed on the master cylinder.