
Voyager L4-153 2.5L SOHC Turbo (1989)
Fuel Rail
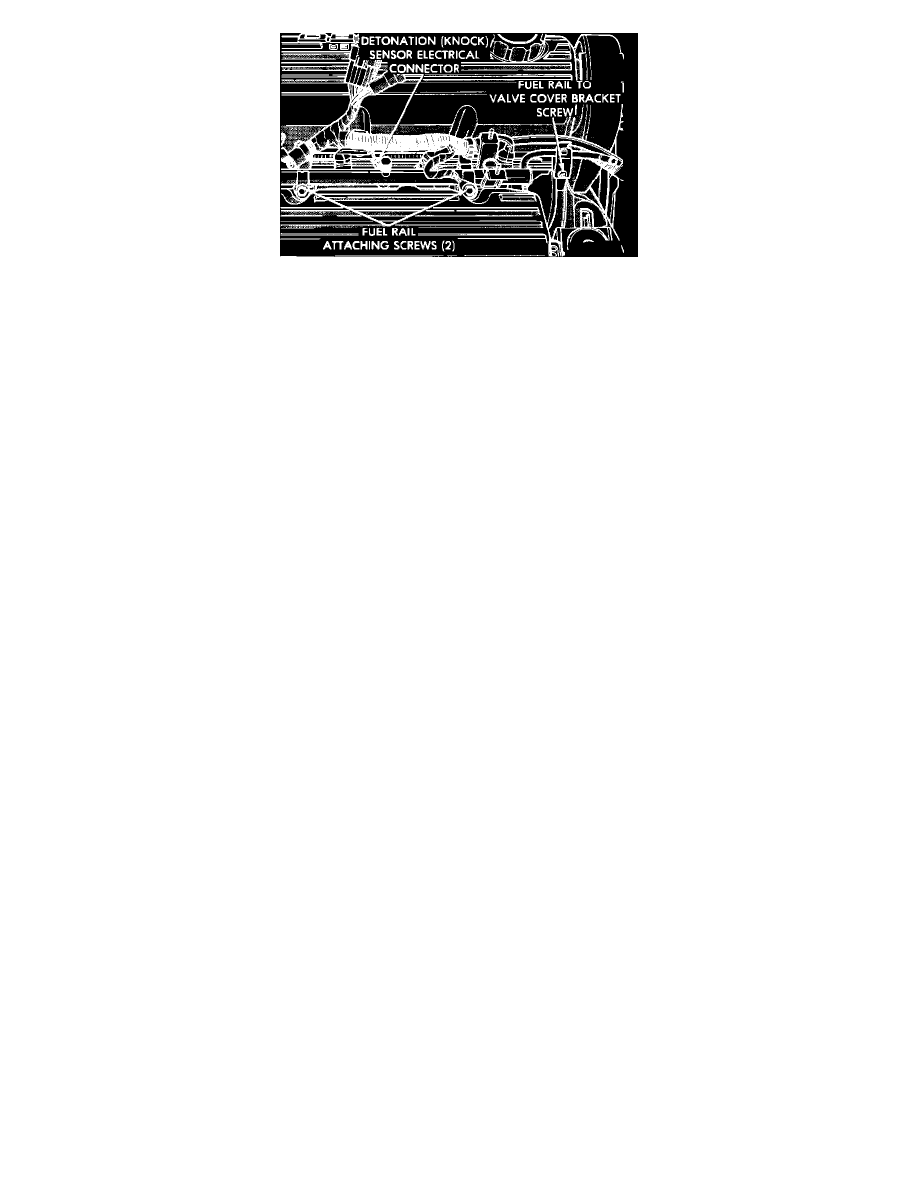
8.
Remove the fuel rail to intake manifold attaching screws, and pull the fuel rail so that the fuel injectors come straight out of their ports.
9.
Inspect injector O-rings upon removal and discard any that appear damaged or worn.
10.
Cover fuel injector ports while injectors are removed.
INSTALLATION
1.
Be certain injectors are seated into receiver cups and retainer rings are in place before attempting to install fuel rail assembly.
2.
Install injector wiring harness and fasten into wiring clips. Make sure injector ports are clean and any plugs have been removed.
3.
Lube injector O-rings with clean motor oil and install the injector/rail assembly into the injector ports. Install the 2 fuel rail mounting bolts and
ground straps. (Make sure fuel rail seats evenly with all injectors seated in their ports.) Torque mounting bolts to 22.5 Nm (200 lbs.in.).
4.
Reconnect detonation (knock) sensor.
5.
Lube fuel pressure regulator O-ring with clean motor oil, and install fuel pressure regulator into fuel rail receiver cup. Install fuel pressure
regulator attaching nuts and torque to 7 Nm (65 lbs.in.) Connect PCV hose harness and vacuum hose harness.
6.
Connect vacuum nose to fuel pressure regulator. Connect fuel return hose to fuel pressure regulator and torque tube nut to 28 Nm (250 lbs.in.).
7.
Connect fuel supply and return hoses to fuel tube assembly and torque hose clamps to 1 Nm (10 lbs.in.). Connect fuel injector wiring connectors,
and install air cleaner. Connect negative battery cable.
8.
Pressurize fuel system and check for leaks, See: Fuel Pressure/Testing and Inspection/Fuel Pressure Leak Down Test.