
Bonneville V6-3.8L VIN K (1996)
Front Door Trim Panel (2 Of 2)
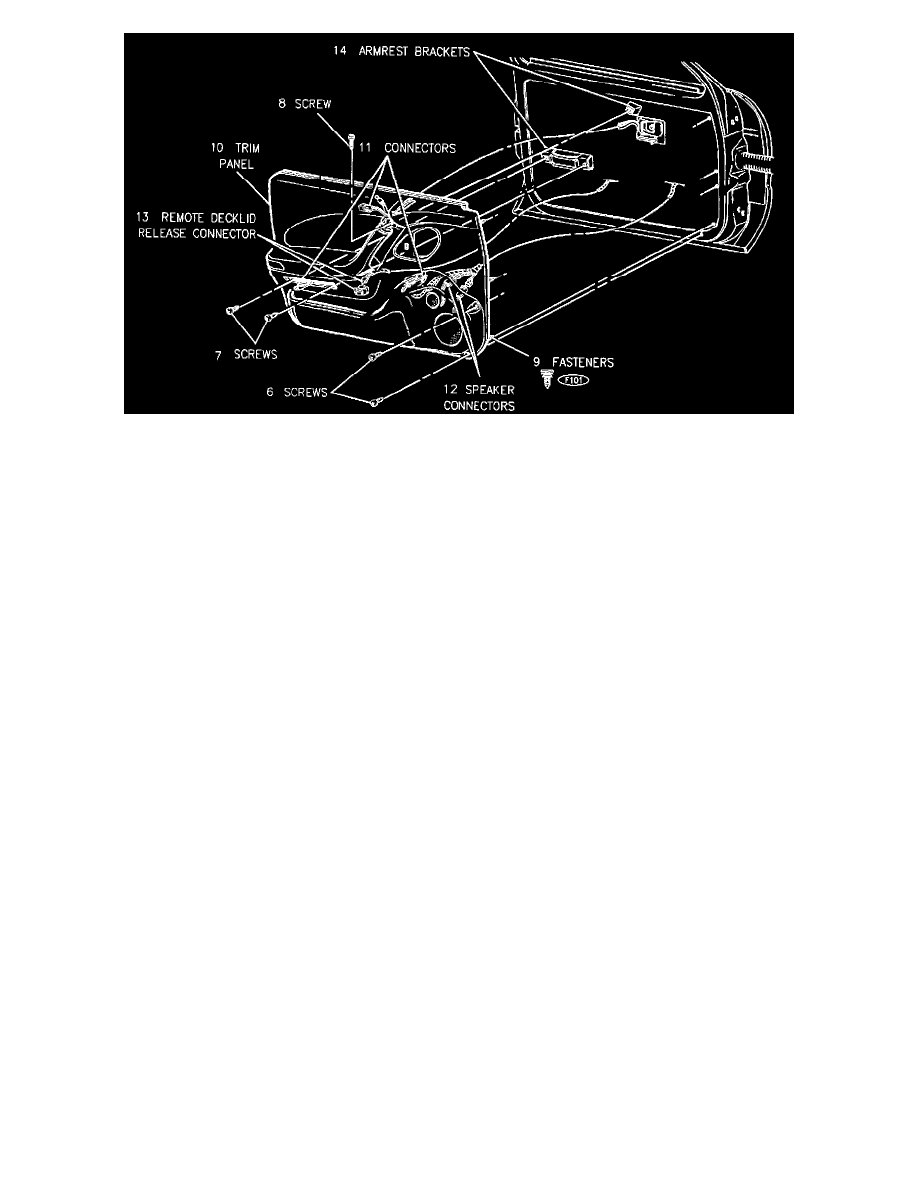
Remove or Disconnect
1. Switch plate.
2. Courtesy lamp.Lock rod knob by unsnapping at forward end.4. Inside handle cup at notch from handle bezel.5. Attaching screw and inside handle
bezel from rear edge.6. Armrest appliqu, at clip by unsnapping with small flat-bladed tool.
3. Electrical connectors.
4. Loosen setscrew detaching mirror control to applique, (electric mirror control may be removed with applique, without loosening setscrew).
5. Screws mounted through holes in panel front.
6. Screws through courtesy Tamp opening.
7. Screw at top of armrest handle.
8. Trim panel.
9. Speaker connectors.
10. Decklid release connector (if applicable).
Important: To separate belt strip from belt retainer, insert tool 138778 between belt strip and belt retainer at rearward edge and gently pry apart.
Install or Connect
1. Decklid release connector.
2. Speaker and connector.
3. Trim panel.
4. Screw at top of armrest panel.
5. Screws through courtesy lamp opening.
6. Screws mounted through holes in panel front.
7. Tighten mirror control setscrew.
8. Armrest applique.
9. Inside handle bezel.
10. Inside handle cup.
11. Lock rod knob.
12. Courtesy lamp.
13. Switch plate.