
Fiero V6-173 2.8L (1986)
Ball Joint: Service and Repair
Upper
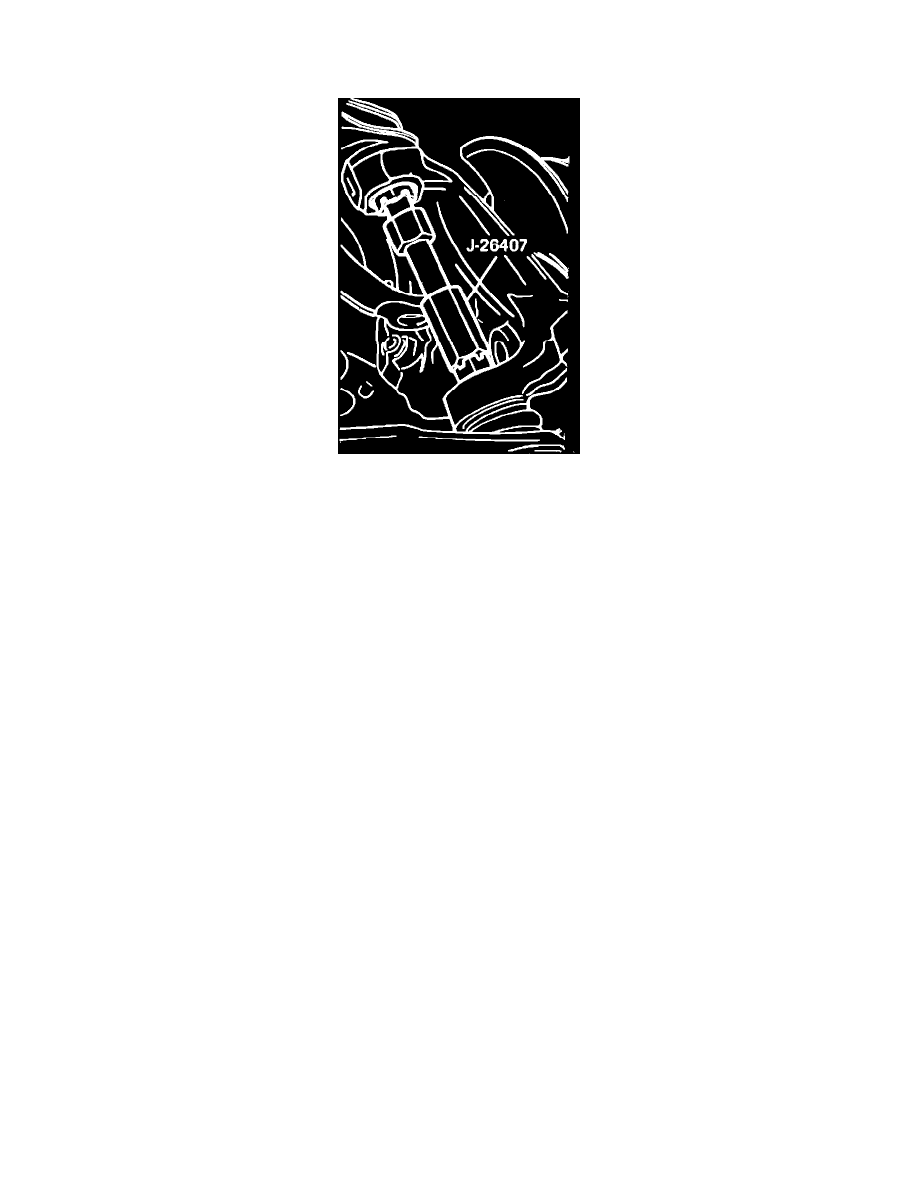
Fig. 2 Upper ball joint removal
1.
Raise and support vehicle.
2.
Remove wheel and tire assembly, then support lower control arm with a suitable jack.
3.
Remove upper ball joint stud nut, then reinstall nut finger tight.
4.
Install tool No. J-26407 with cup end over lower ball joint stud nut. Rotate threaded end of tool until upper stud is free of steering knuckle, then
remove tool and nut from stud, Fig. 2.
5.
Remove 2 ball joint-to-upper control arm attaching bolts and nuts.
6.
Note position of flat on ball joint for proper installation, then remove ball joint from vehicle.
7.
Reverse procedure to install. Torque ball joint-to-upper control arm attaching bolts to 28 ft. lbs. Torque stud nut to 35 ft. lbs., then tighten nut up
to an additional 1-6 turn to align cotter pin hole.