
Firebird V8-305 5.0L (1982)
7.
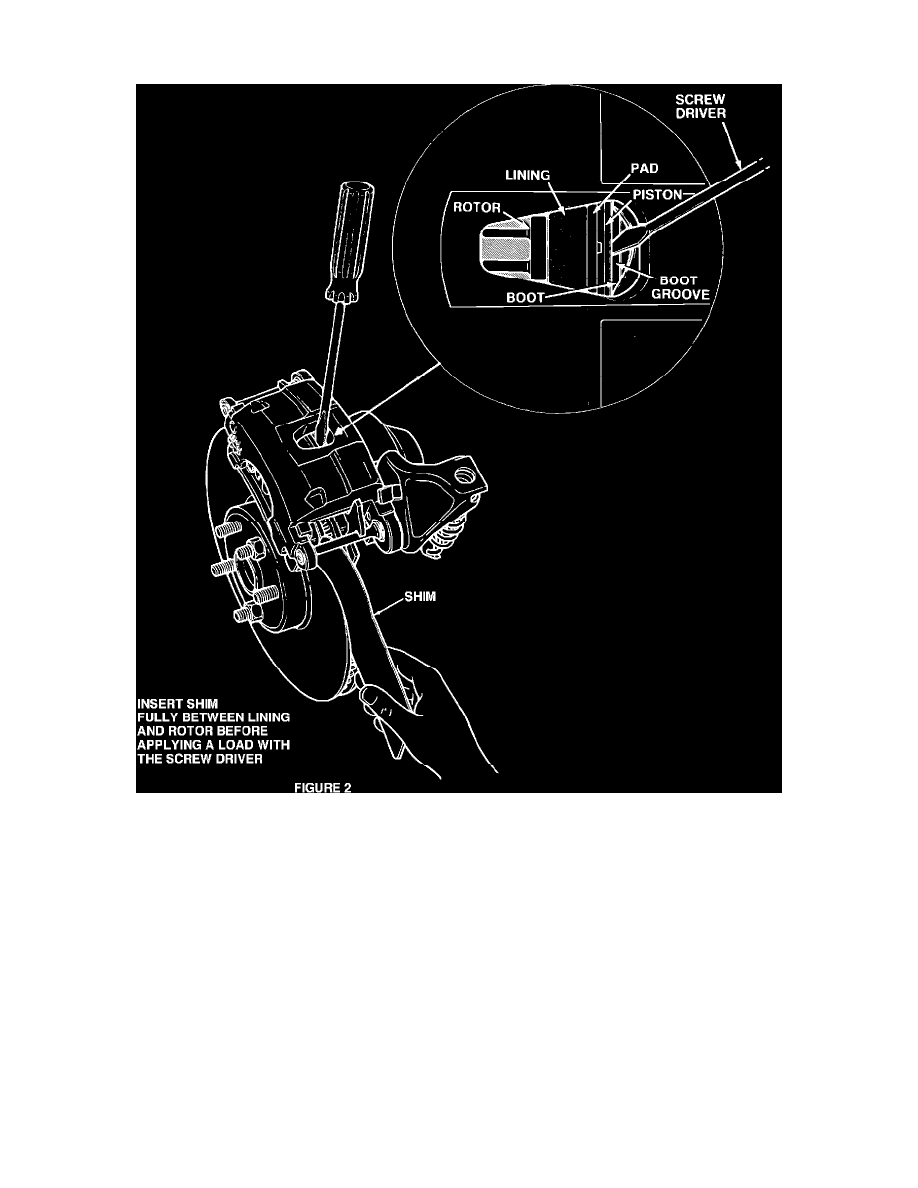
Apply the park brake, trapping the inch shim between the rotor and the outer brake pad.
FIGURE 2
8.
Insert a 1/4 inch flat blade screw driver through the opening in the center of the caliper bridge and insert the blade into the dust boot groove of the
caliper piston (See Figure 2).
NOTICE:
BE CAREFUL NOT TO DAMAGE THE DUST BOOT WHEN INSERTING THE SCREW DRIVER BLADE.
9.
Prying against the caliper opening, exert sufficient pressure on the piston to hold the inner brake pad against the rotor. While holding the piston in
this position with one hand and the 0.010 - 0.015 inch shim with the other hand, have the park brake applied and released three (3) times.
10.
Remove the shim and repeat steps 6 through 9 for the other caliper.
11.
After completing step 9 for the second caliper, release the park brake and check each axle for brake drag.
12.
Apply the park brake and check each axle for park brake function.
13.
If either park brake fails to operate properly, repeat steps 6 through 9. If either park brake still fails to operate after repeating steps 6 through 9,
replace the caliper piston assembly per the service manual.
NOTICE:
PERFORMING THIS ADJUSTMENT PROCEDURE WITHOUT USING THE 0.010 TO 0.015 INCH SHIM, MAY RESULT IN
BRAKE DRAG.
Warranty Information