Firebird V8-305 5.0L (1982)

Important:
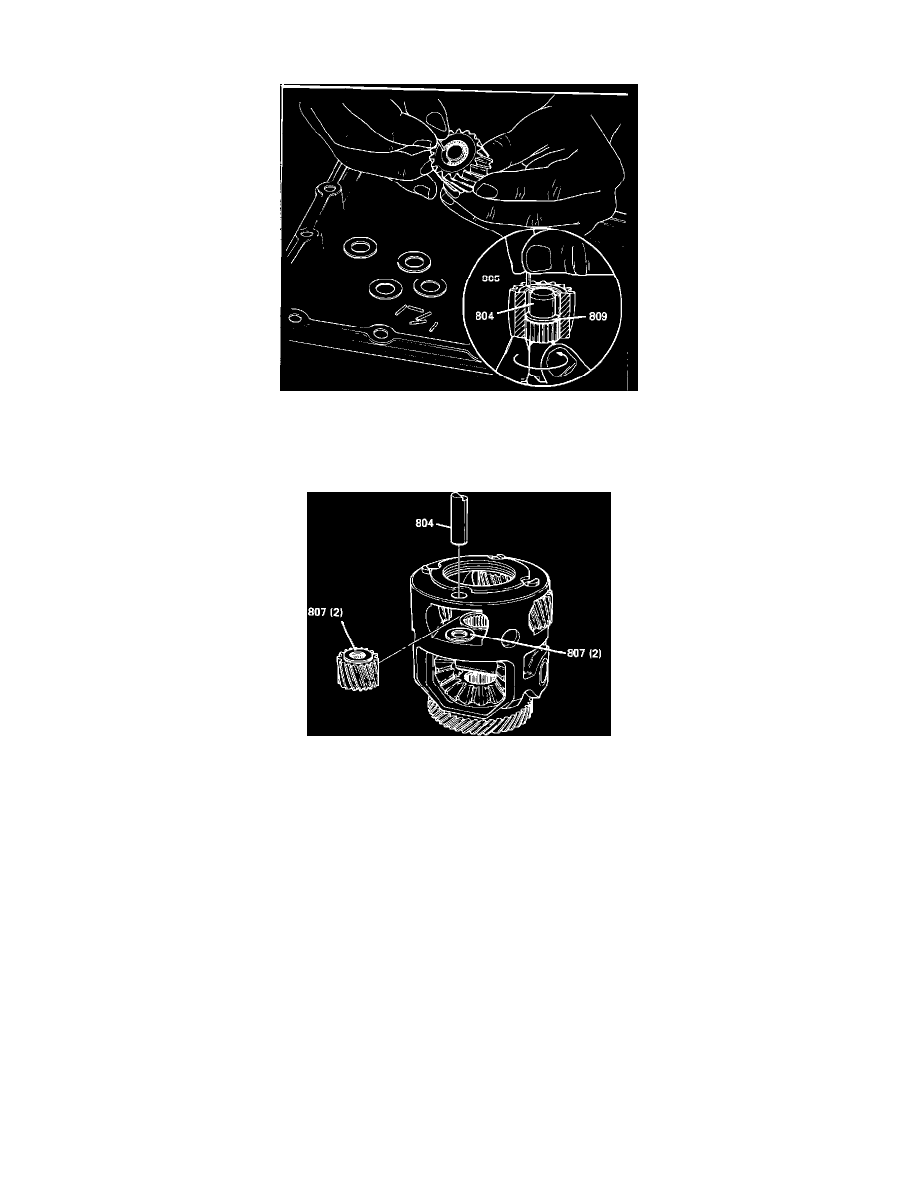
Square cut washer is to be assembled between the two rows of needle bearings.
Figure 6
3.
Install needle bearings (805) (one at a time) into gear - 44 per pinion (22/row) for 3.06 and 3.33 ratios - 36 per pinion (18/row) for 2.84 ratio.
Occasionally twist pinion shaft, so needle bearings will line up and allow for all needle bearings to be installed. (Figure 6)
Figure 7
4.
Install 2 washers (807) into final drive assembly. (Figure 7)
5.
Install remaining 2 washers (807) (on top of pinion gear). (Figure 7)
6.
Insert pinion gear and washers (in same position it was removed) into final drive. Check chalk or crayon mark.
Important:
Make sure the pinion gear is installed the same way that it was removed. If the gear is installed upside down, it may cause a
noise because of the change in set wear pattern.
7.
Install pinion gear shaft (804) (without dislodging needle bearings) and install spiral snap ring. (Figure 7)
IMPORTANT:
Make sure there are no extra needle bearings left after replacing washers. There must be no spaces between needle
bearings. Check for pinion end play.
Do not install more than the required amount of washers (4) per each pinion (2 on each side of pinion) into the final drive.
LABOR TIME INFORMATION:
Add .4 hours to Labor Operation K7620 whenever this service procedure is performed.
SERVICE PARTS INFORMATION:
Whenever ordering replacement parts for the final drive assembly refer to the following part numbers:
