
G6 L4-2.4L VIN B (2006)
8. Rolled puckered.
9. Adjust the first window panel forward a small amount. The intent is to move the location of where the window interfaces the seal forward of where
the pucker begins. Refer to Sunroof Window Height and Opening Fit Adjustment (C3Y) Sunroof Window Height and Opening Fit Adjustment
(CF5)
10. Close the sunroof window panels.
11. Retest for leaks, If the sunroof window still leaks continue.
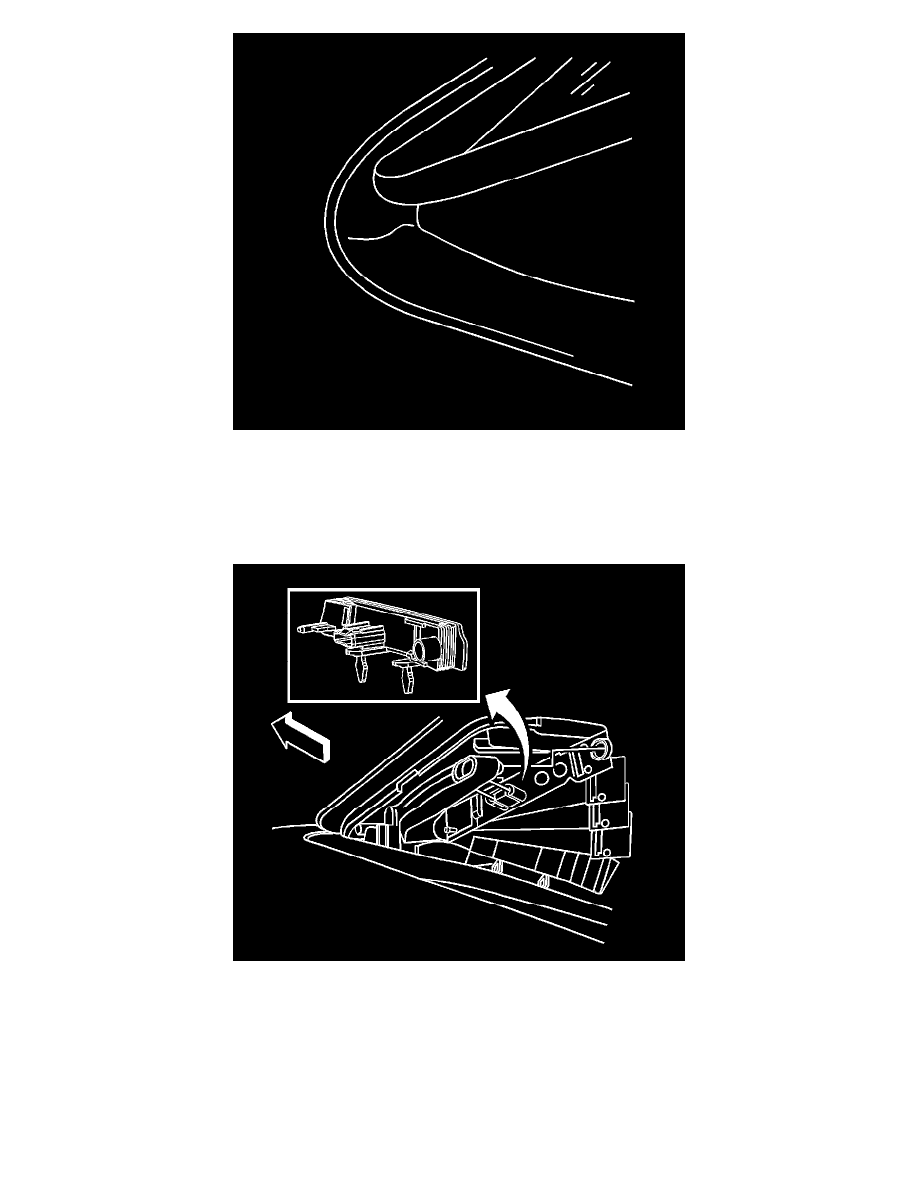
Important: The sunroof window actuator cover conceals the window actuator screws. Use care when lifting up on the corners of the
sunroof window actuator side cover to expose the screws. Use care not to break off the end tabs.
12. Lift the trim covers corners to expose the attachment screws.
13. Loosen the four attachment screws (two on each side).
14. Do this from outside the vehicle slide the window panel forward a small amount.
15. Have an assistant push down on the front corner of the sunroof window panel using the palm of their hand while tightening the attachment screws,
one side at a time.
16. Adjust the other sunroof window panels as necessary to ensure 4 mm gap between them. Refer to Sunroof Window Height and Opening Fit
Adjustment (C3Y) Sunroof Window Height and Opening Fit Adjustment (CF5).