
G6 V6-3.9L (2009)
1. Coat the ends of the pushrods using prelube. Refer to Adhesives, Fluids, Lubricants, and Sealers (See: Specifications/Adhesives, Fluids,
Lubricants, and Sealers).
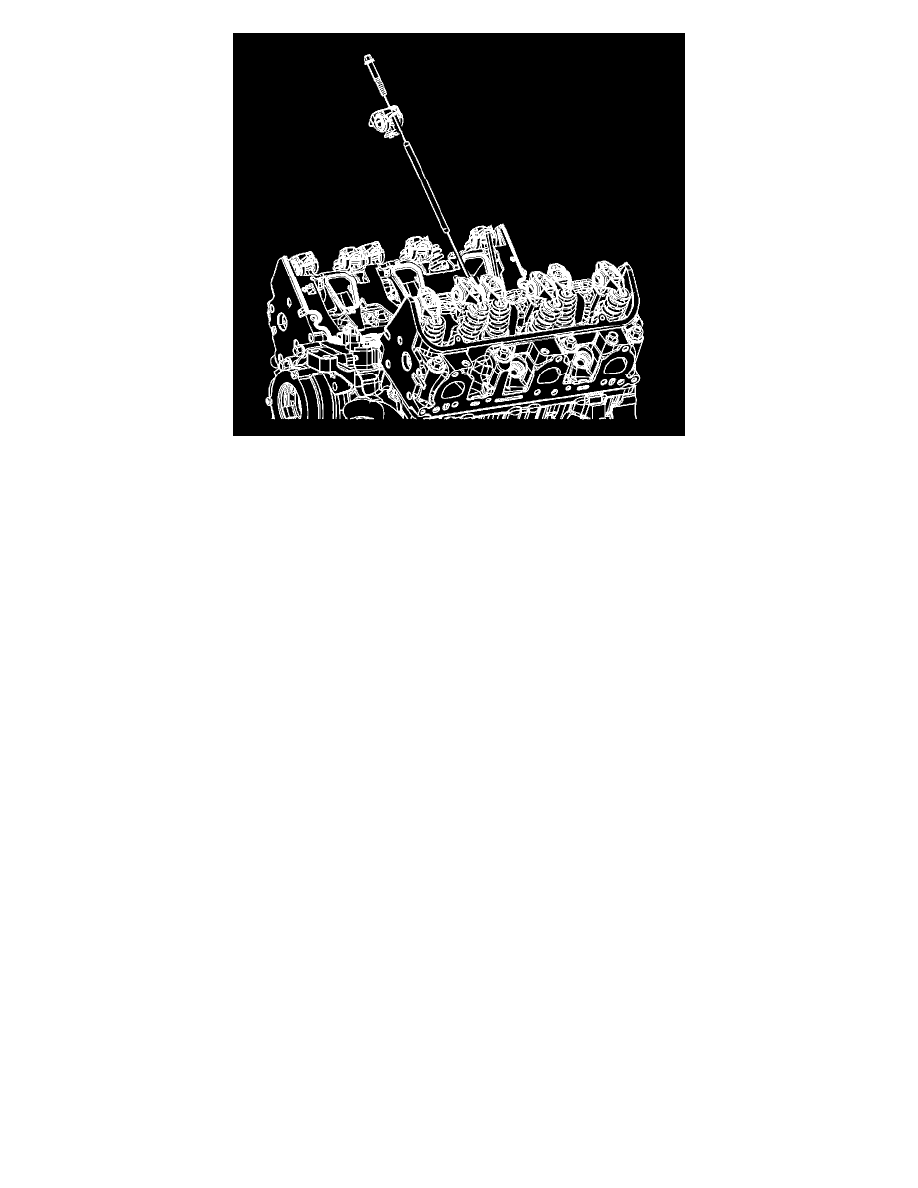
2. Install the pushrods.
*
The intake pushrods are identified with blue stripes.
*
The exhaust pushrods are identified with yellow stripes.
3. Ensure that the pushrods seat in the lifter bore.
4. Coat the rocker arm friction surfaces using prelube. Refer to Adhesives, Fluids, Lubricants, and Sealers (See: Specifications/Adhesives, Fluids,
Lubricants, and Sealers).
Note: Shims (88894006) may be required under the valve rocker arm pedestals if reconditioning has been performed on the cylinder head or its
components.
5. Install the rocker arms.
Caution: Refer to Fastener Caution (See: Service Precautions/Vehicle Damage Warnings/Fastener Caution).
6. Install the rocker arm bolts and tighten to 34 Nm (25 lb ft).
7. Install the valve rocker arm covers. Refer to Valve Rocker Arm Cover Replacement - Left Side (See: Cylinder Head Assembly/Valve
Cover/Service and Repair/Valve Rocker Arm Cover Replacement - Left Side) or Valve Rocker Arm Cover Replacement - Right Side (See:
Cylinder Head Assembly/Valve Cover/Service and Repair/Valve Rocker Arm Cover Replacement - Right Side).