
G6 V6-3.9L (2009)
Valve Body: Service and Repair
6T40/6T45 - Automatic Transmission
Control Valve Body Cover Replacement
Control Valve Body Cover Replacement
Removal Procedure
1. Disconnect the negative battery cable. Refer to Battery Negative Cable Disconnection and Connection (See: Starting and
Charging/Battery/Battery Cable/Service and Repair).
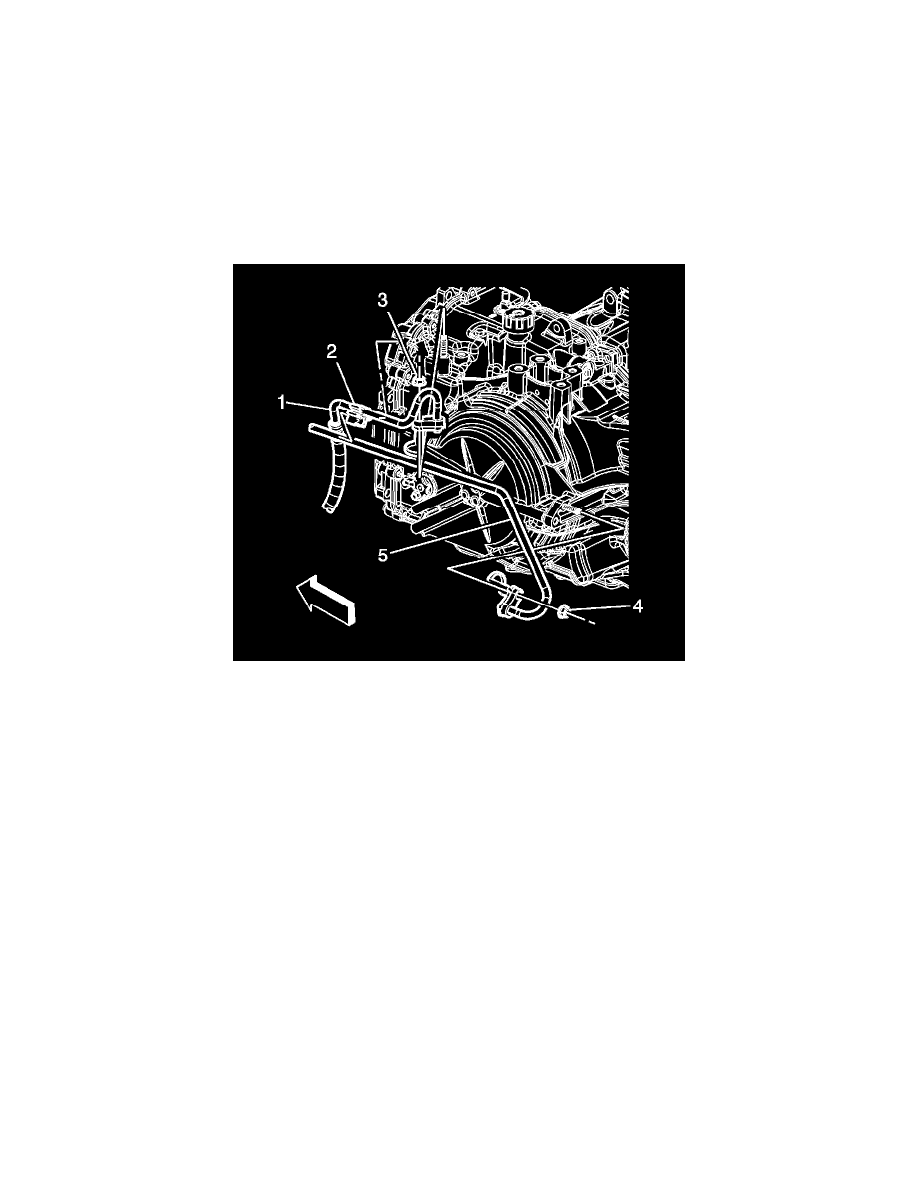
2. Remove the oil cooler inlet (1) and outlet (2) hoses from the retainer (2) on the control valve body cover.
3. Raise and support the vehicle. Refer to Lifting and Jacking the Vehicle (See: Maintenance/Vehicle Lifting/Service and Repair).
4. Remove the left engine splash shield. Refer to Engine Splash Shield Replacement - Left Side (See: Body and Frame/Splash Guard/Service and
Repair/Engine Splash Shield Replacement - Left Side).
5. Remove the left front fender liner. Refer to Front Fender Liner Replacement (See: Body and Frame/Fender/Front Fender/Front Fender
Liner/Service and Repair).
6. Remove the front transmission mount. Refer to Transmission Front Mount Replacement (See: Transmission Mount/Service and
Repair/6T40/6T45 - Automatic Transmission/Transmission Front Mount Replacement).
7. Drain the transmission. Refer to Transmission Fluid Replacement (See: Service and Repair/Removal and Replacement).