
G6 V6-3.9L (2009)
Windshield: Removal and Replacement
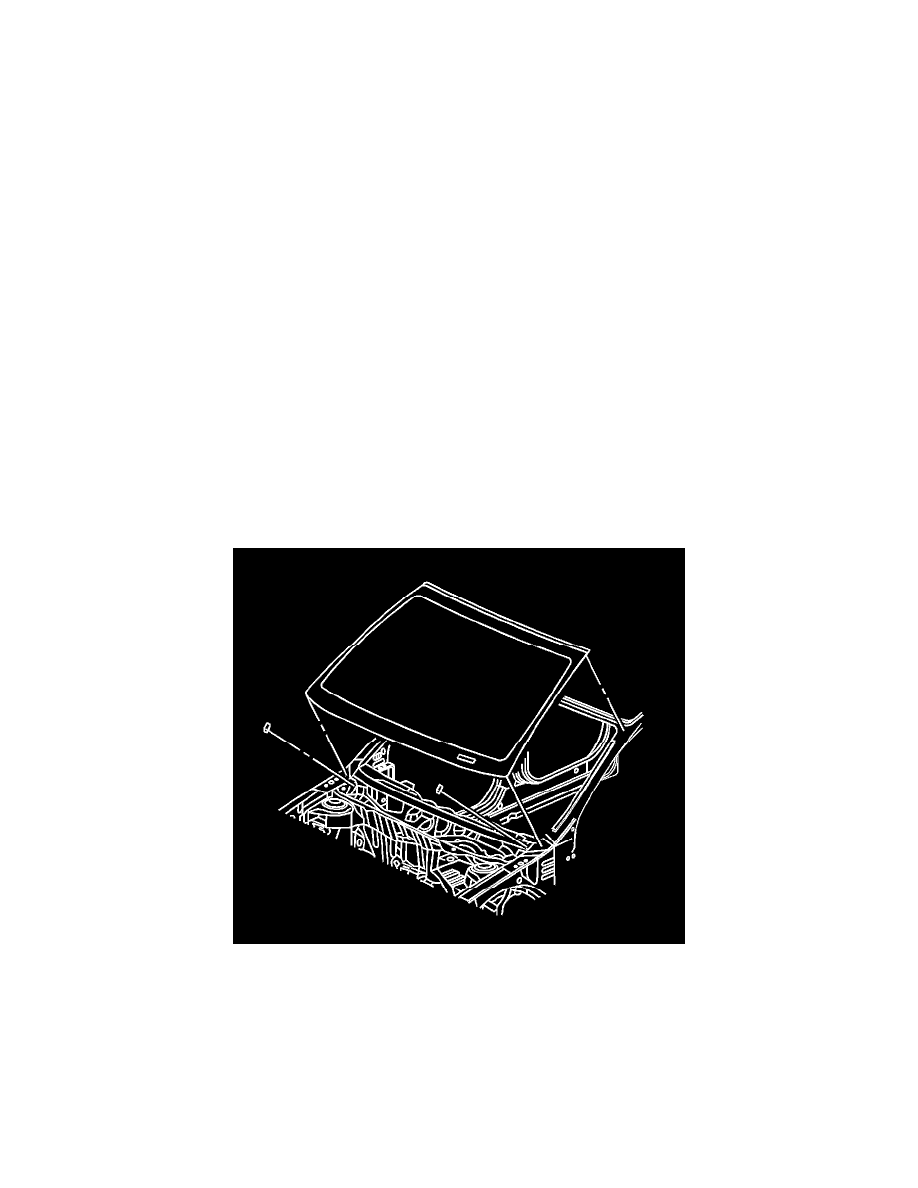
Windshield Replacement
Special Tools
*
J 24402-A Glass Sealant Cold Knife Remover
*
J 39032 Stationary Glass Removal Tool
*
Urethane Adhesive Kit GM P/N 12346392 or Equivalent
*
Isopropyl Alcohol or Equivalent
*
Cartridge-Type Caulking Gun
*
Commercial-Type Utility Knife
*
Razor Blade Scraper
*
Suction Cups
*
Plastic Paddle
Removal Procedure
Note: Before cutting out a stationary window, apply a double layer of masking tape around the perimeter of the painted surfaces and the interior
trim.
1. Open the hood.
2. Remove the windshield wiper arms and blades. Refer to Windshield Wiper Arm Replacement (See: Wiper and Washer Systems/Wiper
Arm/Service and Repair).
3. Remove the air inlet grille. Refer to Air Inlet Grille Panel Replacement (See: Body and Frame/Cowl/Cowl Moulding / Trim/Service and Repair).
4. Remove the interior windshield pillar garnish moldings. Refer to Windshield Pillar Garnish Molding Replacement (Convertible) (See: Body and
Frame/Interior Moulding / Trim/Trim Panel/Service and Repair)Windshield Pillar Garnish Molding Replacement (Sedan) (See: Body and
Frame/Interior Moulding / Trim/Trim Panel/Service and Repair).
5. Remove the rearview mirror. Refer to Inside Rearview Mirror Replacement (See: Body and Frame/Mirrors/Service and Repair/Inside Rearview
Mirror Replacement).
Warning: Refer to Defroster Outlet Warning (See: Heating and Air Conditioning/Service Precautions).
6. Cover the following parts to protect from broken glass:
*
Upper dash pad
*
Defroster outlets and A/C outlets
*
Seats and carpeting
Warning: Refer to Glass and Sheet Metal Handling Warning (See: Body and Frame/Service Precautions/Technician Safety
Information/Glass and Sheet Metal Handling Warning).