
G8 V6-3.6L (2008)
Fuel Pressure Release: Service and Repair
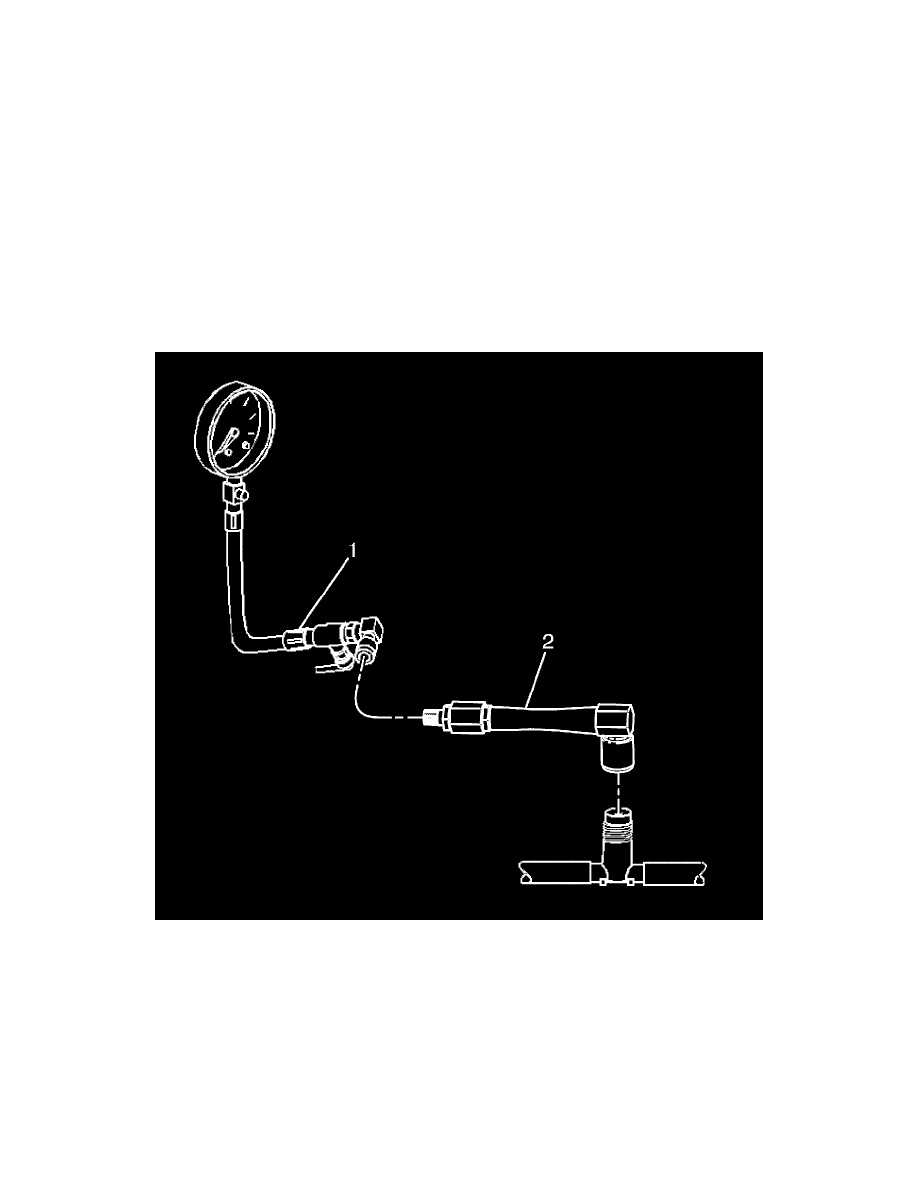
Fuel Pressure Gage Installation and Removal
Fuel Pressure Gage Installation and Removal
Tools Required
AU-338 Fuel Pressure Gauge
AU-465 Fuel Pressure Gauge Hose Adapter
Removal Procedure
1. Turn OFF the ignition.
2. Command the fuel pump OFF with the scan tool.
3. Open the bleed valve on the fuel pressure gauge in order to bleed the remaining fuel from the fuel pressure gauge.
4. Remove the bleed hose from the fuel pressure gauge.
5. Disconnect the AU-338 (2) fuel pressure gauge from the AU-465 (1). Wrap a shop towel around the fitting while connecting the gauge in order to
avoid spillage.
6. Disconnect the AU-465 (1) fuel pressure test hose adapter to the fuel pressure connection. Wrap a shop towel around the fitting while connecting
the AU-465 (1) in order to avoid spillage.
7. Install the fuel pressure service connection dust cap to the fuel rail.
8. Install the engine covers. Refer to Engine Cover Replacement (See: Service and Repair/Removal and Replacement/Engine Cover Replacement) .
Installation Procedure
Caution: Refer to Gasoline/Gasoline Vapors Caution (See: Powertrain Management/Fuel Delivery and Air Induction/Fuel/Service Precautions) .
Notice: Clean all of the following areas before performing any disconnections in order to avoid possible contamination in the system: