
G8 V6-3.6L (2008)
Important: Make sure the clips on the remote battery positive post cover (1) are engaged to avoid an induced rattle condition.
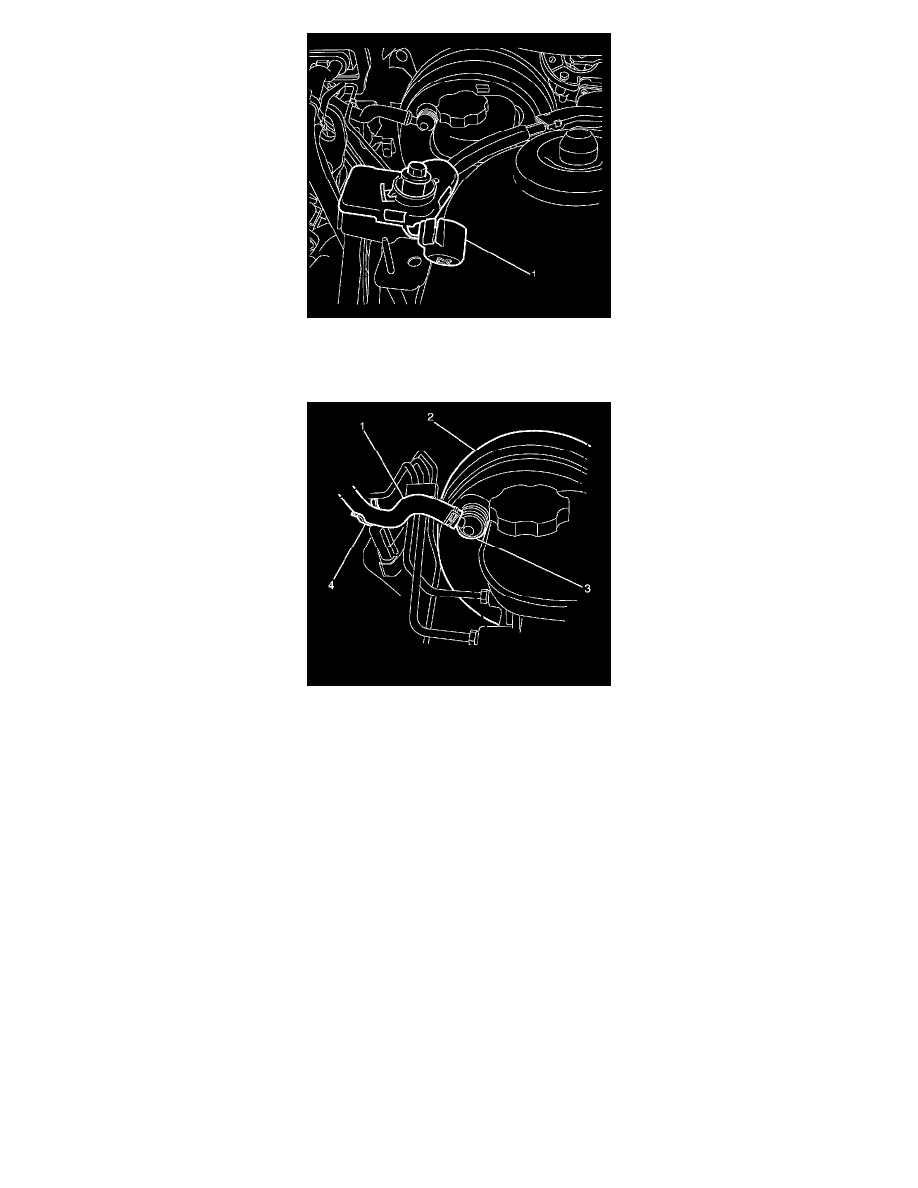
17. Install the remote battery positive post cover (1).
18. Connect the vacuum hose (1) and the vacuum brake booster check valve (3) to the vacuum brake booster (2).
19. Attach the vacuum hose (1) to the bulkhead mounted vacuum hose retaining bracket (5).
20. Evacuate and recharge the A/C system. Refer to Refrigerant Recovery and Recharging (See: Service and Repair/Procedures/Refrigerant Recovery
and Recharging) .
21. Install the radiator air baffle and deflector. Refer to Radiator Air Upper Baffle and Deflector Replacement (See: Engine, Cooling and
Exhaust/Cooling System/Radiator/Service and Repair) .
22. Install the air filter assembly. Refer to Air Cleaner Assembly Replacement (See: Engine, Cooling and Exhaust/Engine/Tune-up and Engine
Performance Checks/Air Cleaner Housing/Service and Repair) or Customer Concern Verification Sheets (See: Testing and Inspection/Initial
Inspection and Diagnostic Overview/Customer Concern Verification Sheets) .
23. Install the engine cover. Refer to Engine Cover Replacement (See: Engine, Cooling and Exhaust/Engine/Service and Repair/Removal and
Replacement/Engine Cover Replacement) or Customer Concern Verification Sheets (See: Testing and Inspection/Initial Inspection and Diagnostic
Overview/Customer Concern Verification Sheets) .
24. Connect the battery negative cable. Refer to Battery Negative Cable Disconnection and Connection (See: Starting and Charging/Battery/Battery
Cable/Service and Repair) .
25. Leak test the thermal expansion valve pipe connections. Refer to Leak Testing (See: Testing and Inspection/Component Tests and General
Diagnostics/Leak Testing) .