
G8 V8-6.0L (2009)
20. insert the cable tie, GM P/N 12337820 (or equivalent), through the two holes as shown (1).
21. Position the hood release cable in front of the holes and secure the cable as shown (1). Trim the cable tie to length.
22. Reinstall the right grille. Refer to Radiator Grille Replacement in SI.
Correction # 2 (For vehicles built after VIN breakpoint 8L147421)
Note:
On vehicles equipped with the 6.2L engine (RPO LS3) and automatic transmission (RPO MYC), the four fasteners on the top of the front bumper fascia
will need to be removed to create the required hand access.
1. Remove the right radiator grille. Refer to Radiator Grille Replacement in SI.
2. Remove the hood latch protector by removing the push pin retainer (1).
3. Disconnect the hood release cable from the hood latch.
Note:
The use of a heat gun will accelerate the thawing process but care must be used to avoid damaging the cable casing and surrounding components with
excessive heat.
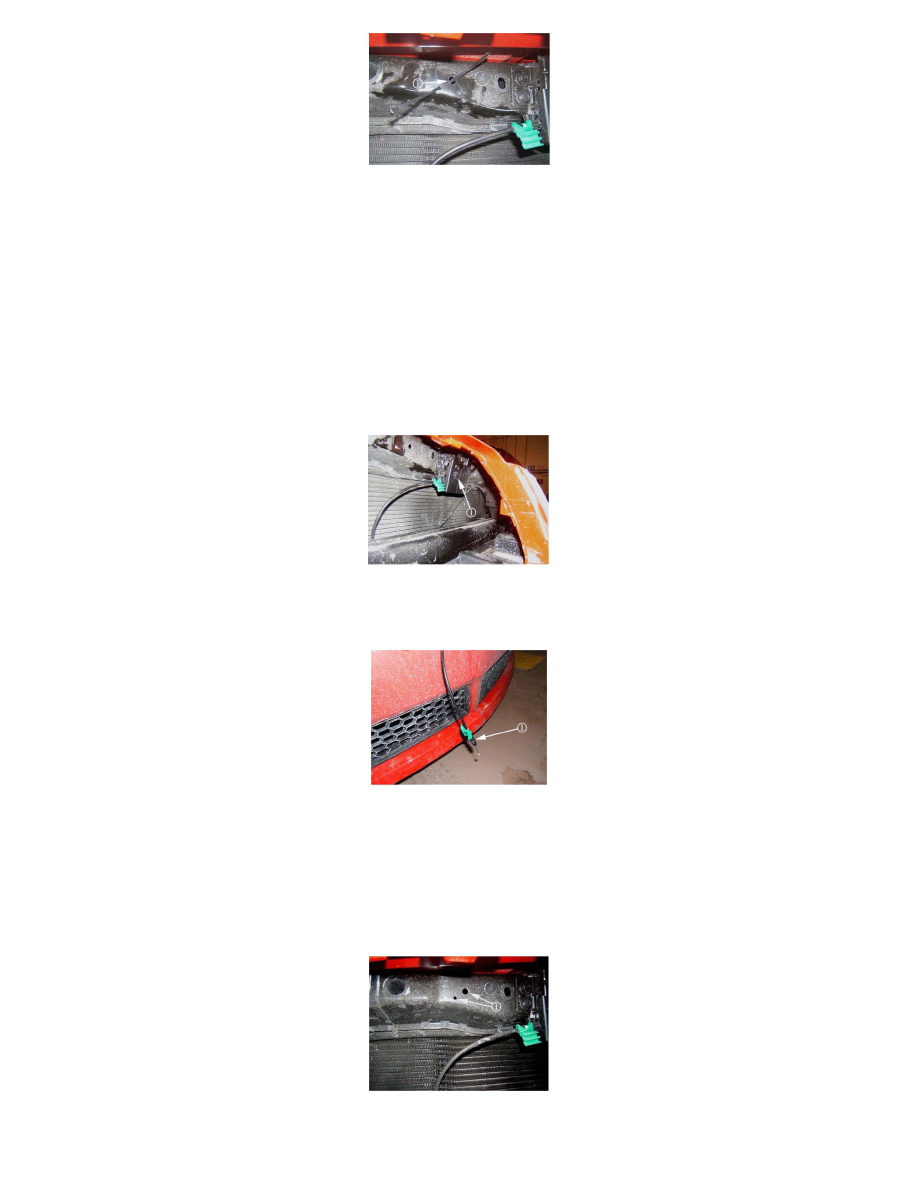
4. Allow the hood release cable to hang loosely in front of the front bumper (1). Allow the cable to thaw and let the moisture drain out.
5. Reinstall the hood release cable to the latch and install the protector and push pin.
6. Locate the two holes in the upper tie bar on the passenger side of the hood latch assembly (1).