
Grand AM V6-3.4L VIN E (2001)
Hood Latch: Service and Repair
Hood Primary and Secondary Latch Replacement
Hood Primary and Secondary Latch Replacement
Removal Procedure
1. Open the hood.
2. Mark the hood latch location to the support bracket with a grease pencil.
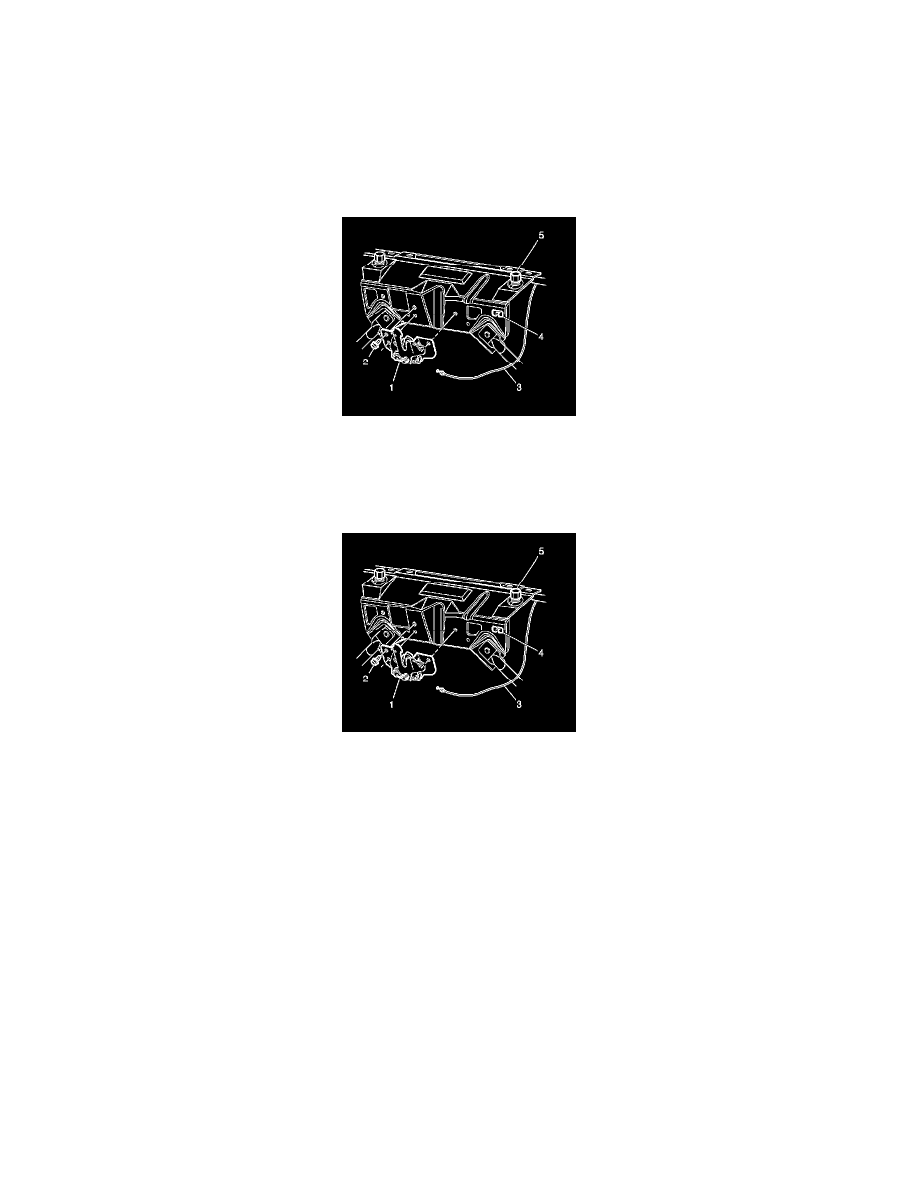
3. Remove the hood latch bolts (2).
4. Disconnect the hood latch release cable (3) from the hood latch (1) by squeezing the cable retainer.
5. Remove the hood latch (1) from the vehicle.
Installation Procedure
1. Install the hood latch release cable (3) to the hood latch (1).
2. Position the hood latch (1) to the alignment marks on the support bracket.
3. Install the hood latch bolts (2).
4. Tighten the latch bolts with the latch in the full up position.
Notice: Refer to Fastener Notice in Service Precautions.
5. Slowly close the hood and press down until the hood is flush with the fenders.
Open the hood and tighten the hood latch bolts to 10 N.m (89 lb ft).
6. Adjust the hood, if required. Refer to Hood Adjustment.
7. Close the hood