
Grand AM V6-3.4L VIN E (2001)
Rear Door Weatherstrip: Service and Repair
Weatherstrip Replacement - Rear Door Opening
REMOVAL PROCEDURE
1. Remove the sill plate.
2. Remove the upper center pillar trim panel from the vehicle.
3. Remove the lower center pillar trim panel to the vehicle.
4. Remove the rear lower quarter trim panel.
5. Remove the rear upper quarter trim panel.
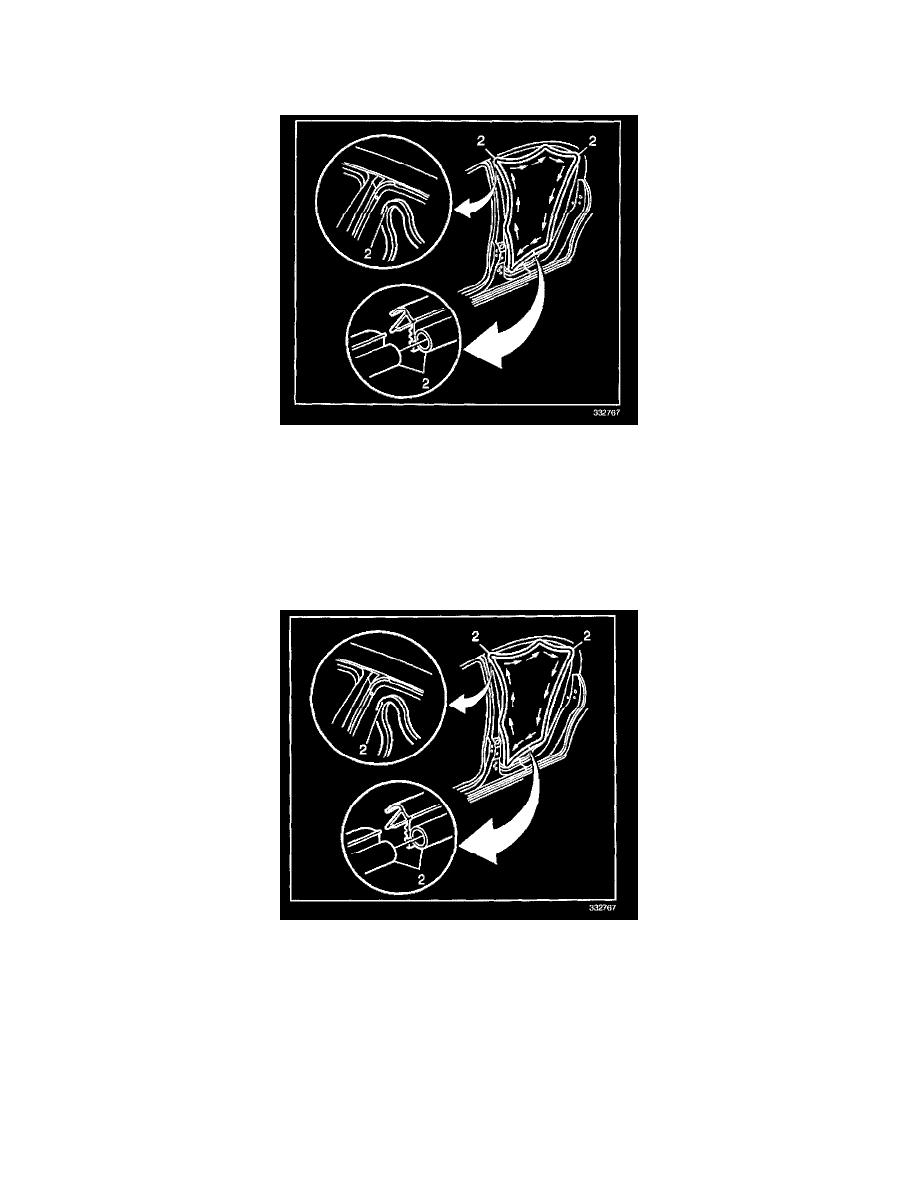
6. Pull the rear door opening weather-strip (2) loose.
7. Remove the weather-strip (2) from the vehicle.
INSTALLATION PROCEDURE
1. Apply weather-strip (2) adhesive GM P/N 12345O96, or equivalent, to the rear door opening weather-strip.
2. Press the rear door opening weather-strip (2) onto the rear door opening flange.
3. Install the sill plate to the vehicle.
4. Install the upper center pillar trim panel from the vehicle.
5. Install the lower center pillar trim panel to the vehicle.
6. Install the rear lower quarter trim panel.
7. Install the rear upper quarter trim panel.