
Grand AM V6-3.4L VIN E (2001)
Backing Plate: Service and Repair
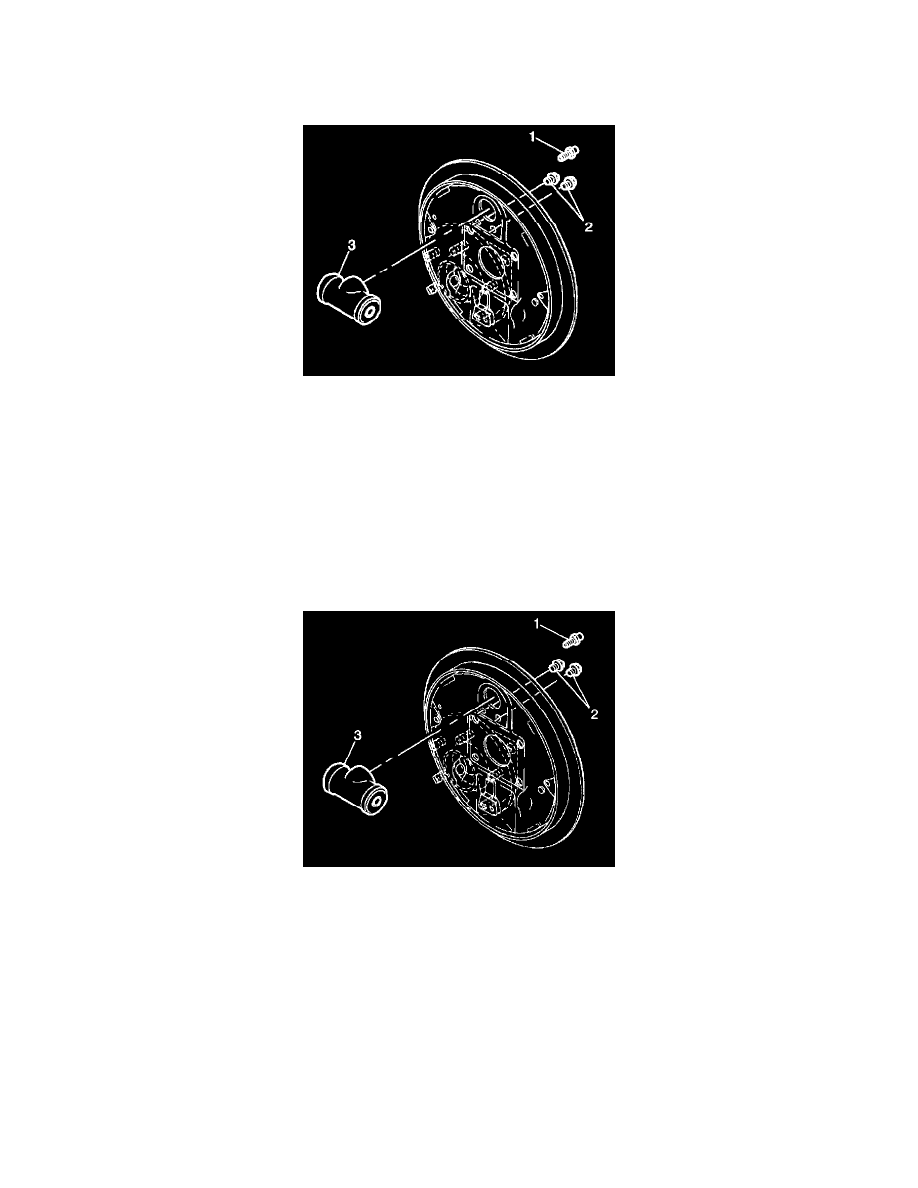
Brake Backing Plate Replacement
Removal Procedure
1. Raise and suitably support the vehicle. Refer to Vehicle Lifting.
2. Remove the tire and wheel assembly.
3. Remove the brake drum. Refer to Brake Drum Replacement.
4. Remove the brake shoes. Refer to Brake Shoe Replacement.
5. Remove the universal spring.
6. Remove the wheel cylinder (3). Refer to Wheel Cylinder Replacement.
7. Disconnect the parking brake cable from the backing plate.
8. Remove the rear wheel hub. Refer to Wheel Bearing/Hub Replacement - Rear (Drum Brakes) or Wheel Bearing/Hub Replacement - Rear (Disc
Brakes).
9. Remove the backing plate.
Installation Procedure
1. Install the backing plate.
2. Install the rear wheel hub. Refer to Wheel Bearing/Hub Replacement - Rear (Drum Brakes) or Wheel Bearing/Hub Replacement- Rear (Disc
Brakes).
3. Install the parking brake cable to the backing plate.
4. Install the wheel cylinder (3). Refer to Wheel Cylinder Replacement.
5. Install the universal spring.
6. Install the brake shoes. Refer to Brake Shoe Replacement.
7. Adjust the drum brakes. Refer to Drum Brake Adjustment.
8. Install the brake drum. Refer to Brake Drum Replacement.
9. Bleed the brake hydraulic system. Refer to Hydraulic Brake System Bleeding (Manual) or Hydraulic Brake System Bleeding (Pressure).
10. Adjust the parking brake. Refer to Park Brake Adjustment.
11. Install the tire and wheel assembly.
12. Lower the vehicle.