
Grand AM V6-3300 3.3L (1992)
Suspension Control ( Automatic - Electronic ): Reading and Clearing Diagnostic Trouble Codes
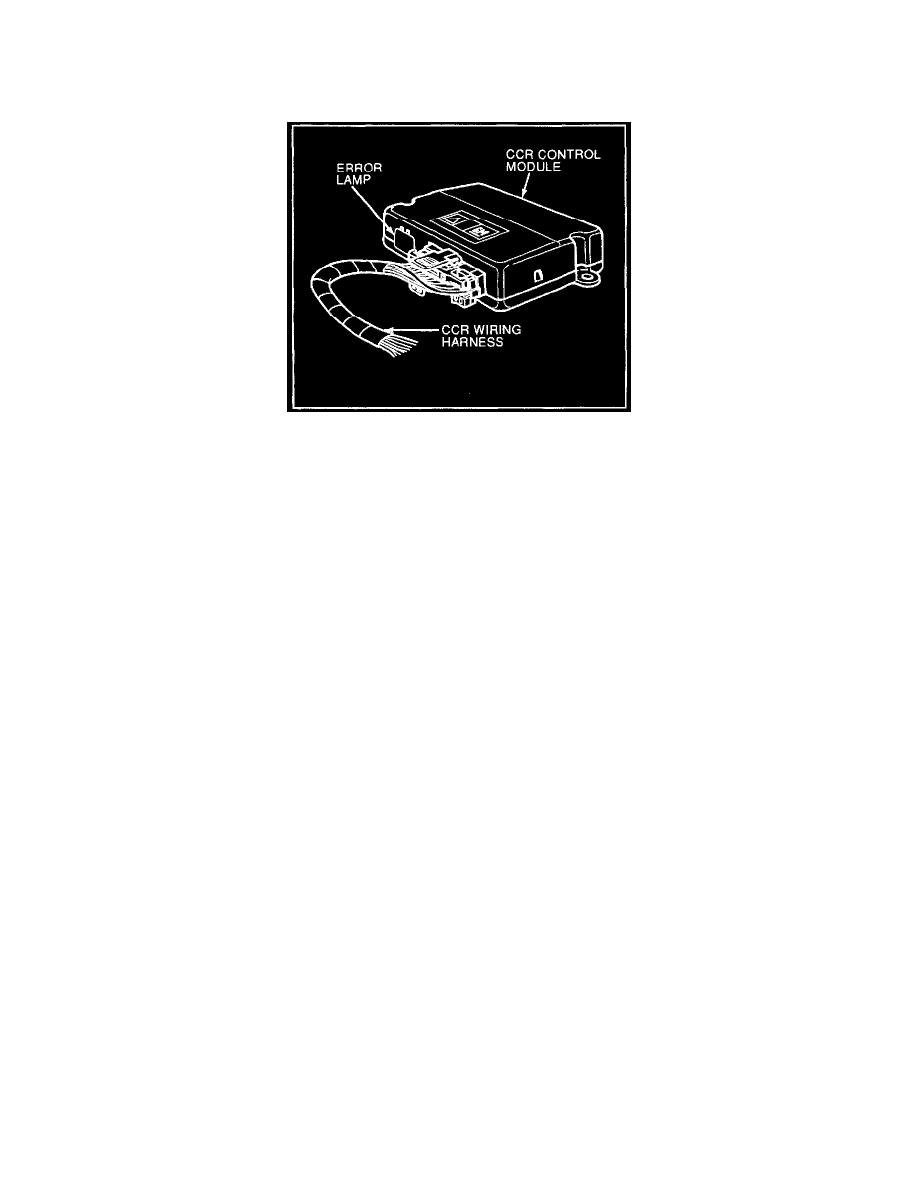
Accessing and Reading Diagnostic Trouble Codes
The CCR diagnostic systems may be actuated by either of two methods. Grounding the diagnostic enable circuit at pin "C of the Data Link
Connector (DLC) or by using the control module wiring harness connector. To read codes using the control module connector, ground pin D2 to
pin D16.
The 3 driver select switch LEDs will blink in unison to transmit blink code diagnostics. Error diagnostic trouble codes can be read by counting the
number of flashes of the LED's. The error diagnostic trouble code display will start after pin D2 has been grounded for three seconds before
beginning the blink diagnostic trouble code sequence. The sequence starts with a three second LED off period. Then diagnostic trouble code 12 is
displayed three times to mark the beginning of the sequence. Next, each stored code is blinked out in ascending order. Each diagnostic trouble
code is displayed three times before proceeding to the next diagnostic trouble code. If pins D2 and D16 remain connected, the entire diagnostic
trouble code sequence will repeat beginning with diagnostic trouble code 12 flashing three times.
Clearing Diagnostic Trouble Codes
To clear diagnostic trouble codes, connect one end of a jumper wire to pin A of the Data Link Connector (DLC). Alternately plug into and remove
the opposite end of the jumper from pin C three times. Hold each connection one second and pause one second between connections.
On models with driver switch LEDs, once the DLC has been cleared, it will turn both the LEDs off for one second, and then turn them on for two
seconds. If the LEDs do not go out, then the diagnostic trouble codes have not been cleared successfully. Repeat clearing sequence.