
Grand Prix V6-191 3.1L VIN M SFI (1998)
Valve Cover: Service and Repair
Right Side - Rear
REMOVAL PROCEDURE
1. Disconnect the battery ground (negative) cable. Refer to Battery Negative Cable Disconnect/Connect Procedure in Starting and Charging.
2. Remove the drive belt. Refer to Drive Belt Replacement.
3. Remove the generator braces. Refer to Generator Brace Replacement (Front Brace 3100 L82 (VIN M)) and Generator Brace Replacement (Rear
Brace 3100 L82 (VIN M)) in Starting and Charging.
4. Remove the generator. Refer to Generator Replacement (3100 L82 (VIN M)) in Starting and Charging.
5. Remove the right (rear) spark plug wires. Refer to Spark Plug Wire Harness Replacement (3100 L82 (VIN M)) in Ignition System.
6. Remove the ignition coil bracket with the coils, the purge solenoid and the vacuum canister solenoid. Refer to Ignition Coil(s) Replacement in
Powertrain Management.
7. Remove the crankcase ventilation hose from the grommet in the right (rear) valve rocker arm cover.
8. Remove the right (rear) valve rocker arm cover bolts.
9. Remove the right (rear) valve rocker arm cover.
10. Remove the right (rear) valve rocker arm cover gasket.
11. Clean the valve rocker arm cover.
12. Clean the valve rocker arm cover gasket sealing surfaces on the cylinder head and the lower intake manifold.
INSTALLATION PROCEDURE
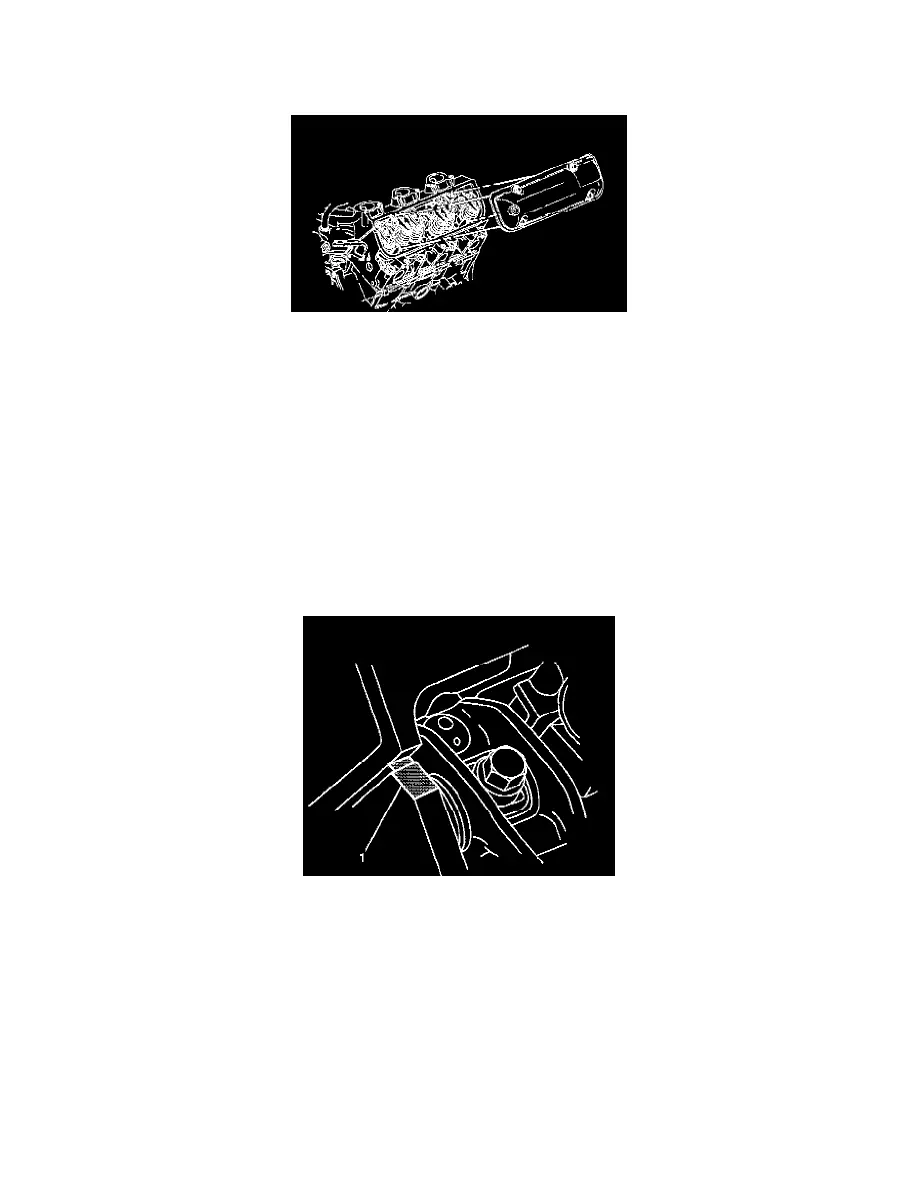
1. Install a new right (rear) valve rocker arm cover gasket.
2. Apply sealant at the cylinder head to lower intake manifold joint at the rear of the lower intake manifold (1).
IMPORTANT: Apply sealant GM P/N 12345739 or equivalent at the cylinder head to lower intake manifold joint.