
Grand Prix V6-191 3.1L VIN M SFI (1998)
Fluid Line/Hose: Service and Repair
A/T Oil Cooler Pipes Replacement (With Quick Connect Fittings)
Use only double-wrapped and use only brazed steel pipe meeting the GM specification 123M or equivalent if replacement of the transaxle oil cooler
pipes are required. Ensure the pipe is double-flared, as required.
REMOVAL PROCEDURE
NOTICE: Allow sufficient clearance around the transaxle oil cooler pipes and around the hoses to prevent damage or wear which may cause fluid
loss.
1. Raise and support the vehicle.
2. Position the drain pan.
3. Disconnect the transaxle oil cooler pipes from the fittings at the radiator.
4. Pull the plastic cap back from the quick connect fitting and down along the transaxle oil cooler pipe about two inches.
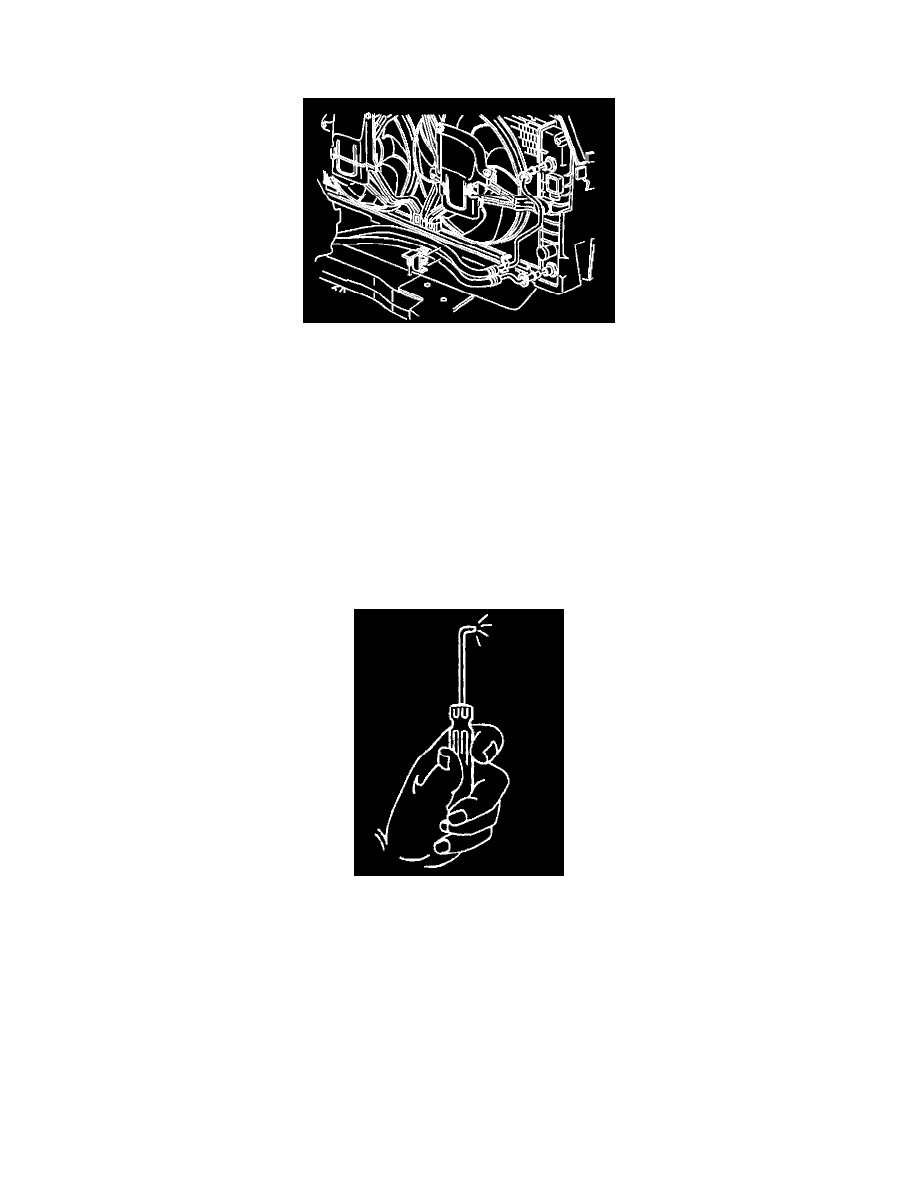
IMPORTANT: Perform the following procedures when removing the retaining ring and transaxle oil cooler pipe from the quick connect fitting
on the transmission.
5. Using a bent-tip screwdriver, pull on one of the open ends of the retaining ring in order to rotate the retaining ring around the quick connect fitting
until the retaining ring is out of position and can be completely removed.