
Grand Prix V6-3.1L VIN J (2000)
Coolant Level Indicator Module: Service and Repair
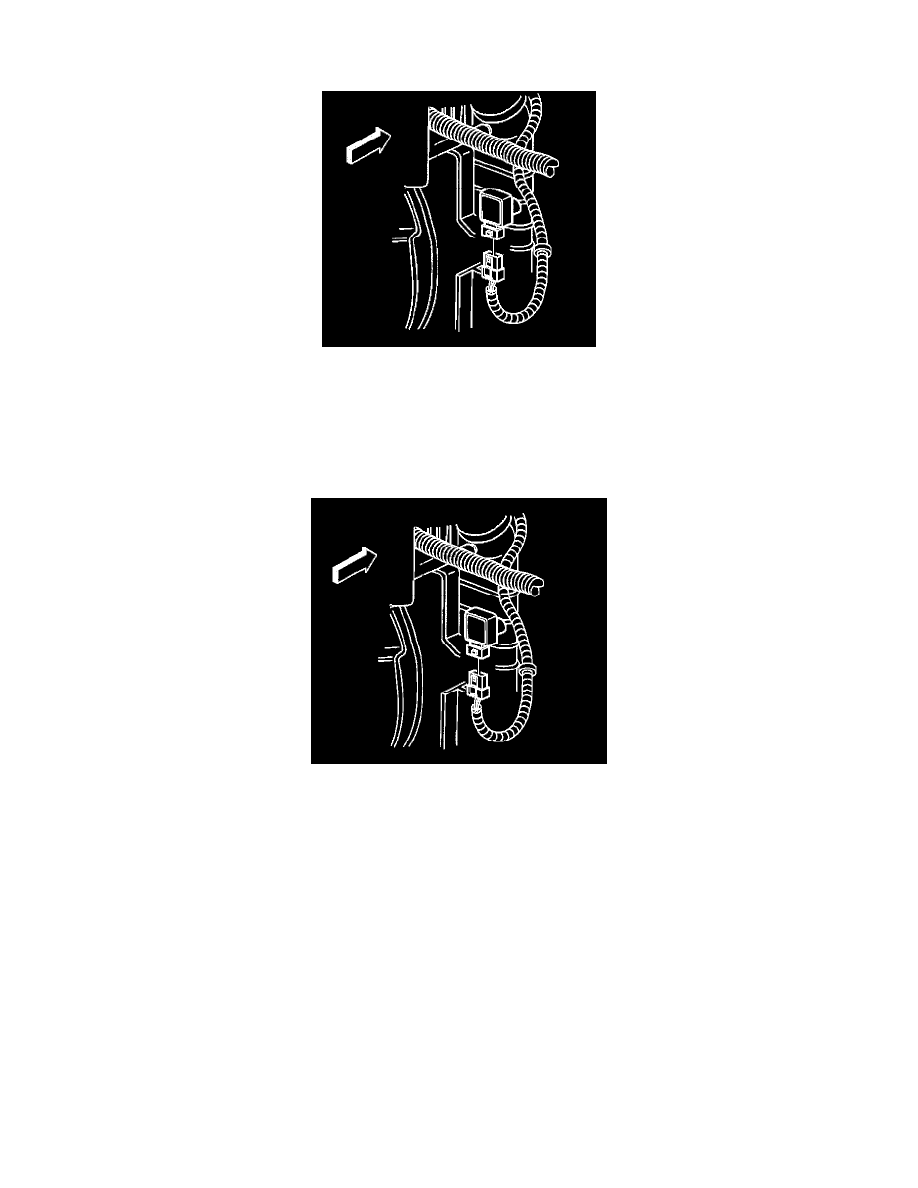
Removal Procedure
1. Disconnect the battery ground (negative) cable. Refer to Battery Negative Cable Disconnect/Connect Procedure.
2. Partially drain the radiator. Refer to Draining and Filling Cooling System.
3. Disconnect the electrical connector from the coolant level module.
4. In order to unlock the coolant level module, lift one leg of the snap clip from its locked position and pull outward with a slight twisting motion.
5. Remove the coolant level module.
Installation Procedure
1. Lubricate the O-ring seal with coolant.
2. Place the snap clip leg in place.
3. Install the coolant level module.
4. Connect the electrical connector to the coolant level module.
Important: To properly fill the system requires the use of the air bleed vents. Refer to Draining and Filling Cooling System.
5. Fill the radiator. Refer to Draining and Filling Cooling System.
6. Connect the battery ground (negative) cable. Refer to Battery Negative Cable Disconnect/Connect Procedure.
7. Inspect for leaks.