Grand Prix V6-3.8L VIN 2 (2004)

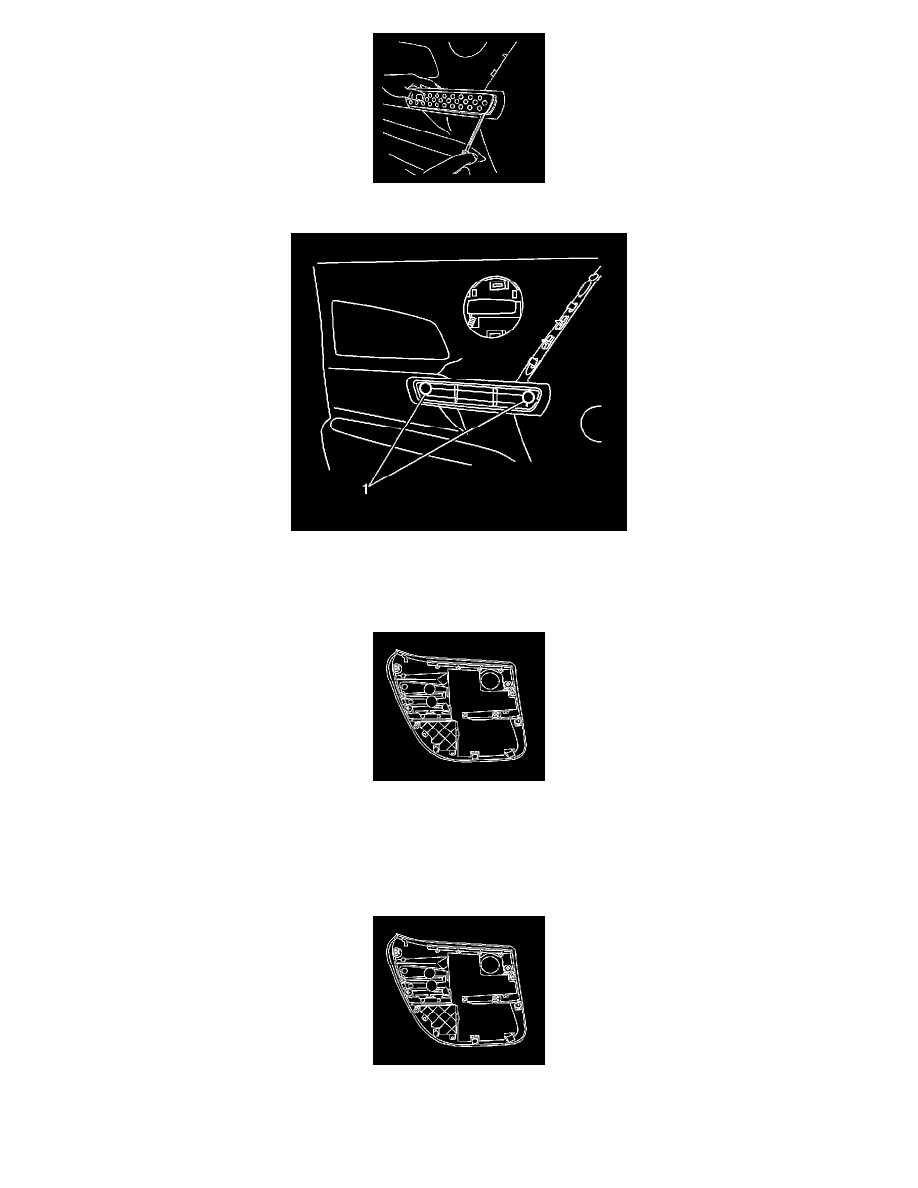
2. Use a flat-bladed tool to remove the cover plate from the armrest pull handle.
Notice: Use a thin walled socket or a Torx(R) head driver to remove the pull handle screws. Do NOT use a standard socket, which will split the
plastic tubes that locate the screws.
3. Using a thin walled socket or Torx(R) head driver, remove the screws (1) from the pull handle.
4. Beginning at the lower rear of the door, use J 38778 to disengage the trim panel from the rear door inner panel.
5. Lift the trim panel to disengage the channel at the top edge and to clear the door lock button.
6. If equipped, disconnect the electrical connector for the power window switch.
7. Remove the rear door trim panel from the vehicle.
Installation Procedure
1. If equipped, connect the electrical connector for the power window switch.
2. Position the trim panel to the rear door inner panel, verifying that the door handle comes through the bezel.
3. Install the rear door trim panel pressing until the retainers are fully seated.
