
Torrent AWD V6-3.4L VIN F (2006)
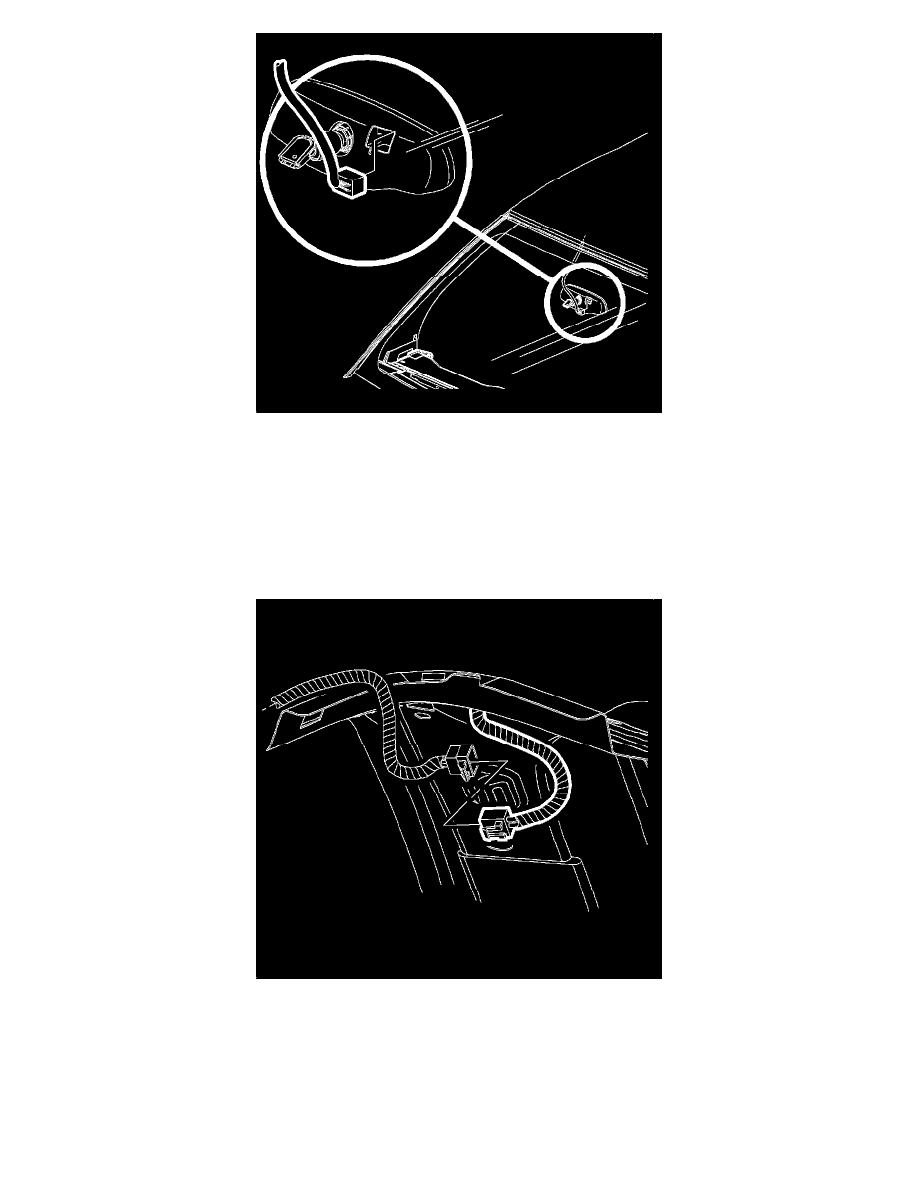
6. Connect the OnStar(R) microphone electrical connector.
7. Install the reading lamp cover. Refer to Reading Lamp Replacement in Lighting Systems.
8. Connect the OnStar(R) electrical connector.
9. Install the sunshades. Refer to Sunshade Replacement (See: Sun Visor/Service and Repair) .
10. Install the windshield upper garnish molding. Refer to Windshield Upper Garnish Molding Replacement (See: Trim Panel/Service and
Repair/Removal and Replacement) .
11. Install the center pillar molding. Refer to Garnish Molding Replacement - Center Pillar Lower (See: Trim Panel/Service and Repair/Removal and
Replacement) .
12. Install the dome lamp. Refer to Dome Lamp Replacement .
13. Connect the headliner electrical connectors behind the cargo area trim panel. Connect the clips holding the wire to the metal.
14. Install the driver side quarter trim panel. Refer to Trim Panel Replacement - Rear Quarter Lower (See: Trim Panel/Service and Repair/Removal
and Replacement) .
15. Install the lock pillar garnish moldings. Refer to Garnish Molding Replacement - Lock Pillar Upper (See: Trim Panel/Service and
Repair/Removal and Replacement) .
16. Install the rear garnish molding. Refer to Garnish Molding Replacement - Rear Corner (See: Trim Panel/Service and Repair/Removal and
Replacement) .
17. Install the coat hooks. Refer to Coat Hook Replacement (See: Service and Repair) .
18. Enable the SIR system. Refer to SIR Disabling and Enabling Zone 2 and to SIR Disabling and Enabling Zone 6 in SIR.