
Torrent AWD V6-3.6L (2008)
Ball Joint: Testing and Inspection
Ball Joint Inspection
Tools Required
J 8001 Dial Indicator Set
Important:
*
The vehicle must rest on a level surface.
*
The vehicle must be stable. Do not rock the vehicle on the floor stands.
1. Raise and support the vehicle. Refer to Lifting and Jacking the Vehicle .
2. Clean and inspect the ball joint seal for cuts or tears. If the ball joint seal is damaged, replace the ball joint. Refer to Lower Control Arm Ball Joint
Replacement (See: Service and Repair) .
3. Support the lower control arm with a floor stand as far outboard as possible and raise the suspension to just below ride height.
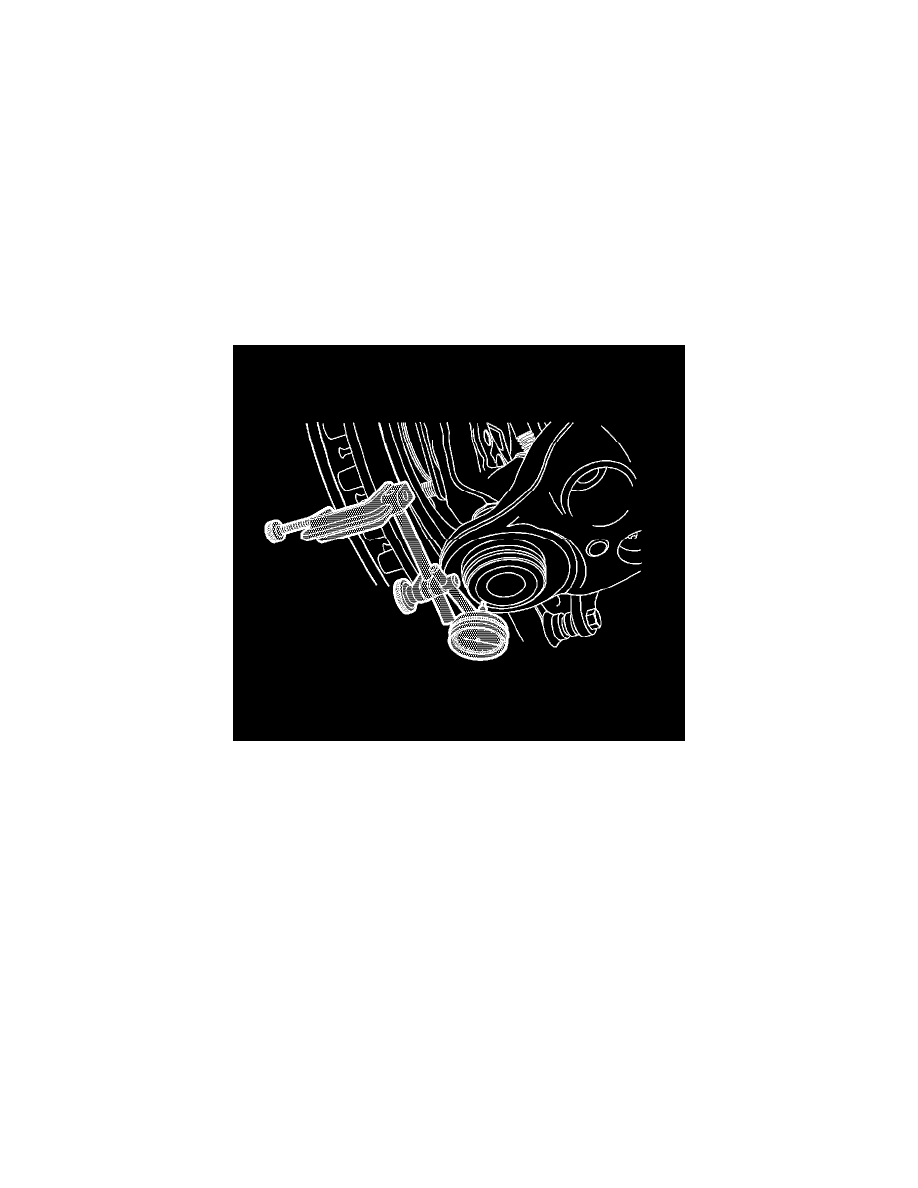
4. Install the J 8001 or suitable dial indicator in a way to measure vertical lash in the ball joint.
Notice: Do not pry in such a way that the ball joint seal is contacted. Damage to the seal may result.
5. Gently lift or pry the suspension to induce ball joint movement.
6. If the dial indicator indicates a reading greater than 3.18 mm (0.125 in), replace the ball joint. Refer to Lower Control Arm Ball Joint Replacement
(See: Service and Repair) .