
Vibe L4-1.8L VIN L (2003)
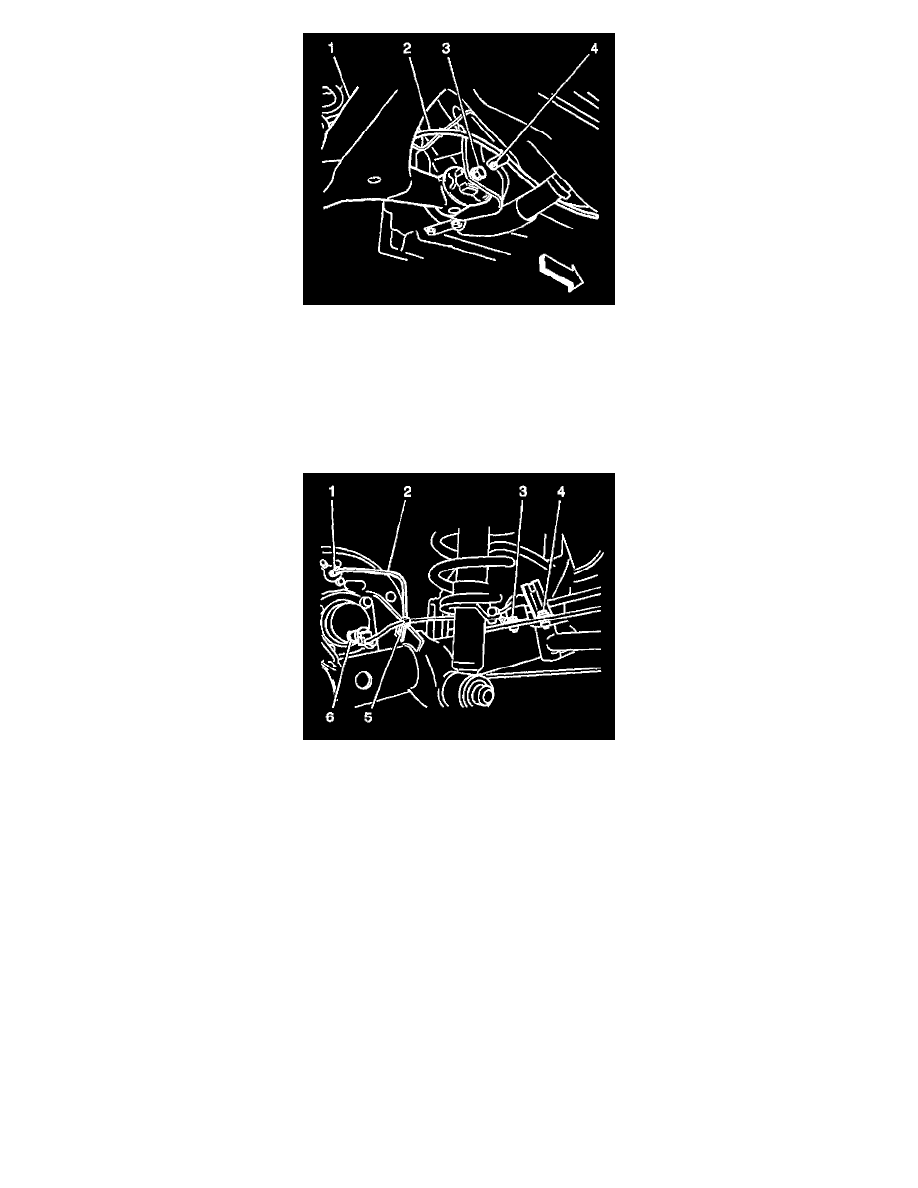
3. Install the 2 bolts (3) and the 2 nuts in order to retain the rear axle (1) to the body.
4. Install the following components in order to retain the 2 shock absorbers to the rear axle:
-
The 2 bolts
-
The 2 retainers
-
The 2 nuts
5. Install the stabilizer shaft.
6. Install the 2 backing plates.
7. Install the 4 bolts and the 2 clips in order to retain the following components to the rear axle:
-
The brake pipes
-
The brake hoses
-
The park brake cables
-
The wheel speed sensor wires, if equipped
8. Remove the jack and lower the vehicle.
9. Bleed the brake system.
10. If the vehicle has ABS, perform the Diagnostic System Check - ABS.
11. Bounce the rear of the vehicle in order to stabilize the suspension.
Notice:
Refer to Fastener Notice in Service Precautions.
See: Service Precautions/Vehicle Damage Warnings/Fastener Notice
Important: The weight of the vehicle must be on the tire and wheel assemblies.
12. Tighten the 2 nuts and the 2 bolts that retain the axle to the body.
Tighten the nuts and the bolts to 85 Nm (62.7 ft. lbs.).
13. Tighten the 2 nuts and the 2 bolts that retain the shock absorbers to the axle.
Tighten the nuts and the bolts to 80 Nm (59.0 ft. lbs.).
14. Measure the rear wheel alignment.