
Vibe AWD L4-2.4L (2009)
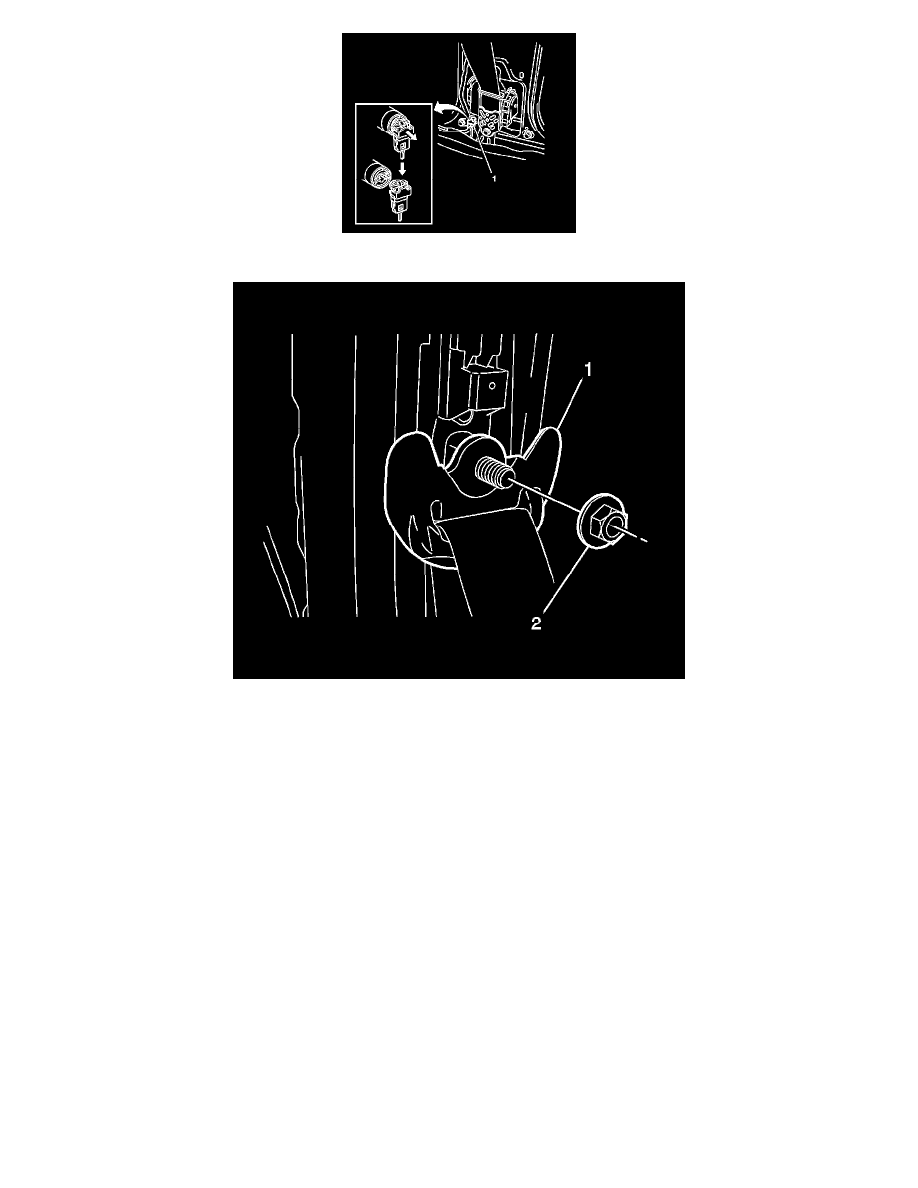
2. Connect the pretensioner electrical connector (1).
3. Install the front seat shoulder belt guide (1). Secure with nut (2).
Tighten the nut to 41 Nm (30 lb ft).
4. Install the center pillar upper trim panel. Refer to Center Pillar Upper Trim Panel Replacement (See: Body and Frame/Interior Moulding /
Trim/Trim Panel/Service and Repair).
5. Install the center pillar lower trim panel. Refer to Center Pillar Lower Trim Panel Replacement (See: Body and Frame/Interior Moulding /
Trim/Trim Panel/Service and Repair).
6. Install the front side door sill trim plate. Refer to Door Sill Plate Replacement (Front Sill) (See: Body and Frame/Interior Moulding / Trim/Scuff
Plate/Service and Repair)Door Sill Plate Replacement (Rear Sill) (See: Body and Frame/Interior Moulding / Trim/Scuff Plate/Service and Repair
).
7. Install the rear side door sill trim plate. Refer to Door Sill Plate Replacement (Front Sill) (See: Body and Frame/Interior Moulding / Trim/Scuff
Plate/Service and Repair)Door Sill Plate Replacement (Rear Sill) (See: Body and Frame/Interior Moulding / Trim/Scuff Plate/Service and Repair
).