
Vibe AWD L4-2.4L (2009)
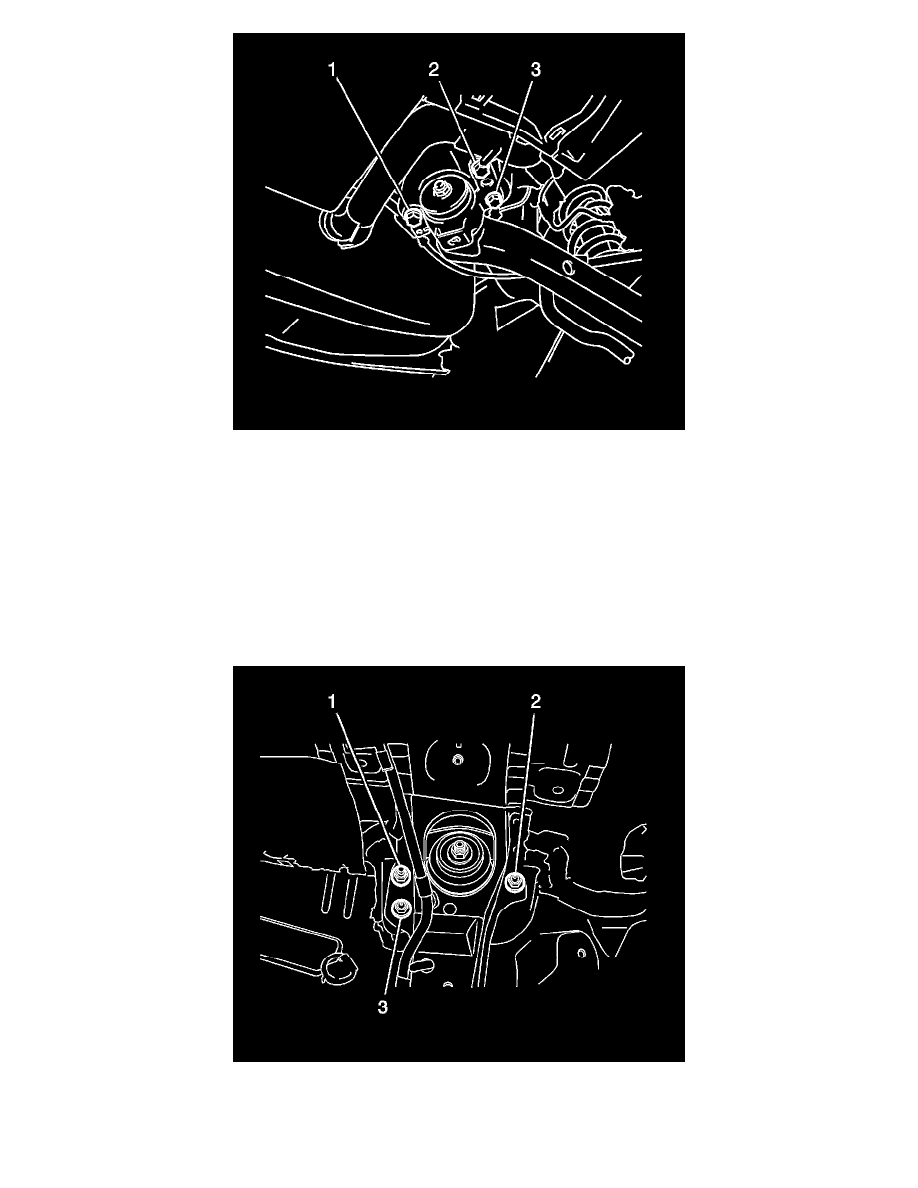
12. Remove the 3 bolts (1, 2, 3) from the lower control arm.
13. Move the front of the lower control arm down and toward the outside of the vehicle.
14. Remove the shock absorber with the coil spring.
15. Remove the coil spring, if necessary. Refer to Coil Spring Replacement (All Wheel Drive and GT) (See: Suspension Spring ( Coil / Leaf
)/Service and Repair/Coil Spring Replacement)Coil Spring Replacement (Except All Wheel Drive and GT) (See: Suspension Spring ( Coil / Leaf
)/Service and Repair/Coil Spring Replacement).
Installation Procedure
1. If you removed the coil spring, install the coil spring. Refer to Coil Spring Replacement (All Wheel Drive and GT) (See: Suspension Spring (
Coil / Leaf )/Service and Repair/Coil Spring Replacement)Coil Spring Replacement (Except All Wheel Drive and GT) (See: Suspension Spring (
Coil / Leaf )/Service and Repair/Coil Spring Replacement).
Caution: Refer to Fastener Caution (See: Service Precautions/Vehicle Damage Warnings/Fastener Caution).
2. Install the shock absorber with the 3 nuts (1, 2, 3) and tighten to 80 Nm (59 lb ft).