
Vibe FWD L4-1.8L VIN 8 (2004)
Trunk / Liftgate Weatherstrip: Service and Repair
Weatherstrip Replacement - Rear Compartment Opening
Removal Procedure
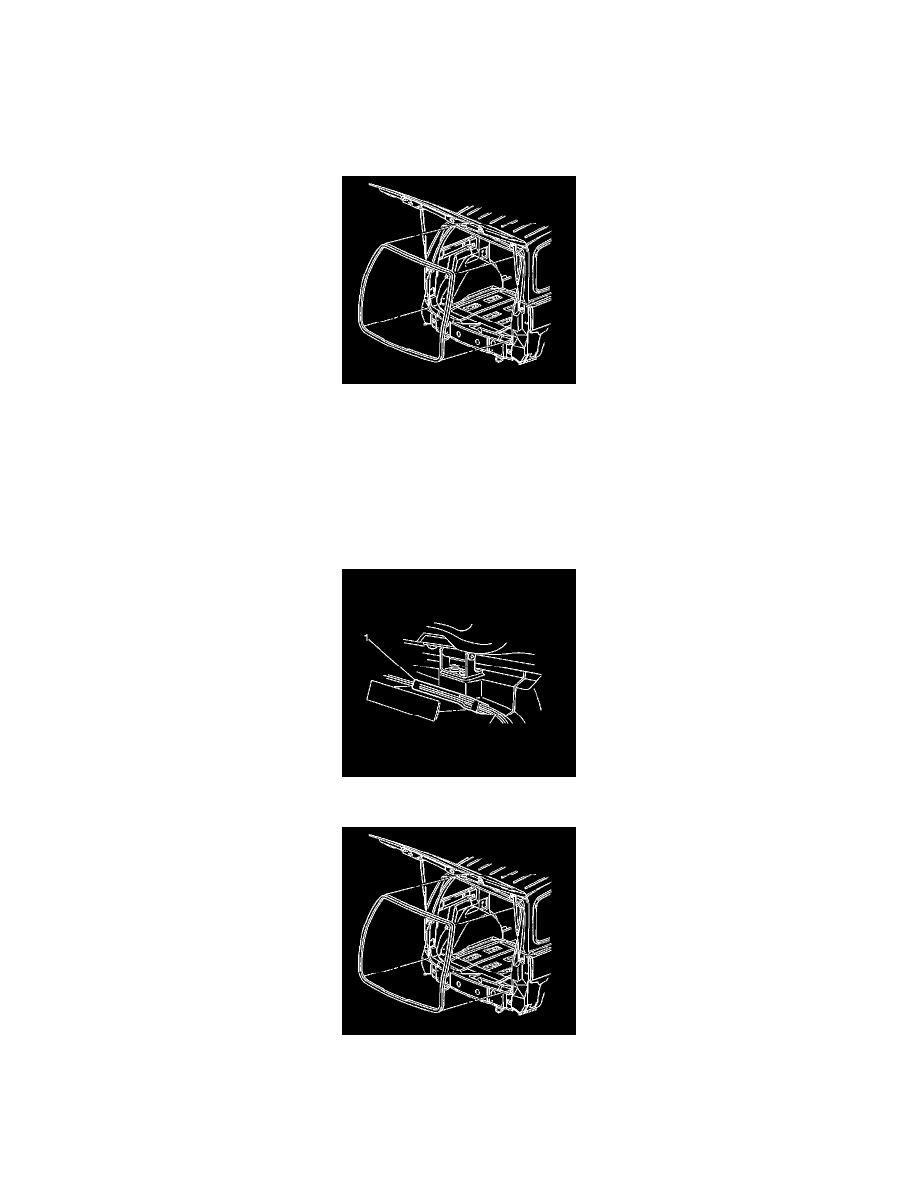
1. Open the liftgate.
2. Pull the liftgate weather-strip from the liftgate opening.
3. Clean all adhesive from the liftgate opening pinch-weld flange.
Installation Procedure
Important: A mastic/sealer/glue is inside of new liftgate weather-strips. If a new weather-strip in being installed, weather-strip adhesive
should not be used.
If the liftgate weather-strip is reused, weather-strip adhesive should be used.
1. Apply new liftgate weather-strip sealing strip to pinch-weld flange (1) if required.
2. Align the liftgate weather-strip to the top center of the liftgate opening pinch-weld flange.
3. Align the liftgate weather-strip to the top corners of the liftgate opening pinch-weld flange.
4. Starting at the top center of the liftgate opening pinch-weld flange and working towards the bottom center, being careful not to stretch the liftgate
weather-strip while installing it.
5. Use a rubber mallet to ensure full engagement of the liftgate weather-strip to the pinch-weld flange.