
911 Carrera 2 Targa F6-3600cc 3.6L SOHC (1992)
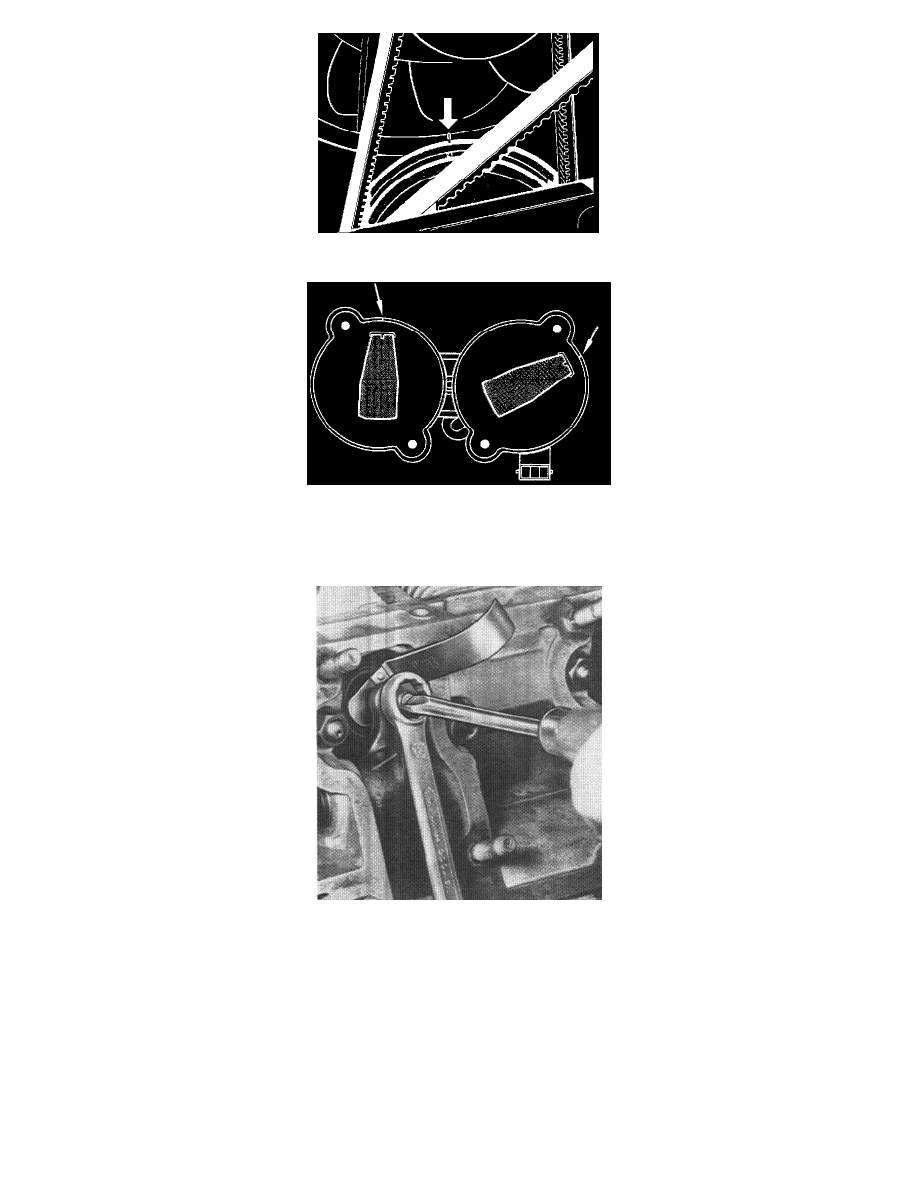
TDC Mark
Distributor Marking, Cylinder 1
2. Check the valve clearance with P 213 b; if necessary, undo the hexagon nut on the adjusting screw and correct the valve clearance by turning the
adjusting screw with a suitable screwdriver, hold the adjusting screw firmly and tighten the counternut
3. Check the clearance again.
4. Now, continue turning the crankshaft clockwise with the pulley as far as the next marking (120°). The valves for cylinder 6 can be adjusted in this
position.
5. Turn the crankshaft to the next marking (120°) to bring cylinder 2 to firing point.
6. Repeat this procedure accordingly to adjust the other valves (cylinders 4, 3 and 5).
7. Always replace the valve-cover seals and the self-locking nuts.
Tightening torque 9.7 Nm (7 ft lb)
The following assembly operations must be carried out before adjusting valves:
Assembly work from above:
1. Remove the rear wheels