
911 Carrera Coupe F6-3600cc 3.6L SOHC (1997)
Shift Interlock Solenoid: Service and Repair
NOTE: When checking the solenoid electrically, be sure to observe correct polarity
-
Terminal 1 = Positive
-
Terminal 2 = Negative
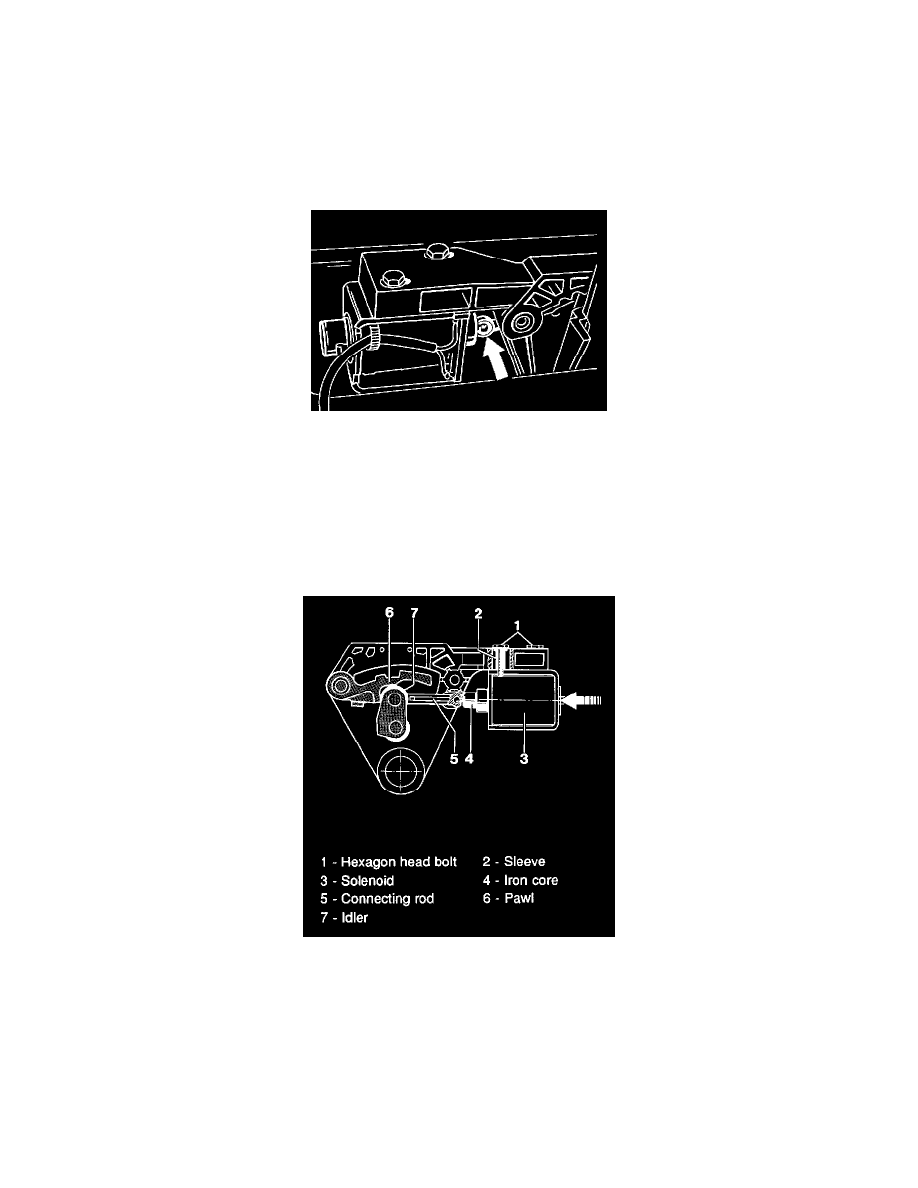
Removal
1. Remove center console and gear selecting system.
2. Remove switch plate.
3. Using a suitable tool, press connecting rod carefully off the solenoid.
4. Screw out mounting screws and take off solenoid.
Installation
1. Set selector lever to "1" position.
2. Grease ball and ball socket with low temperature grease.
3. Clip connecting rod to solenoid, retaining the connecting rod in correct position using a suitable wire hook or marking tool and pushing the free lift
solenoid carefully into the ball socket.
4. Using sleeves and hexagon head bolts, fit solenoid to gate in such a manner that it remains free to slide in an axial direction.
5. Adjusting the solenoid:
-
Set selector lever to position "P".
-
Slide lift solenoid all the way back in the slots of the gate.
-
Push iron core from the solenoid towards the pawl until it contacts the stop and locate it in this position.
-
Slide the actuated solenoid axially until the idler contacts the stop of the pawl.
-
Tighten hexagon head bolt to 2.5 Nm (2 ft lb) in this position.
6. Check operation of shiftlock.