
911 Carrera Targa F6-3600cc 3.6L SOHC (1996)
-
Remove the rear wall trim panel, roof trail trim panels and the windshield frame cover.
-
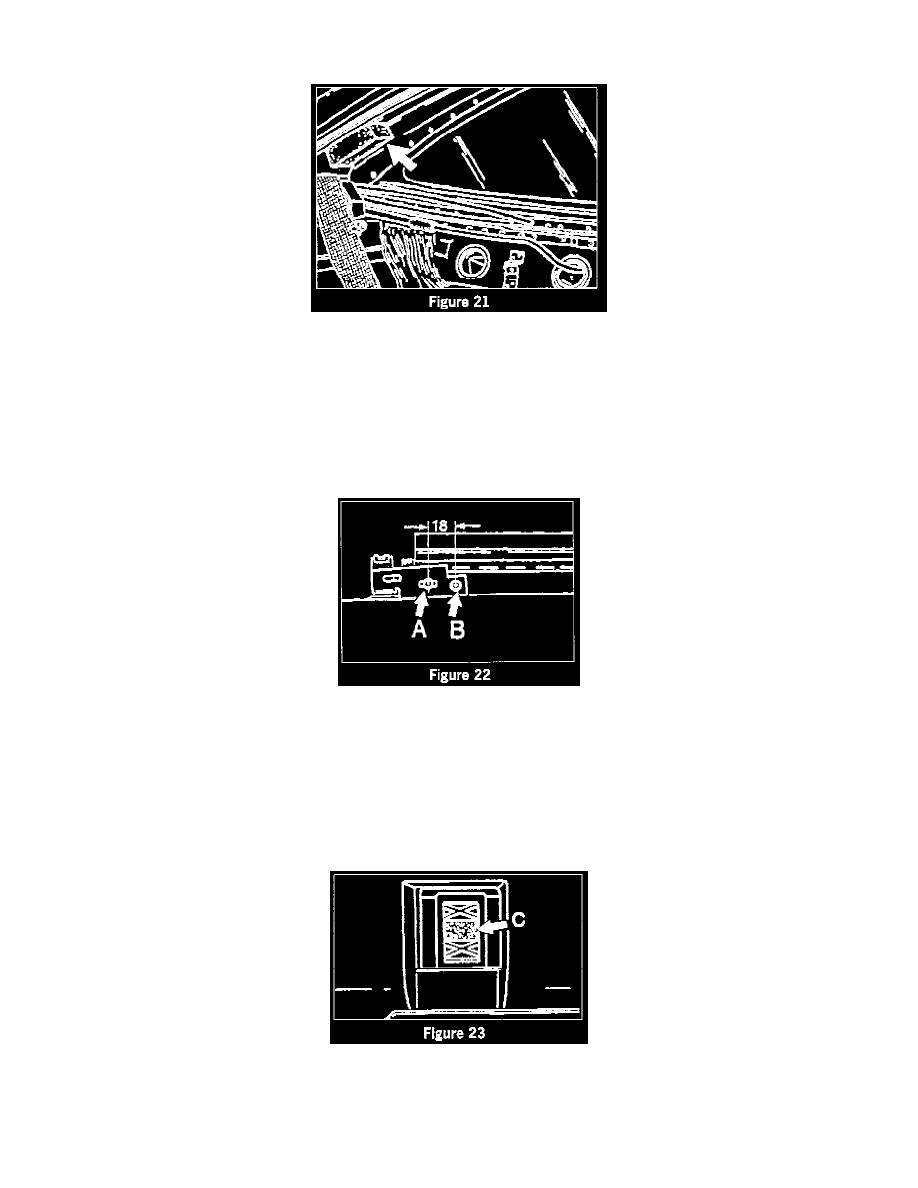
Glue foam pieces (approx.. 100mm long) to the inside of the roof trail trim panels at the location shown in figure 21.
Locations of foam pieces:
a.
Behind the rear securing element of the roof trail trim panels. (Figure 21, arrow).
b.
Between the rear securing element and the B pillar. Part number, 993 556 245 00, foam piece (left and right).
7.2
The center securing supports for the roof trim panels on the left or right sides are loose.
-
On the removed roof trim panel, secure the loose rivets (Figure 22, arrow A) on the center securing point for the B pillar.
-
Install an additional securing screw (Part number, 993 562 737 00) on the bracket (Figure 22, arrow B).
Note:
When drilling assure that the cover of the roof trim panel is not damaged. It must not be drilled more than 6.0 mm in depth. In order not to
damage the outside cover, a 20 x 40 mm metal strip should be inserted between the outside cover and the roof trim panel.
7.3
Play on the front or rear securing elements (left or right).
-
With roof trim panels removed, glue foam pieces, approx.. 12 X 10 mm and 5 mm thick in the indentations of the securing part (Figure 23, arrow C)
Important:
The glued-in foam pieces (Figure 23, arrow C) must stand approx.. 1 to 2 mm over.